How to Clean the Drip Edge of Your Pour-Over Brewer to Prevent Mold
Wipe your pour-over’s drip edge daily with a microfiber cloth to remove oils and moisture, preventing mold. For deep cleaning, use equal parts water and white vinegar, scrub gently with a soft brush, and rinse-this tackles mineral buildup and residue. If you have hard water, clean weekly; otherwise, every 1–2 weeks works. Always dry thoroughly after brewing, ideally upside down on a rack. Let airflow and indirect light do their job-keeping it dry stops mold before it starts.
Notable Insights
- Wipe the drip edge daily with a microfiber cloth to remove moisture and coffee oils after each brew.
- Clean the drip edge weekly with equal parts water and white vinegar to dissolve mineral deposits and prevent mold.
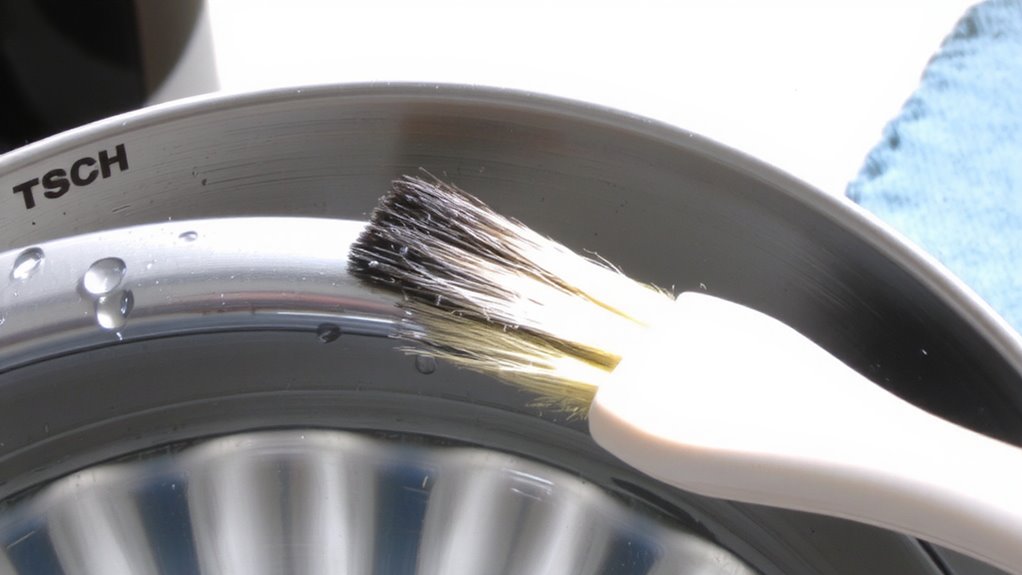
- Scrub crevices gently with a soft brush to remove trapped residue that rinsing alone won’t eliminate.
- Soak the drip edge for two minutes in vinegar solution if facing stubborn buildup, then scrub again.
- Dry the brewer thoroughly after cleaning, placing it upside down to ensure airflow and prevent dampness.
Why Your Pour-Over’s Drip Edge Grows Mold
While it might seem surprising, mold can form on your pour-over’s drip edge because moisture gets trapped in small crevices after brewing. This moisture buildup creates a damp environment perfect for mold spores to grow, especially if you let your brewer air-dry in a dark or enclosed space. Every time you brew, tiny amounts of coffee oils and fine grounds leave behind organic residue along the drip edge. Over time, that residue feeds mold, speeding up contamination. Even rinsing with water isn’t always enough-microscopic particles cling to ridges, particularly on plastic or ceramic drippers like Hario or Kalita models. You might not see the buildup right away, but it’s there. Without regular cleaning, mold becomes visible within days. It’s not just unsightly; it can affect flavor and hygiene. Preventing it starts with understanding how moisture and leftover organic matter combine to create ideal mold conditions on a part of your gear that’s often overlooked.
How to Deep Clean the Drip Edge in 5 Minutes
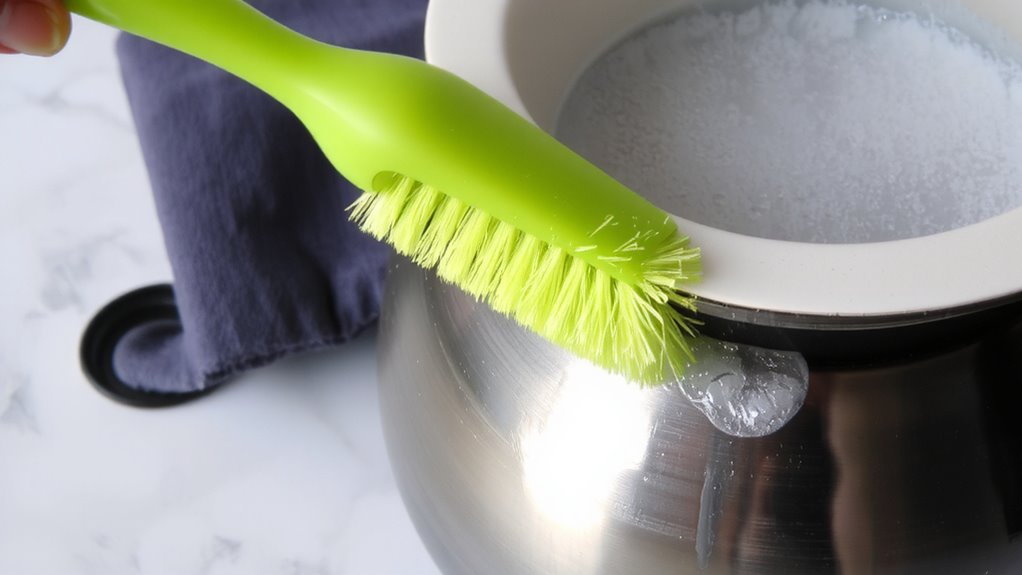
If you’ve noticed dull residue or off flavors in your pour-over, odds are the drip edge needs a quick but thorough cleaning. Grab a soft brush or cloth and a mix of equal parts water and white vinegar. Scrub the drip edge gently-this cuts through chemical residue from cleaners and daily use. Vinegar also dissolves hard water buildup, which can clog tiny grooves and alter flow. Focus on any chalky white spots; those are mineral deposits. Rinse well with warm water to remove vinegar traces. For tougher grime, soak the brewer’s edge for two minutes, then scrub again. Skip abrasive pads-they scratch surfaces and trap bacteria. This method works fast and preserves your gear. Most pour-overs, like Hario or Kalita, can handle this monthly. Do it every 4–6 weeks to keep your brew tasting clean and fresh.
Wipe the Drip Edge Daily to Prevent Mold
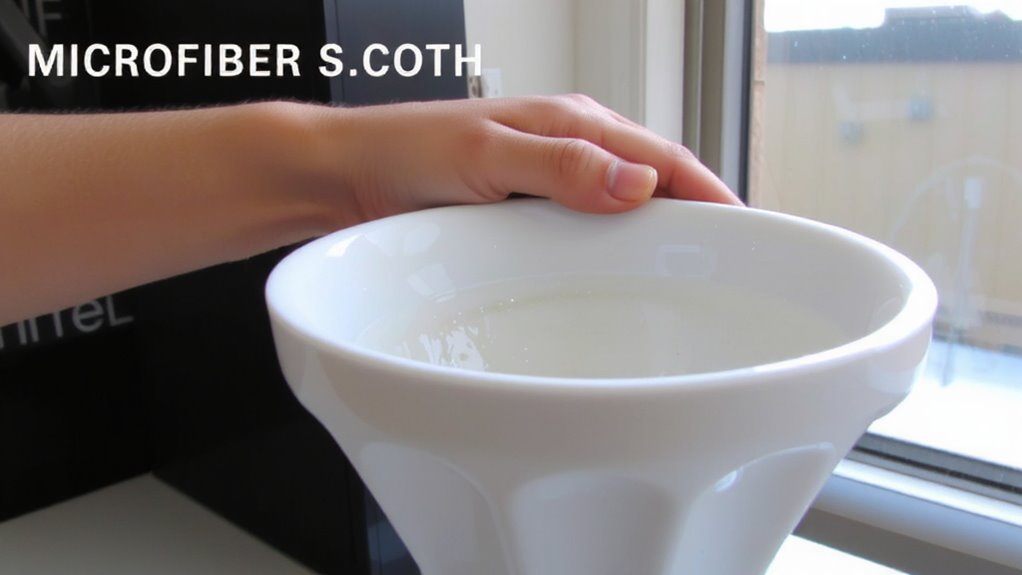
Always wipe the drip edge after each use-it’s the simplest way to prevent mold and buildup. Daily maintenance like this keeps moisture and coffee oils from lingering where mold thrives. Make it part of your routine: rinse the brewer, then dry the drip edge with a clean cloth. This quick step supports long-term cleanliness and flavor stability.
| Tool | Use Case | Benefit |
|---|---|---|
| Microfiber cloth | Gentle wiping | Leaves no lint or scratches |
| Paper towel | Quick dry | Disposable, but less eco-friendly |
| Magnifying glass | Visual inspection | Helps spot early residue or discoloration |
A brief visual inspection during wiping lets you catch issues early. You don’t need special tools-just consistent habits. Over time, this daily practice cuts down on deep cleaning frequency and preserves your brewer’s condition. It’s practical care that adds up.
How Often to Clean Your Drip Edge
How often should you really clean the drip edge of your pour-over brewer? If you wipe it daily, a thorough cleaning every week or two is usually enough. But it depends on your water hardness-hard water leaves mineral buildup faster, meaning you’ll need to clean more often, maybe weekly. Soft water users can stretch it a bit longer. Use simple cleaning tools like a soft brush or microfiber cloth with mild detergent to scrub the drip edge. Avoid abrasive pads; they scratch the surface and trap residue. If you see cloudy deposits or discoloration, it’s time to clean, regardless of schedule. Vinegar soaks help cut through limescale from hard water, but don’t overuse them-they can degrade certain materials over time. Match your cleaning frequency to your brewing habits and water type. Consistent care with the right tools keeps mold and buildup in check without overdoing it.
Dry Your Pour-Over Right After Every Brew
Most of the time, letting your pour-over sit damp after brewing invites residue and odors. To prevent mold, you should dry it thoroughly right after each use. Wipe the brewer with a clean, dry cloth, paying close attention to the drip edge where water tends to pool. Then leave it upside down on a drying rack to improve air circulation around all sides. This helps moisture evaporate faster and reduces the chance of microbial growth. If possible, place it near a window for indirect sunlight exposure-it naturally inhibits mold and speeds drying. Avoid storing it in cabinets or enclosed spaces while still damp. Stainless steel models dry faster than ceramic, but all types benefit from consistent care. Doing this simple step every time builds a reliable habit and keeps your gear clean longer.
On a final note
You can prevent mold on your pour-over’s drip edge by wiping it daily and doing a quick deep clean weekly. Use a soft brush and mild detergent to scrub the ridge where water collects. Rinse well and dry completely after each use-air drying upside down helps. Stainless steel resists mold better than plastic, but all materials need consistent care. Staying on top of cleaning keeps your brew tasting fresh and your gear in good shape.