Espresso Pre-Infusion Settings: How Low-Pressure Wetting Improves Extraction
You’re using low pressure-1 to 3 bars-for 5 to 15 seconds to evenly wet the coffee puck before full extraction. This gentle start swells the grounds, seals gaps, and reduces channeling, especially with uneven tamp or roast variations. Light roasts often need longer pre-infusion; dark roasts do better with shorter. Even basic machines like the Breville Barista Express offer it, though manual pauses can mimic the effect. Getting this step right means sweeter, more balanced shots-and knowing how your machine handles it opens the door to finer control.
Notable Insights
- Pre-infusion uses 1–3 bars pressure to evenly wet the coffee puck, improving extraction consistency.
- Even saturation during pre-infusion prevents channeling by sealing gaps in the coffee bed.
- Ideal pre-infusion duration is 5–15 seconds, balancing full wetting without under-extraction.
- Light roasts benefit from longer pre-infusion; dark roasts require shorter times for optimal extraction.
- High-end machines enhance pre-infusion with programmable settings, pressure profiling, and real-time monitoring.
What Is Pre-Infusion and How Does It Work?
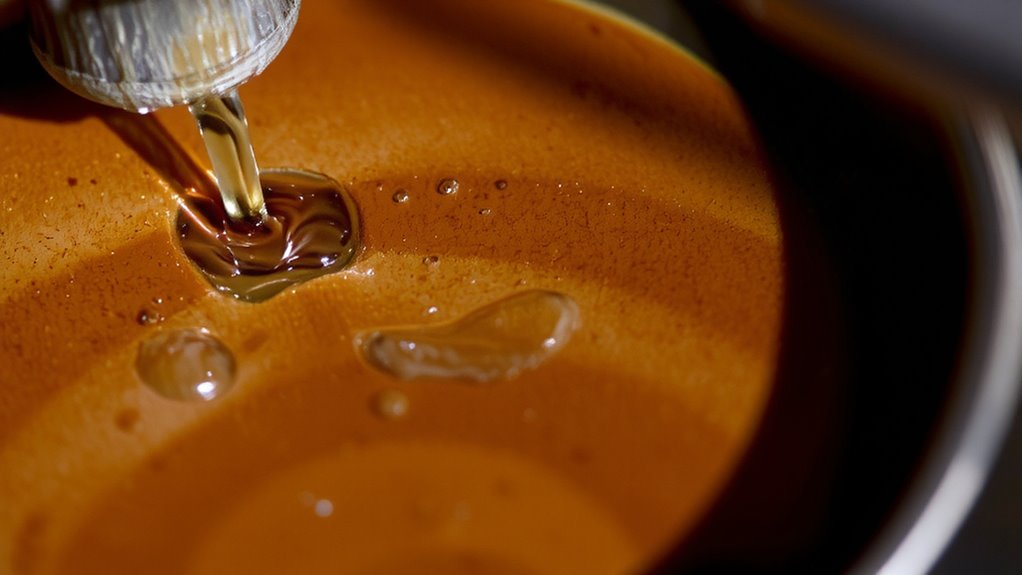
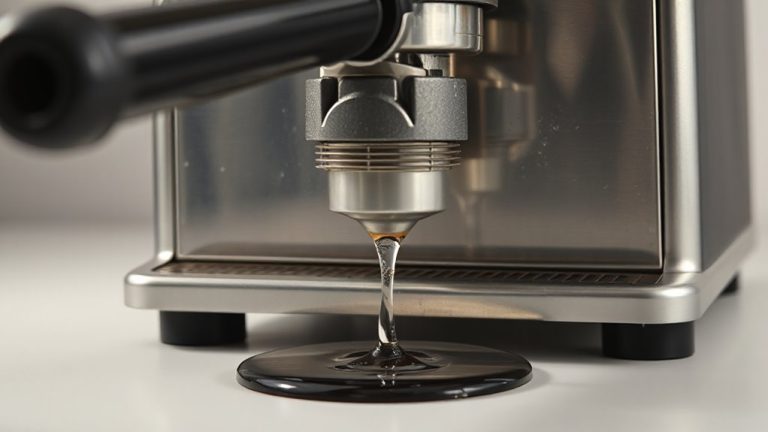
Think of pre-infusion as the quiet moment before the storm-your first real chance to get the shot right. You’re using low pressure to start, gently soaking the coffee puck before full pressure hits. This early stage is part of what’s called the wetting phases, where water spreads through the grounds to prepare for even extraction. It wasn’t always standard-pre-infusion history began in high-end machines, but now even mid-tier models like the Breville Barista Express include it. Built-in pre-infusion helps reduce uneven flow, especially useful with finicky grinds or older beans. Some machines let you adjust duration, others automate it. While not magic, it improves consistency compared to dry puck, full-pressure starts. You’ll notice better puck integrity and fewer sour notes. It’s simple physics: wet coffee expands, seals gaps, and sets up for a smoother brew. Don’t overthink it-just use it.
How Pre-Infusion Prevents Channeling and Improves Flavor
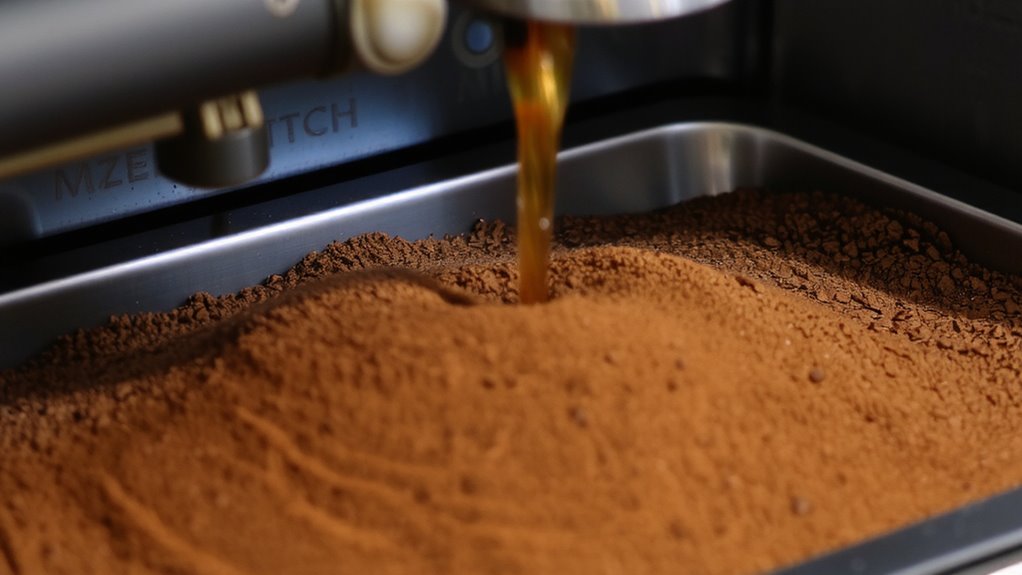
You’ve already seen how pre-infusion wets the puck gently before full pressure kicks in, and that early dampening does more than just prep the grounds-it actively fights channeling. Without pre-infusion, water can force through weak spots, creating turbulent flow that carves channels and leaves some coffee untouched. This causes uneven saturation, leading to sour, thin shots. By starting at low pressure, water spreads evenly, swelling the puck and sealing gaps before full pump pressure arrives. That even start means extraction happens uniformly across the puck, not just in random paths. Machines like the Rocket R58 or ones with programmable PID controllers let you control this phase, giving you better shot consistency. You’ll notice sweeter, more balanced espresso with fewer off-flavors. It’s not magic-just smarter physics working for your brew. Pre-infusion turns chaotic flow into controlled extraction, and that’s where flavor wins.
Set the Right Pre-Infusion Time and Pressure
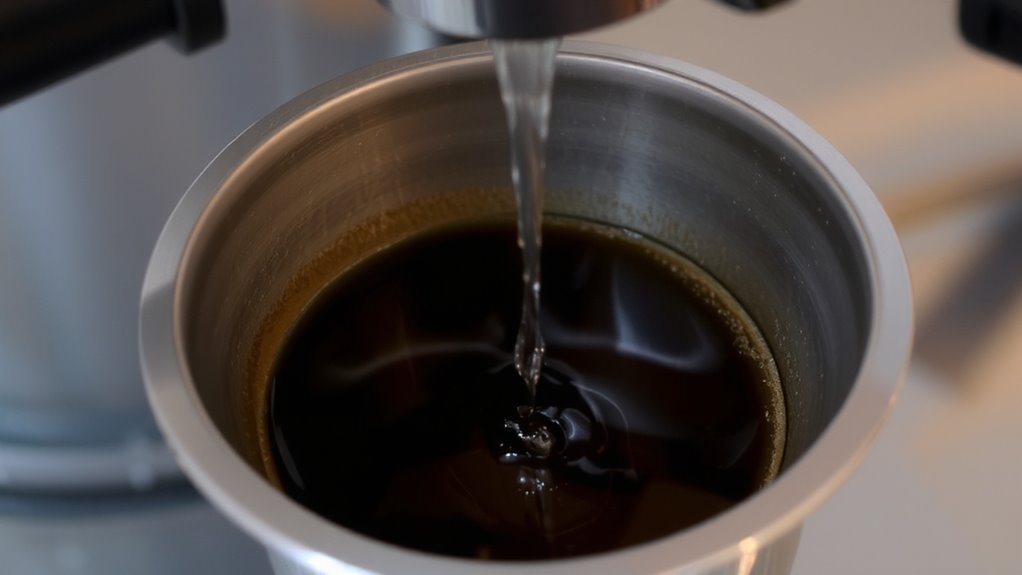
While pre-infusion improves extraction, getting the time and pressure right depends on your machine and beans. The ideal duration usually falls between 5 and 15 seconds-long enough to wet the puck fully but not so long that it cools the brew. If the time’s too short, you risk channeling; too long, and your espresso may under-extract. Aim for an ideal pressure around 1 to 3 bars, just enough to gently saturate the coffee without forcing it. Lighter roasts often need a longer pre-infusion, while dark roasts respond better to shorter times. Machines like the Slayer or Decent Espresso let you fine-tune these settings precisely, but even basic models with built-in pre-infusion can deliver solid results if you adjust grind and dose accordingly.
Adjust Pre-Infusion Settings on Any Machine
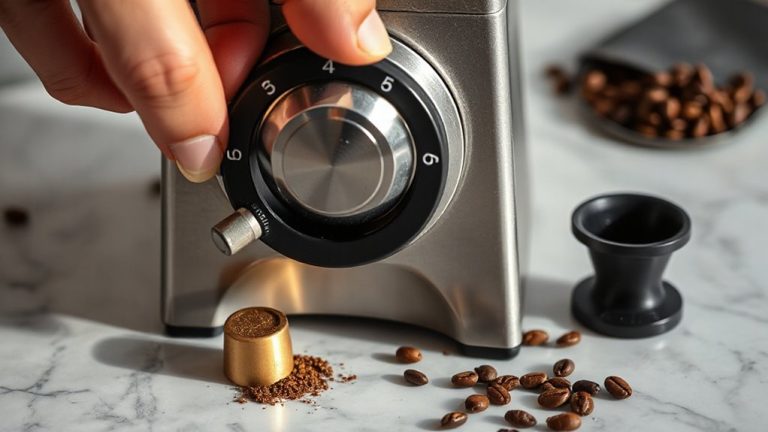
Most modern espresso machines come with pre-infusion built in, even if you can’t directly control it. You can still influence its effectiveness by adjusting variables you *do* control. Start by stabilizing your brew temperature-most machines perform best between 195°F and 205°F. Too low, and extraction suffers; too high, and you risk bitterness. Next, fine-tune your grind size: a slightly coarser setting can prevent channeling during pre-infusion, especially on machines with aggressive wetting phases. If your machine allows pump timing adjustments, shorten or extend pre-infusion by tweaking the delay before full pressure. On basic models, manually starting the shot briefly, then pausing for 5–10 seconds before resuming, mimics pre-infusion. Just remember, these workarounds demand consistency. Always change one variable at a time, and log your results to isolate what’s working.
Fix Common Pre-Infusion Mistakes
Why do some shots stall before they even begin? Inconsistent tamping technique often causes uneven extraction during pre-infusion. If you tamp too lightly in one spot and hard in another, water channels through weak areas, leading to sour, uneven shots. Tamp evenly and level-use a calibrated tool if needed. Uneven puck prep disrupts low-pressure wetting, defeating the purpose of pre-infusion. Water quality matters just as much; high mineral content causes scale buildup and blocks fine water dispersion, while soft or distilled water corrodes machines and reduces extraction efficiency. Use balanced, filtered water with 50–150 ppm hardness-like Third Wave Water or a BWT filter. These conditions guarantee even saturation and stable machine performance. Pre-infusion can’t fix poor prep, so don’t rely on it to mask mistakes. Clean, consistent tamping and proper water improve results more than tweaking timers ever could.
Upgrades for Better Pre-Infusion Control
If you’re serious about nailing consistent pre-infusion, upgrading your equipment can make a real difference-starting with a machine that offers programmable pre-infusion settings. Models like the Decent DE1 or Slayer Steam let you fine-tune flow profiling and pressure ramping, giving you control over how water initially saturates the puck. That precision helps avoid channeling and boosts extraction evenness. You’ll want to weigh the cost, though-these machines are pricier but offer feedback and customization most home setups lack. For even greater temperature stability during pre-infusion, consider machines with PID control.
| Feature | Benefit |
|---|---|
| Flow profiling | Adjust water delivery speed for even saturation |
| Pressure ramping | Gradually increase pressure to prevent disturbance |
| Programmable timers | Set exact pre-infusion duration |
| Pressure stats | Monitor real-time pressure for consistency |
On a final note
You’ve seen how pre-infusion helps coffee extract evenly by wetting grounds gently before full pressure hits. Use 3–6 bar pressure for 5–10 seconds, depending on your machine. Machines like the Lelit Anna or Decent EP5 let you tweak this precisely. If you’re using a basic espresso maker, start with its default and adjust grind or dose instead. Skip long pre-infusions with dark roasts-they can over-extract. Pre-infusion isn’t magic, but done right, it boosts clarity and body without extra effort.