How to Clean a Coffee Maker’s Internal Valve System to Prevent Clogs
Check for leaks around the base of your coffee maker’s valve, as drips can signal misalignment or worn seals-common in models like the Keurig K-Classic. Clear blockages with a small brush, then flush the system using a mix of one part white vinegar to two parts water. Run a brew cycle, let it sit halfway for 15 minutes, then complete and rinse. Do this monthly to prevent clogs, especially with hard water. A test brew with clean water confirms proper flow. Keep up this routine, and you’ll maintain peak performance with fewer issues over time.
Notable Insights
- Check for leaks around the base of the valve, as drips may signal internal seal wear or misalignment.
- Clear blockages in the valve and tubing using a small brush or pipe cleaner to remove coffee oils and mineral buildup.
- Flush the valve system with a vinegar solution (1 part vinegar to 2 parts water) to dissolve mineral deposits.
- Run a test brew with fresh water to reset water flow and confirm consistent, drip-free performance.
- Clean the internal valve monthly to prevent clogs, especially in areas with hard water.
Check for Leaks Around the Valve
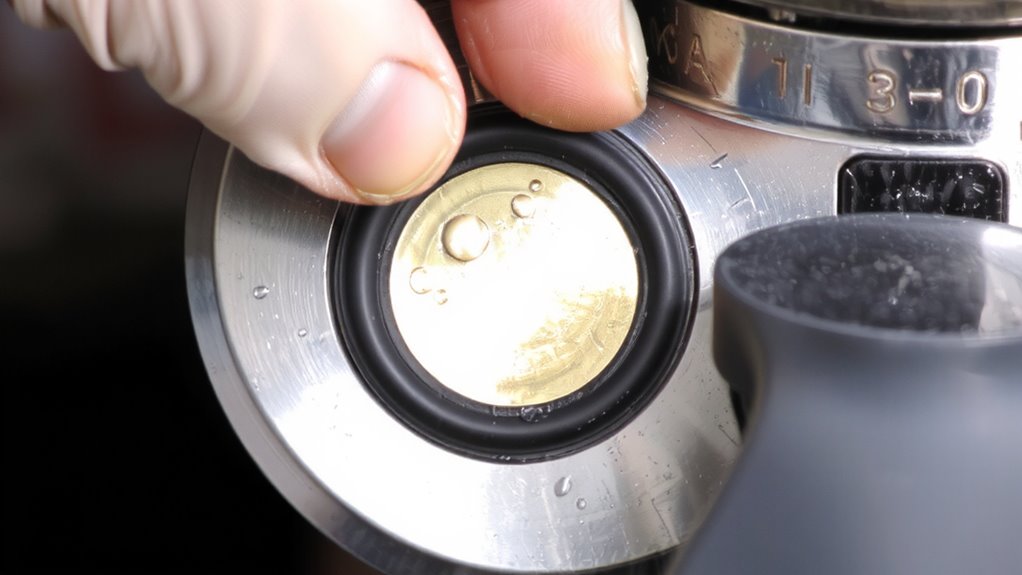
Why is your coffee maker dripping near the base after brewing? It could be due to a leak around the internal valve. Over time, constant water pressure can wear seals or shift valve alignment, especially in models like Keurig K-Classic or Mr. Coffee 12-Cup. If the valve isn’t seated properly, water escapes during or after brewing. You’re not always dealing with a clog-sometimes it’s just misalignment. Check for visible moisture around the valve housing; don’t rely on smell or guesswork. A misaligned valve may still let the machine function, but efficiency drops and drips worsen. Fixing it early avoids water damage and maintains performance. Don’t ignore slow leaks-they often get worse. Proper alignment guarantees tight seals and handles standard pressure without seepage. Confirm fit before reassembling. This isn’t about cleaning yet-just inspection.
Find and Clear Blockages in the Valve
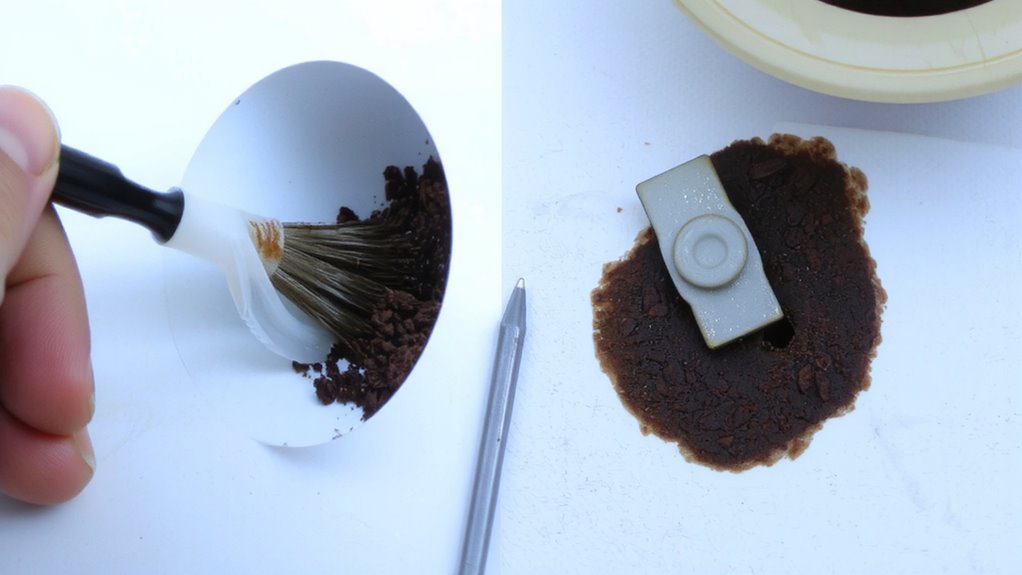
Where’s the clog coming from-if not the valve itself, then where? Most blockages hide just beyond the valve, in connected tubing or internal chambers where coffee oils and mineral deposits collect. Start with a careful valve inspection: remove the valve if your model allows, and look for visible grime or scaling. Use a small brush or pipe cleaner to gently clear debris without damaging rubber or plastic parts. For accurate blockage detection, flush the system with warm water and observe flow speed. If water drips slowly, the blockage is likely downstream. Some machines, like Keurig or Mr. Coffee models, have narrow plastic valves prone to clogs from hard water. Don’t force objects into tight spaces-this can cause leaks. Spotting the exact clog point now saves time and prevents repeated issues later.
Use Vinegar to Flush the Valve System
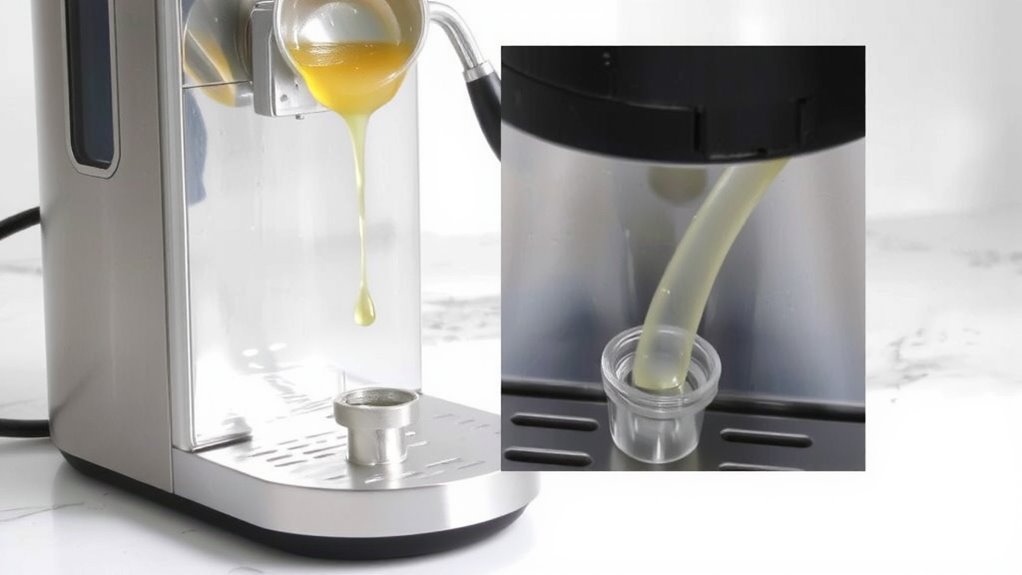
Once you’ve checked for visible blockages, it’s time to flush the valve system with vinegar to dissolve hidden mineral buildup and coffee residue. Use a vinegar concentration of 1 part white vinegar to 2 parts water-this mix is strong enough to clean but won’t damage internal parts. Fill the reservoir and run a brew cycle without coffee, letting the solution pass through the valve system. Let it sit for 15 minutes halfway through for better results. For best maintenance, follow a flushing frequency of once every 1–3 months, depending on your water hardness and usage. Hard water users should lean toward monthly cleaning. Avoid using apple cider or cleaning vinegar-they’re either too weak or too strong. This method works well in drip machines and pod systems like Keurig. Don’t skip rinsing afterward; residual vinegar affects taste.
Reset Water Flow With a Test Brew
After completing the vinegar flush and rinsing the system thoroughly, it’s time to reset the water游戏副本 flow with a test brew to guarantee everything’s working smoothly. This brew test helps confirm the flow reset was successful and that water moves freely through the valves. Use fresh, cold water and plain coffee grounds (or skip grounds for a water-only cycle). Start a normal brew cycle and observe the flow-consistent drip pace and no pooling indicate success.
| Component | Check Result |
|---|---|
| Water inflow | Steady stream |
| Valve release | No delays |
| Drip speed | Even drops |
| Reservoir level | Drops normally |
| Final output | Full carafe |
If flow seems weak, repeat rinse. A proper flow reset safeguards better brews and prevents future clogs. Avoid additives during this brew test to keep results accurate. Consider placing a coffee drip tray under the brew basket to catch any residual drips during testing.
Clean Monthly to Prevent Clogs
You should clean your coffee maker’s internal valve at least once a month to prevent mineral buildup and clogs. Regular cleaning keeps water pressure steady, ensuring your coffee brews evenly and efficiently. Over time, hard water leaves behind mineral deposits that can restrict flow and damage internal parts. Running a mix of white vinegar and water through a brew cycle dissolves most buildup. For stubborn cases, use a manufacturer-approved descaling solution. Always follow your model’s instructions-some machines have self-cleaning modes, while others need manual flushing. Rinse thoroughly with fresh water afterward to remove residue. Skipping monthly maintenance leads to weak water pressure and poor-tasting coffee. It’s a small task that extends your machine’s life and improves performance. Don’t wait until flow slows-stay ahead with consistent cleaning. For Breville machines, consider using a best descaler for Breville to ensure optimal results without damaging internal components.
Know When to Replace Your Coffee Maker
Even with monthly vinegar cycles and proper descaling, your coffee maker won’t last forever. Most models begin to show wear after 3–5 years, especially if used daily. When performance declines-like slower brewing, inconsistent temperatures, or frequent clogs despite cleaning-it’s time to evaluate replacement. Check your warranty coverage first; many brands cover defects for 1–2 years but exclude mineral buildup damage. Once warranty coverage expires, repair costs can be more expensive than buying new. Replacement parts often cost $50 or more, not including labor, and aren’t always available for older models. Modern coffee makers offer improved efficiency, better valve designs, and programmable features at lower prices than ever. Unless it’s a high-end machine with manufacturer-backed service options, replacement usually makes more sense than repair. Know when to let go-keeping an aging unit running can cost more in time, energy, and frustration.
Tools You’ll Need for Valve Cleaning
A basic toolkit makes cleaning your coffee maker’s internal valve manageable and effective. With the right tools, you’ll follow valve disassembly tips safely and conduct a thorough seal inspection guide without damage. Use these essentials to maintain performance and prevent clogs over time.
| Tool | Purpose |
|---|---|
| Screwdriver set | Remove outer casing and access internal valves |
| Pliers with rubber grips | Handle small valve parts without crushing |
| Soft-bristle brush | Scrub mineral deposits from valve channels |
| Food-safe lubricant | Reapply after cleaning to guarantee seal integrity |
Skip harsh chemicals-stick to vinegar or approved descaling solutions. Work on a clean, dry surface to avoid losing small components. Always unplug the machine first. These steps, combined with the table above, give you a practical edge when applying valve disassembly tips and performing a seal inspection guide.
On a final note
Keep your coffee maker running smoothly by cleaning the internal valve monthly with vinegar to prevent clogs. Check for leaks and clear any blockages early to avoid bigger issues. A test brew confirms water flow is restored. Regular maintenance extends the machine’s life and improves performance, but if valves fail repeatedly or leaks persist, it may be time to replace the unit-especially on older models like basic Keurigs or Mr. Coffee machines.