How to Grow and Harvest Maragogype Coffee Beans, the “Elephant Bean” of Nicaragua
You grow Maragogype coffee in Nicaragua’s highlands, where volcanic soil and steady 18–22°C temperatures help develop its large “elephant bean” size. Plant seedlings in shaded, well-drained beds and use disease-resistant rootstock like Lempira to combat rust and borer beetles. Harvest red cherries by hand, ferment 12–36 hours, then sun-dry on raised beds. Use a calibrated dehuller to avoid breaking beans. Proper drying and grinding are key for even extraction-details on each step follow.
Notable Insights
- Maragogype coffee originated as a natural mutation in Brazil but thrives in Nicaragua’s highlands at 900–1,300 meters above sea level.
- Plant seeds half an inch deep in loamy, well-drained soil with pH 6.0–6.5 and maintain moisture for germination in 6–8 weeks.
- Grow seedlings under 30–50% shade for 6–12 months before transplanting to protect against sun and promote healthy development.
- Control pests like borer beetles with organic treatments such as Beauveria bassiana and use resistant rootstocks to combat coffee rust.
- Harvest only deep red cherries by hand, ferment for 12–36 hours, then sun-dry on raised beds for 7–10 days to reach 10–12% moisture.
What Makes Maragogype the “Elephant Bean”?
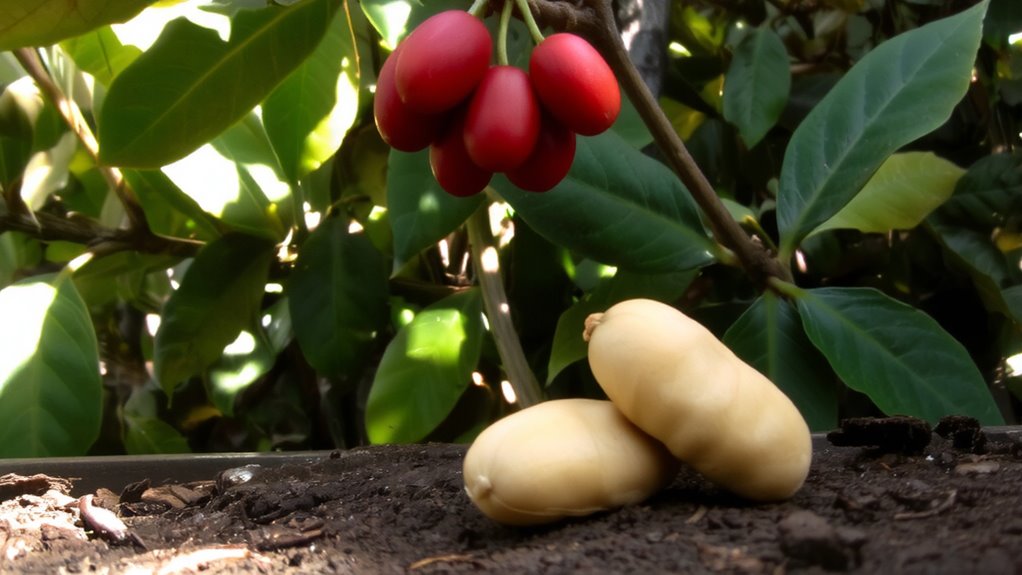
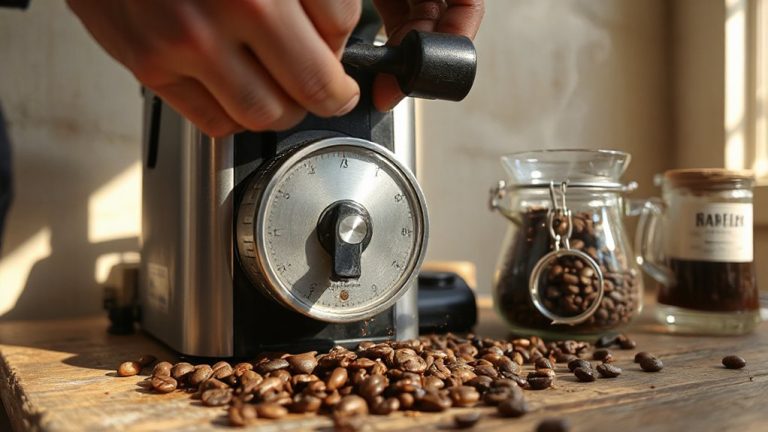
One reason Maragogype stands out in the coffee world is its unusually large bean size-often twice as big as a standard Arabica bean-which is exactly why it’s nicknamed the “Elephant Bean.” You’ll notice the difference the moment you see them: these beans are elongated, pale, and bulky, making them easy to pick out in a batch. The bean size impacts roasting, requiring careful heat control to avoid underdevelopment. Maragogype’s origin history traces back to Maragogipe, Brazil, where it first appeared as a natural mutation of Typica in the 19th century. From there, it spread to Central America, prized more for novelty than yield. Though the large bean size doesn’t guarantee superior flavor, it can affect extraction and grind consistency, so using a high-quality burr grinder helps. You’ll want to monitor roast profiles closely-its size means heat penetrates slower, increasing the risk of uneven roasting.
Why Nicaragua’s Highlands Suit Maragogype Best
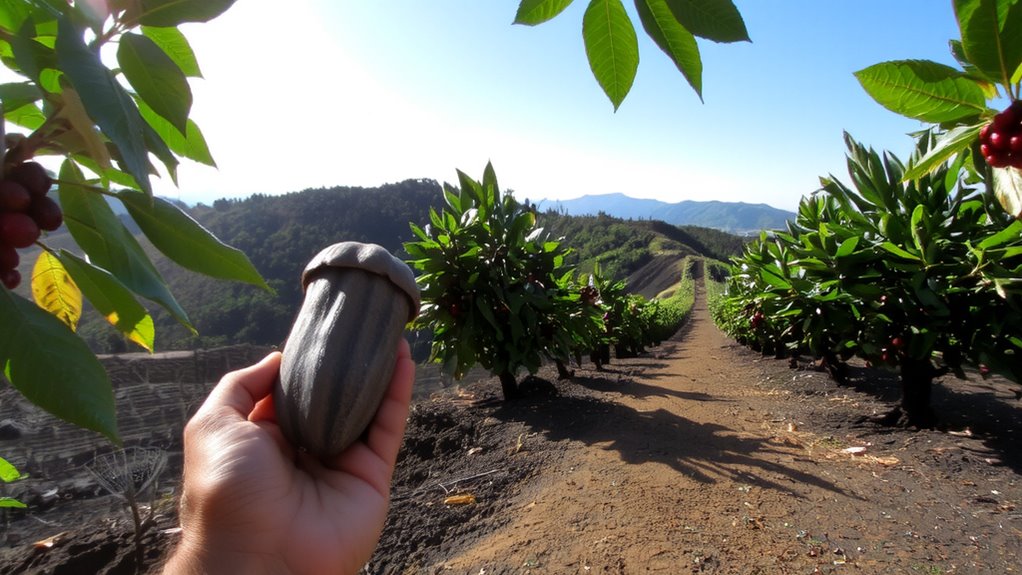
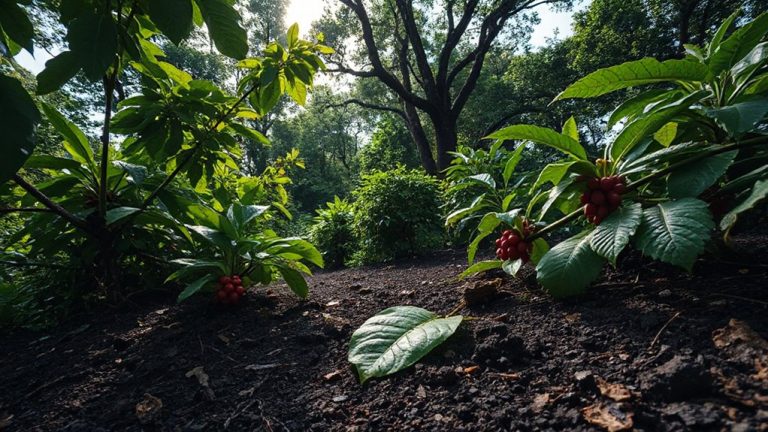
You’ve likely seen how Maragogype’s massive beans demand extra care during roasting, but where the coffee grows matters just as much as how you handle it post-harvest. Nicaragua’s highlands offer ideal conditions, thanks to stable climate consistency and rich soil composition. These regions provide the steady rainfall, moderate temperatures, and well-drained volcanic soils Maragogype needs to thrive. Elevation slows bean development, enhancing density and flavor potential. Home to some of the best Nicaraguan coffee picks, these highland farms consistently produce beans with superior sweetness and complexity.
| Factor | Nicaragua’s Highlands | Typical Lowland Regions |
|---|---|---|
| Elevation (m) | 900–1,300 | Below 800 |
| Soil Composition | Volcanic, loamy, well-drained | Compacted, less porous |
| Rainfall (mm/year) | 1,600–2,000 | 1,200–1,500 |
| Temperature Range | 18–22°C | 22–26°C |
| Climate Consistency | High (predictable seasons) | Moderate to low |
This balance supports healthier trees and more uniform bean growth.
Planting and Caring for Maragogype Seedlings
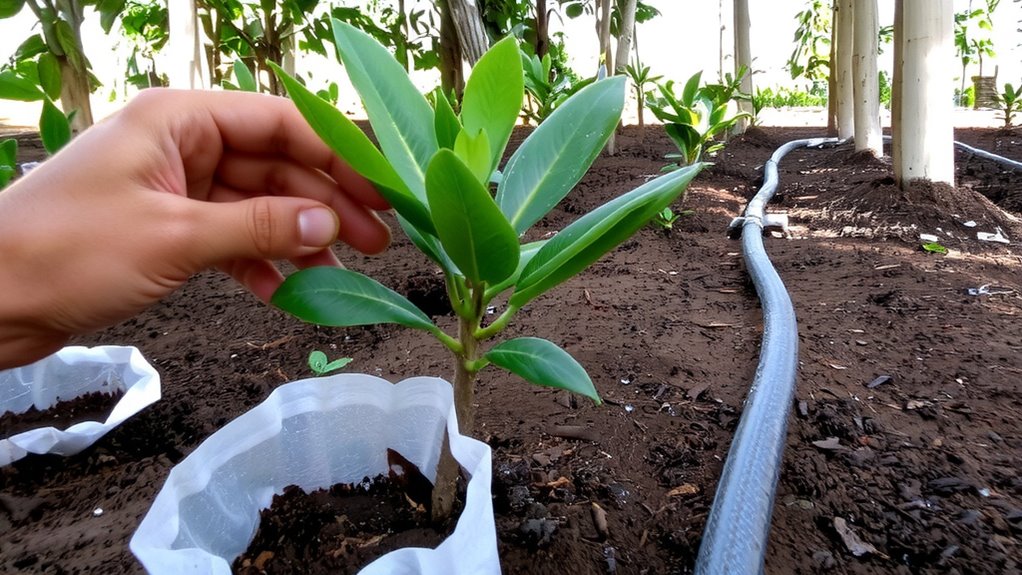
While Maragogype’s large size makes it prone to slower germination, starting the seeds right sets the stage for strong, healthy plants. Begin with proper soil preparation-use well-draining, loamy soil rich in organic matter, and guarantee the pH stays between 6.0 and 6.5. Sow seeds shallowly, about half an inch deep, and keep the soil consistently moist but not soggy. Once seedlings emerge, typically in 6–8 weeks, transplant them to nursery beds under partial shade. Shade management is critical-use natural tree cover or shade nets to filter 30–50% of sunlight, which reduces leaf stress and promotes steady growth. Avoid full sun exposure during early development, as it can stunt growth. Water seedlings regularly, especially during dry spells, but don’t overwater. Healthy seedlings take 6–12 months to reach transplanting size, depending on conditions.
Preventing Coffee Rust and Borer Beetles in Maragogype
Since Maragogype’s large leaves and slower growth make it especially vulnerable to pests and diseases, taking preventive steps early is key to protecting your crop. You’ll want to plant seedlings with proven fungal resistance to combat coffee rust, a destructive disease that thrives in warm, humid conditions. Varieties like Lempira or IHCAFE 90, though not Maragogype, can be used as rootstock to boost resilience. Regular pest monitoring helps you catch borer beetle infestations early-look for tiny holes in stems and sawdust-like droppings. Apply organic pesticides like Beauveria bassiana when needed, and remove severely infected plants to prevent spread. Pruning for airflow reduces humidity around foliage, making it less inviting for fungi. Avoid over-fertilizing with nitrogen, as this can weaken plant defenses. Combining resistant stock, vigilant pest monitoring, and good farm hygiene gives you the best long-term protection without relying heavily on chemicals.
Harvesting and Processing Maragogype Beans
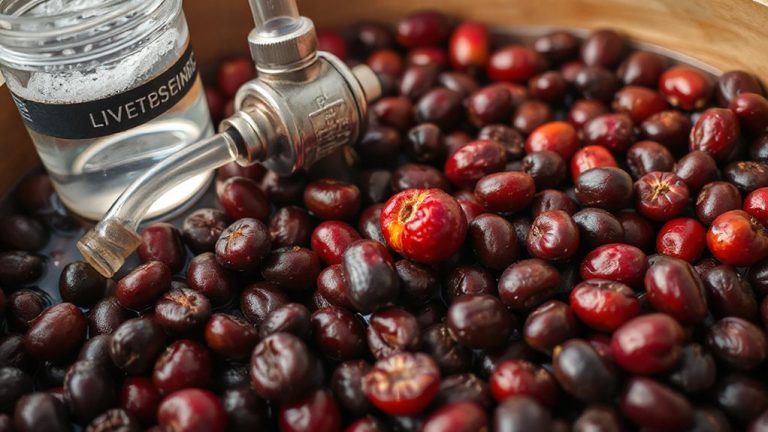
When the cherries on your Maragogype plants turn a deep, uniform red, they’re ready for harvest, typically in late fall or early winter depending on your region’s climate. You’ll want to pick them by hand to guarantee only ripe fruit is collected, which helps maintain bean quality. After harvesting, remove the pulp quickly to prevent over-fermentation. Then begin bean fermentation: submerge the beans in water for 12–36 hours, depending on temperature, to break down the sticky mucilage. Check regularly-under-fermentation leaves residue; over-fermentation causes off-flavors. Once fermented, rinse the beans thoroughly. Next, start sun drying: spread them evenly on raised beds or patios, turning frequently for even exposure. Sun drying takes 7–10 days in consistent sunlight and reduces moisture to around 11%. Proper drying prevents mold and prepares beans for the next step.
Drying and Hulling Maragogype for Market Readiness
Once the beans are fermented and rinsed, it’s time to make sure they’re dried properly before hulling, because skipping steps here can ruin the flavor you’ve worked so hard to preserve. You’ll need to reduce moisture to about 10–12% to prevent mold and guarantee hulling efficiency. Use raised beds with good airflow or mechanical dryers if rain is frequent-both are solid drying techniques, but beds offer more control in dry climates. Turn the beans every few hours for even drying, which usually takes 1–2 weeks. If you rush it, the beans may crack during hulling. Once dry, store them in parchment until ready to hull. Use a well-calibrated dehuller to avoid breaking the large Maragogype beans. Adjust the machine gap to fit their size, since standard settings may reduce hulling efficiency. Clean, whole beans mean better market value. Always sort after hulling to remove defects before bagging.
On a final note
You now know how Maragogype grows best in Nicaragua’s high altitudes, where cool temps and rich soil boost bean size and flavor. Handle seedlings carefully, since they’re prone to rust and borer beetles. When harvesting, pick only ripe cherries for even processing. Wash or honey-process beans, then sun-dry slowly for stability. Proper hulling preserves that large bean structure. For the best cup, use a consistent grinder-like the Baratza Virtuoso-and medium roast to highlight its mild, nuanced profile.