How to Fix a Grinder That’s Producing Static-Laden Grounds
Dry beans and low humidity cause static, especially in plastic grinders. Try coarser settings-fine grinds cling more. Lightly touch your portafilter with a damp finger before grinding to neutralize charge. Older, drier beans or dark roasts generate less static than fresh, light ones. Use a metal grounds deflector or tools like the Groundskeeper Pro for better results. Keep humidity between 40–60%. Blade grinders heat up and worsen static-burr models help. You’ll find even better solutions once you see how each fix combines.
Notable Insights
- Grind coarser to reduce static, as larger particles have less surface area for charge buildup.
- Use a damp finger to lightly touch grounds or portafilter, adding moisture to neutralize static.
- Choose darker roasted or older beans, which have lower moisture content and produce less static.
- Operate the grinder in an environment with 40–60% humidity to naturally reduce static issues.
- Replace plastic components with metal or anti-static parts to minimize static cling and buildup.
What Causes Static in Your Coffee Grinder?
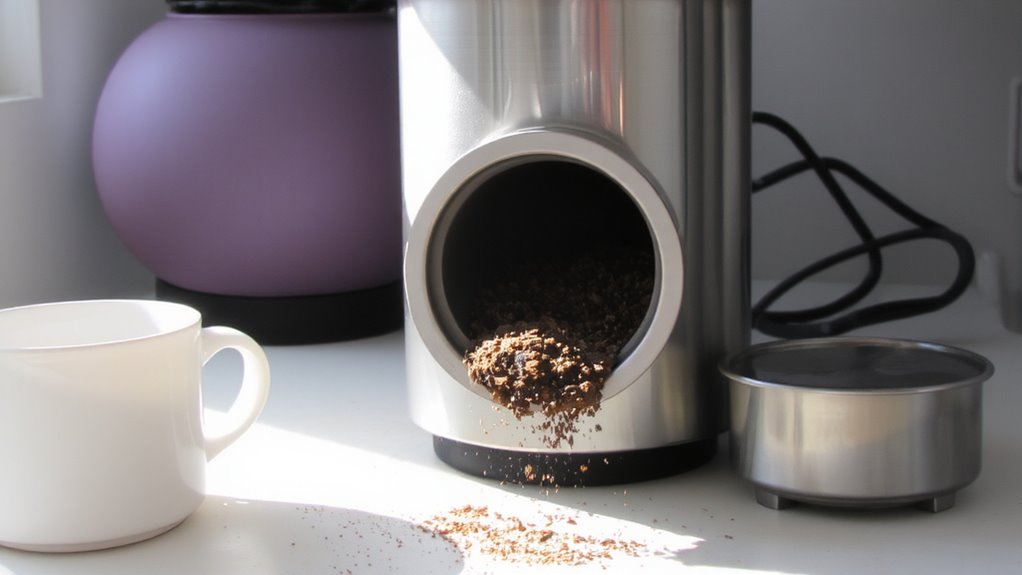
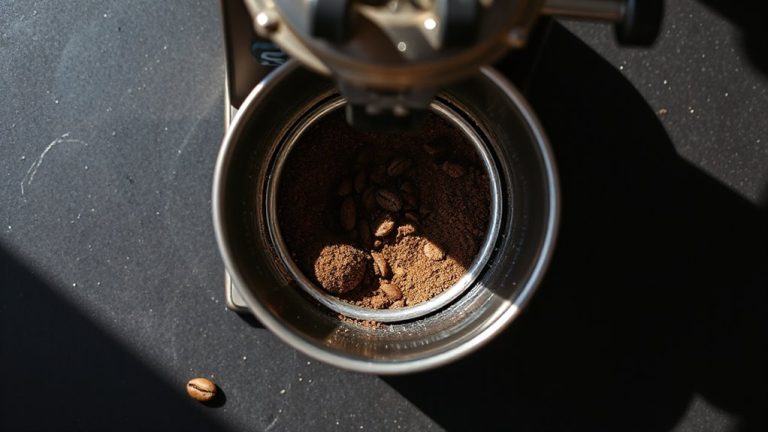
While it might seem like a small annoyance, static in your coffee grinder often comes down to dry beans and low humidity-especially common in winter. When beans are too dry, grinding creates friction that leads to static buildup, causing grounds to stick to the grinder’s plastic parts. This is more frequent in blade and conical burr grinders with plastic hoppers, like the popular Baratza Encore. Metallic components in grinders can sometimes worsen electrical interference, disrupting consistent discharge. Grounds then fly out or cling stubbornly, making cleanup messy and dosing inaccurate. Humidity below 40% increases the risk, so consider storing beans properly-never in the fridge. Aluminum burrs tend to generate less static than stainless steel ones. While not harmful, static buildup affects precision, especially with light roasts. You can’t eliminate it completely, but understanding the causes helps manage it effectively in daily use. Upgrading to one of the best mill grinders can significantly reduce static issues due to improved build quality and materials, such as anti-static coatings or metallic burr designs.
Adjust Your Grind Size to Reduce Static
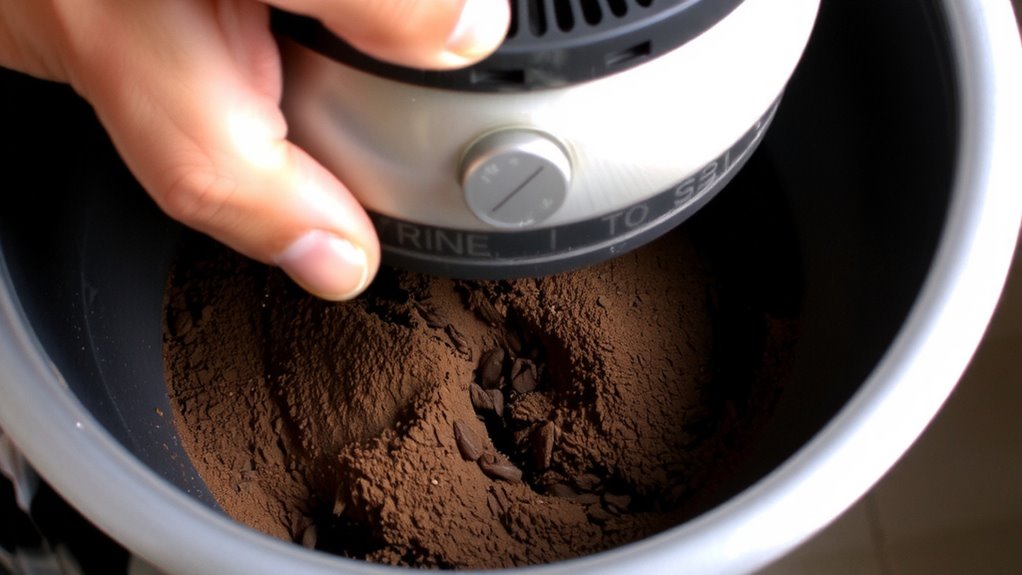
You can cut down on static by tweaking your grind size, even if your beans are dry or the air in your kitchen is low on humidity. Going slightly coarser often reduces particle separation, since finer grounds build more charge through friction. A coarser setting lowers the surface area, which helps minimize static cling. Make small adjustments-especially if using a blade grinder, which worsens inconsistency. With a burr grinder, you’ll get better grind consistency, which also limits static buildup. If your grounds stick to the sides or puff out when you dose, the particles are too fine and scattered. Try adjusting to a setting used for drip coffee instead of espresso. You’ll see less static and more even extraction. The key is testing gradually, checking how the grounds behave during dosing. Don’t change more than one variable at once-keep bean type and environment steady. For the most reliable results, consider using one of the best grinders for filter coffee, as burr grinder performance significantly impacts both static control and brew quality.
Use the Damp Finger Trick on Your Grinder
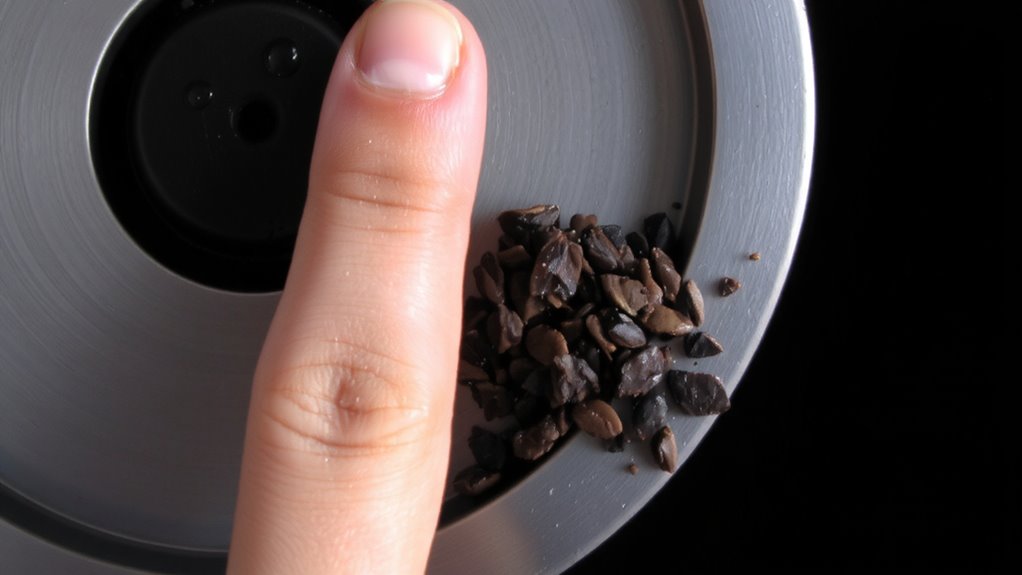
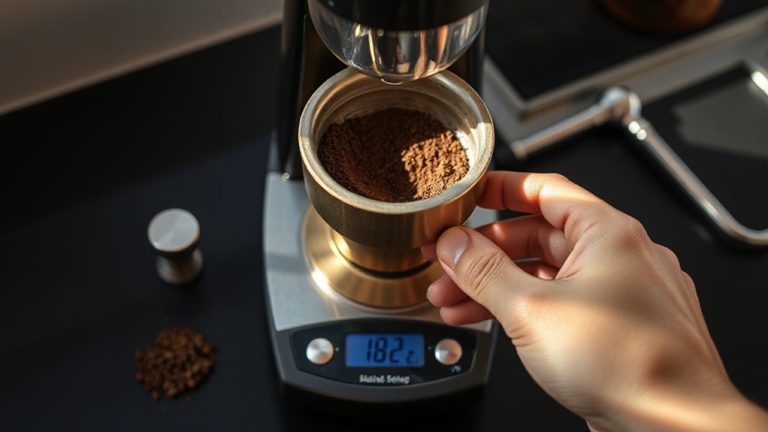
Ever wonder why a quick touch of moisture helps eliminate static when grinding coffee? It’s because a tiny bit of humidity neutralizes the charge that makes grounds fly everywhere. Try the damp finger trick: lightly wet one finger and briefly touch the inside of your grinder’s grounds bin or the portafilter before grinding. This simple moisture check adds just enough humidity to reduce static cling without affecting flavor. Don’t soak-just a light swipe. Some baristas use a misting bottle, but the finger test is faster and more precise. It works best in dry environments where static is worse. Just make sure your equipment stays clean and dry afterward to prevent clumping or residue. This method won’t replace anti-static grinders like the Niche Zero, but it’s a no-cost fix that often helps. Always test results by observing how cleanly the grounds dispense.
Choose Drier Beans to Minimize Static
A drier coffee bean often produces less static during grinding, especially in low-humidity environments where cling and flyaway grounds are common. Lower bean moisture means less charge buildup, reducing the chance grounds stick to your grinder’s chute or fly into the air. Beans roasted long ago or stored in dry conditions tend to lose moisture over time, making them less prone to static. Lighter roasts usually retain more moisture than dark roasts, so if static is a constant issue, consider switching to a darker profile. Also, avoid overheating your grinder-higher grinder temperature can increase static, especially with high-speed blades or prolonged grinding. Letting your grinder rest between batches helps keep temps down. While you can’t always control bean moisture, selecting drier, darker roasts and managing grinder temperature gives you practical control over static.
Try a Grounds Deflector or Anti-Static Tool
Some grinders, especially popular burr models like the Baratza Encore or Fellow Ode, are known for their consistent grind quality but can still struggle with static cling that sends coffee grounds scattering. You can fight this with a grounds deflector or anti-static tool designed to redirect or dissipate built-up charge. These tools fit into the chute or grind chamber and help guide grounds into your portafilter or container with less mess. Look for ones made from materials like metal or conductive plastics, which offer better material compatibility and reduce static more effectively than standard plastic. Tool durability matters, too-cheaper options may crack or wear quickly. Brands like Groundskeeper or Puqpress offer reliable anti-static solutions built to last. They’re affordable, easy to install, and make a noticeable difference. While not a fix for every static issue, they’re a smart first step when bean choice and grinding technique aren’t enough.
Control Humidity to Prevent Grinder Static
If you’ve ever cleaned up a cloud of coffee grounds after grinding, you’re not alone-humidity plays a bigger role in static than most realize. Proper humidity control can greatly reduce static buildup in your grinder, improving dose accuracy and cleanliness. Too dry? Static increases. Too moist? Grounds clump. Aim for 40–60% relative humidity for ideal static prevention. Store beans in a cool, stable environment, and consider a small room humidifier or dehumidifier if your space is extreme. Even brief acclimation of beans to ambient air helps balance moisture. Using a non-plastic coffee maker can further minimize static, as plastic components are more prone to generating and holding static charge.
| Humidity Level | Effect on Grounds | Recommended Action |
|---|---|---|
| Below 40% | High static, flyaways | Use humidifier, acclimate beans |
| 40–60% | Minimal static | Maintain current setup |
| Above 60% | Clumping, damp grounds | Use dehumidifier, store beans properly |
Targeted humidity control is essential for consistent static prevention.
On a final note
You can reduce static in your grinder by adjusting the grind size slightly coarser or using the damp finger trick-just touch the burrs with moistened fingers before grinding. Drier beans and lower humidity help too. Try a grounds deflector or anti-static tool like the Static Zapper if needed. While not all methods work every time, combining a few usually cuts clingy grounds. Keep your grinder clean and experiment to see what works best for your setup.