Troubleshooting a Drip Coffee Maker That’s Brewing Too Slowly
Your coffee maker’s slow brewing is likely due to mineral buildup, clogged water lines, or too fine a coffee grind. Descale it with vinegar or a commercial solution every 3–6 months. Check the reservoir and feed tube for blockages, and clean the filter basket after each use. Use coarser grounds and the right coffee amount-about 1–2 tablespoons per 6 ounces of water. If the heating element’s failing, performance drops. Fixing these issues usually restores speed and flavor. More details on each step follow.
Notable Insights
- Check for low water pressure or kinks in the water line, as restricted flow delays brewing.
- Descale the machine every 3–6 months using vinegar or a commercial solution to remove mineral buildup.
- Inspect and clear any clogs in the water reservoir or feed tube with a soft brush or pipe cleaner.
- Clean the filter basket regularly to prevent coffee grounds from obstructing water flow.
- Use coarse-ground coffee and avoid overfilling to maintain proper flow and prevent clogging.
Identify Causes of Slow Coffee Maker Brewing
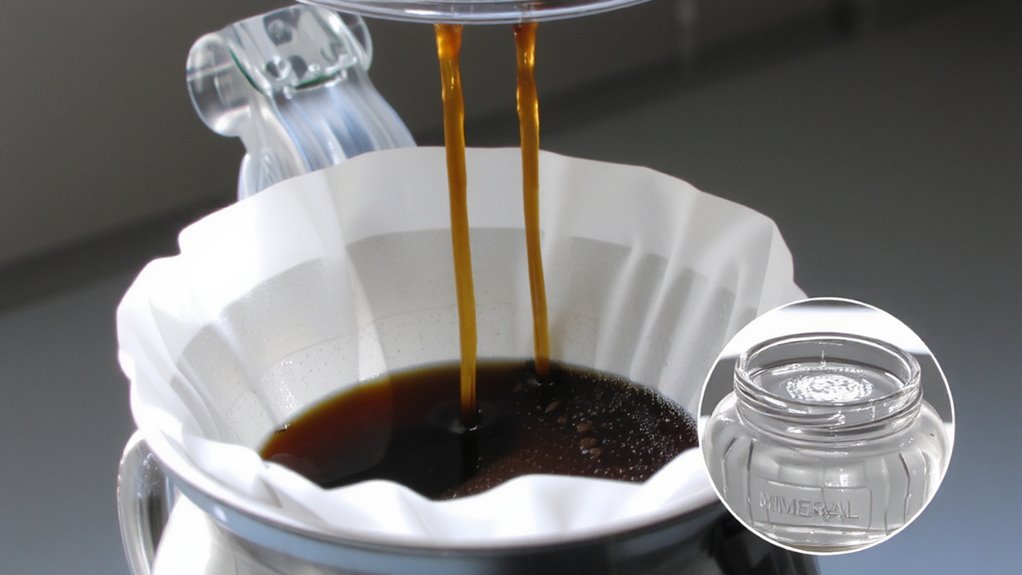
While your drip coffee maker might seem like it’s running slower than usual, the issue usually comes down to a few common problems that are easy to check. First, inspect the water pressure-low pressure means water trickles too slowly through the grounds, leading to weak, delayed brewing. This can stem from a clogged inlet valve or kinked water line, especially in multi-cup models like Keurig or Cuisinart. Next, examine the electrical wiring; frayed cords or loose connections may reduce the heating element’s power, delaying water heating and disrupting flow. A damaged power cord or faulty outlet can mimic internal failures, so test the outlet with another device. While some delays are normal with older units, sudden changes suggest a fixable issue. You don’t need advanced tools-just a careful eye and a few minutes. Addressing these factors early helps maintain speed, flavor, and machine life. For those considering an upgrade, exploring the best drip coffee makers under $200 can lead to models with improved brewing efficiency and drip coffee makers under $200.
Descale to Fix Mineral Buildup
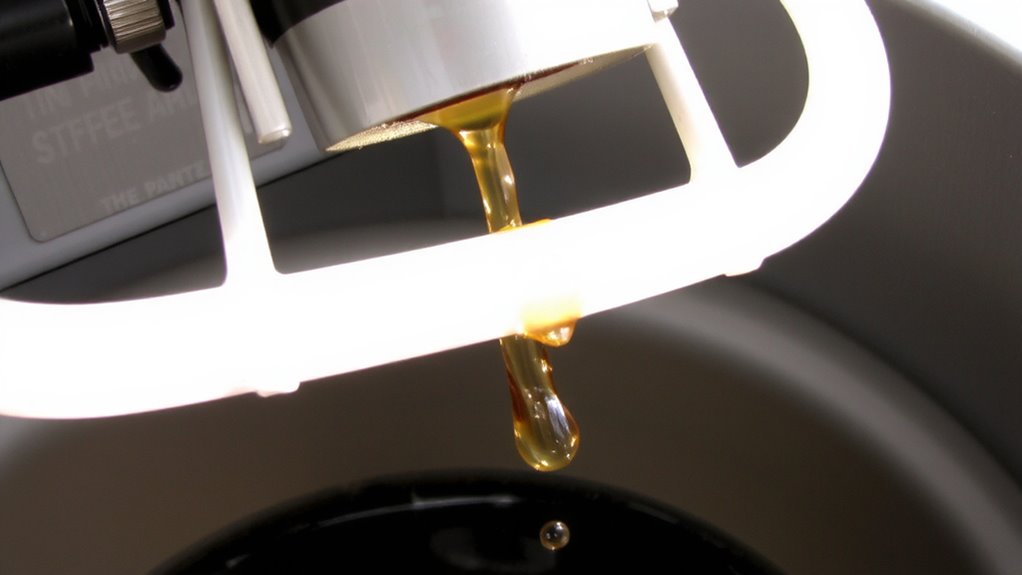
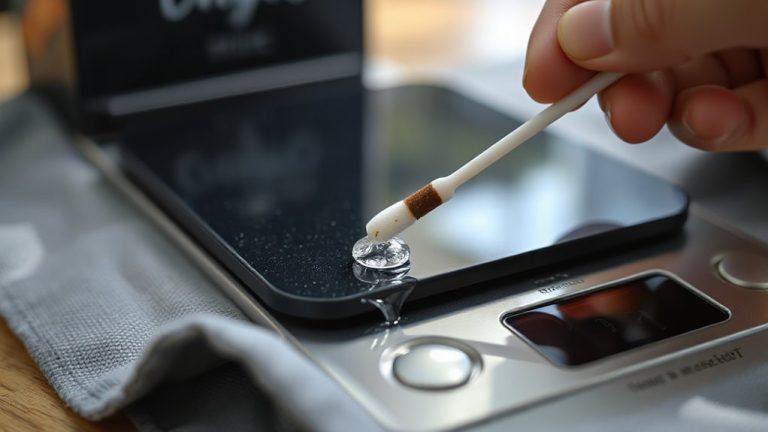
If you’ve noticed your coffee maker taking longer to brew, mineral buildup from hard water is likely to blame-especially if you’re using tap water regularly. Over time, mineral deposits clog internal components, slowing water flow and reducing efficiency. Descaling dissolves these deposits, restoring performance. The most effective and affordable method uses a vinegar solution-typically a 1:1 mix of white vinegar and water. Run this solution through a full brew cycle, then follow with two to three cycles of fresh water to remove any lingering taste. For frequent descaling, commercial products like De’Longhi descaler or Urnex Cleancaf are formulated specifically for coffee machines, though vinegar works well for most. Aim to descale every three to six months, depending on water hardness and usage. This routine maintenance prevents long-term damage and keeps your coffee maker running efficiently. A reliable alternative for espresso machines is using Nespresso descalers which are optimized for removing limescale in high-performance machines.
Clear Clogs in Water Reservoir and Tube
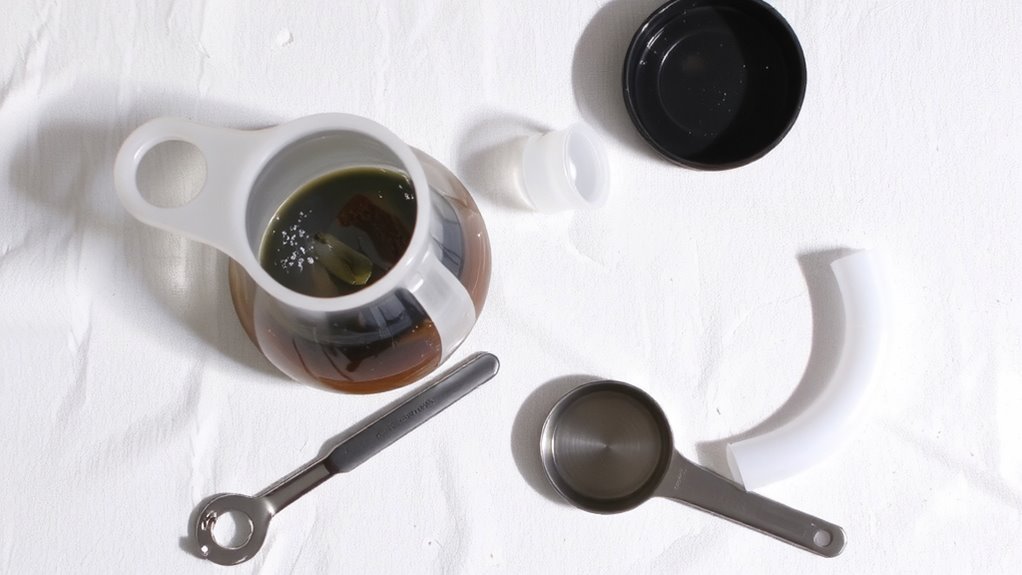
After you’ve descaled to tackle mineral buildup, the next step is checking for physical clogs in the water reservoir and feed tube-common trouble spots that can slow or stop water flow. Unplug the machine and remove the reservoir. Shine a flashlight into the bottom to spot debris or scale chunks. Use a soft brush or pipe cleaner to dislodge blockages. For tube inspection, follow the tube from reservoir to heating chamber-bends often trap gunk. A narrow bottle brush or uncoated wire can help clear it safely. Avoid sharp tools that could damage internal walls. Flush with warm water afterward to confirm improved water flow. If your model has a removable tube, detach it per the manual for easier cleaning. Poor water flow after descaling usually means a physical blockage. Regular tube inspection every few months prevents slowdowns. Some users skip this, but it’s key to consistent brewing.
Clean Coffee Grounds From Filter Basket
A clean filter basket guarantees even water distribution and maximum extraction, so dump out used grounds right after brewing. Leftover grounds trap oils and reduce coffee freshness over time, leading to uneven extraction and slower brewing. Residue buildup can also degrade filter quality, especially in permanent gold-tone filters, which need rinsing and occasional deep cleaning with warm, soapy water. Paper filters should be discarded after each use-reusing them compromises structural integrity and filter quality. Make it a habit to inspect the basket for stuck grounds or debris, particularly around the base and sides. A quick brush or rinse under running water usually does the trick. Skipping this step might not ruin one pot, but over time it dulls flavor and hampers performance. Consistent cleaning keeps your machine running smoothly and supports better-tasting, fresher coffee with every brew. For pour-over enthusiasts, using a high-quality coffee grinder can significantly improve grind consistency and overall brew performance.
Use Coarse Grind and Correct Coffee Amount
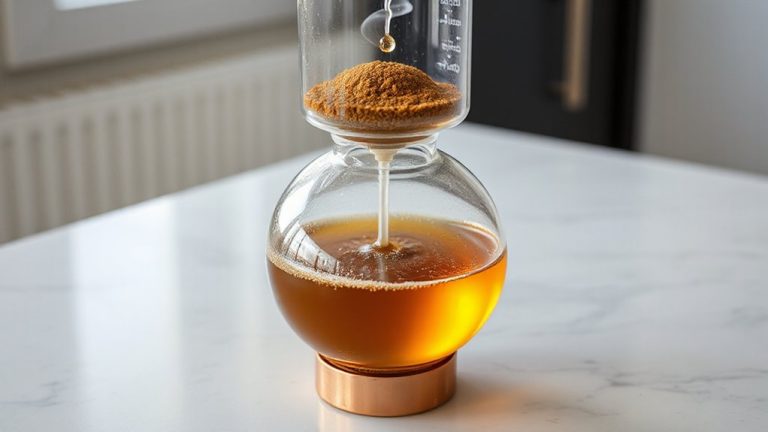
You’ve cleaned the filter basket, and now it’s time to get the coffee itself right-starting with grind size and dose. If your drip coffee maker brews too slowly, the grind size is often to blame. Using a grind that’s too fine clogs the filter, slowing water flow and increasing brew time. Switch to a coarse grind, like what you’d use for a French press-this helps water pass through more freely. Also, check how much coffee you’re using. Too much grounds, even with the right grind, can slow extraction. Stick to the standard ratio: 1 to 2 tablespoons per 6 ounces of water. Overfilling worsens flow issues. Adjusting both grind size and coffee amount can normalize brew time without needing extra maintenance. It’s a quick, low-cost fix that often resolves slow brewing.
Check for Failing Heating Element
A weak or failing heating element can greatly slow down your drip coffee maker’s brewing process, since proper water temperature is critical for efficient extraction. If the water isn’t hot enough, it drips too slowly through the grounds, leading to under-extracted, weak coffee. Reduced heating efficiency often stems from mineral buildup or wear over time. You might notice the coffee takes longer than the typical 5–10 minutes to brew, or the carafe stays lukewarm. These signs point to compromised element resistance, meaning the component can’t maintain consistent heat. While you can’t easily test resistance without a multimeter, visible scale or a history of dry runs (turning it on without water) increases the risk. Regular descaling with vinegar or a commercial solution helps preserve the element. If performance doesn’t improve after cleaning, the heating component may be nearing the end of its lifespan.
Decide When to Repair or Replace
If your drip coffee maker has been struggling to brew at the right temperature even after descaling and basic maintenance, it’s time to weigh whether fixing it is worth the effort. Start by checking warranty coverage-many models are only covered for a year, and if yours is older, repairs might not be included. Even if under warranty, the process can take weeks, during which you’re without coffee. Next, do a cost comparison: a new heating element could run $50–$80, plus labor. That’s often close to or more than the price of a reliable new brewer like a Cuisinart DCC-3200 or Ninja CE251. If your machine is over three years old or has had multiple issues, replacement usually makes more sense. New models often bring energy efficiency and better brewing tech. Save repair attempts for high-end machines worth the investment.
On a final note
If your coffee maker brews too slowly, start by descaling it-mineral buildup is a common culprit. Clear clogs in the water line and filter basket, then use a coarse grind and the right coffee amount. Check for a weak heating element; if it’s failing, repairs may not be worth it. For machines over five years old, replacement often saves time and money. Stick to basic models like the Technivorm or Cuisinart for reliability.