How to Disassemble and Clean a Manual Lever Espresso Machine’s Internal Parts
Turn off your machine and let it cool before starting. Remove the group head and shower screen with a screwdriver and wrench to access internal parts. Take out the piston, clean it with a lint-free cloth, and check the seal-replace if worn. Soak parts in Cafiza solution, scrub gently, then rinse. Reassemble carefully, ensuring seals are seated and the lever moves smoothly. Run a blank shot to flush the group. Monthly descaling prevents buildup, and a quick post-use rinse keeps gunk at bay-there’s more to get right if you want consistent pulls.
Notable Insights
- Turn off and cool the machine before removing the group head and shower screen with appropriate tools.
- Disassemble the piston cylinder carefully, inspecting the shaft, seal, and spring for wear or damage.
- Clean all internal parts using a Cafiza solution to dissolve coffee oils and mineral buildup without abrasives.
- Lubricate the piston O-ring and shaft with food-grade silicone grease before reassembly to ensure smooth operation.
- Reassemble components precisely, checking alignment, seal integrity, and leaks during a dry operation test.
Remove the Group Head and Shower Screen
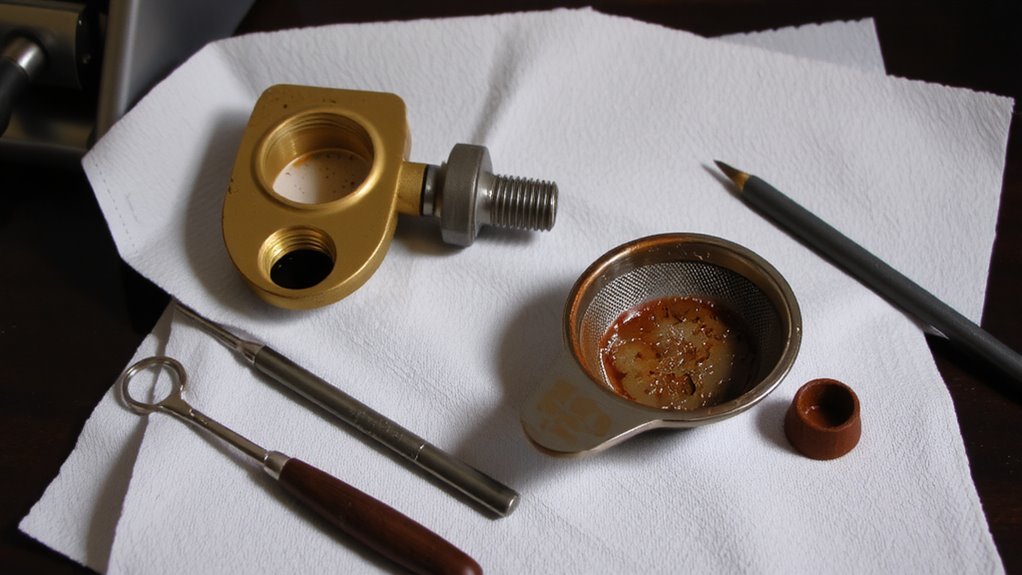
A few basic tools are all you need to get started-typically a screwdriver and a small wrench-so grab those and begin by turning off the machine and letting it cool completely. Start with group head removal: unscrew the bolts securing it to the brew unit, then gently detach it. This gives you direct access to internal components without forcing anything. Once the group head is off, inspect the shower screen-it often accumulates coffee residue and mineral deposits. For shower screen replacement, use a flathead screwdriver to pry it out carefully. Replace it with a new, machine-specific screen; generic ones may not seal properly. Replacing it improves water dispersion and extraction. Don’t skip checking the seal underneath-it should be intact and clean. Reassemble only when all parts are dry. This step prepares the machine for deeper cleaning but avoid proceeding to piston work now.
Disassemble and Clean the Piston
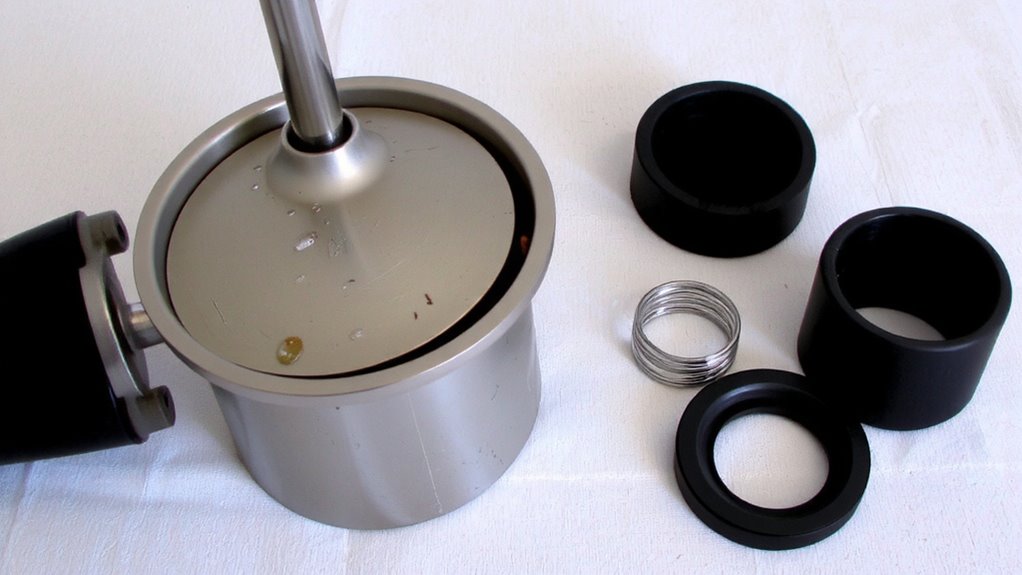
Now that the group head and shower=””/>
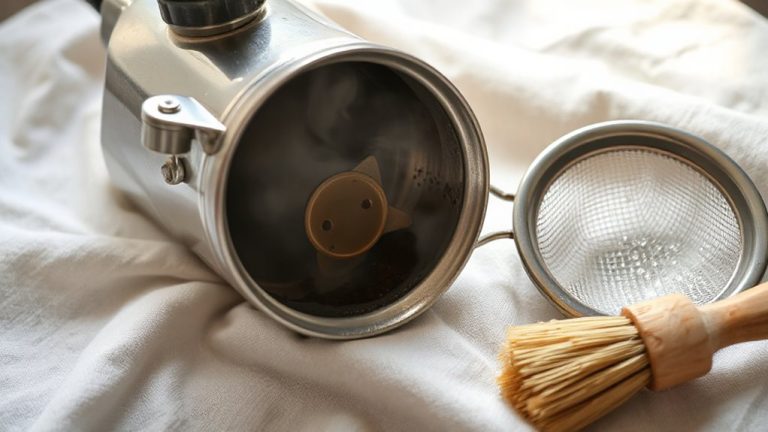
screen are out of the way, you can access the piston-the core component responsible for forcing water through the coffee puck during extraction. Carefully unscrew the piston cylinder and pull the piston rod out. Inspect the shaft and seals: wear here affects pressure stability. During seal inspection, look for cracks or deformation-replace if compromised. For piston lubrication, use only food-grade silicone grease; petroleum-based oils degrade rubber seals. Apply a thin film evenly to guarantee smooth operation without contamination. Regular maintenance prevents resistance and extends machine life.
| Part | Function | Maintenance Tip |
|---|---|---|
| Piston shaft | Transfers lever force | Clean with lint-free cloth |
| Rubber seal | Guarantees water-tight fit | Check for brittleness |
| O-ring | Prevents leaks | Lubricate during reassembly |
| Cylinder wall | Houses piston movement | Inspect for scoring |
| Spring (if present) | Assists return mechanism | Test tension regularly |
Scrub Internal Parts With Cafiza
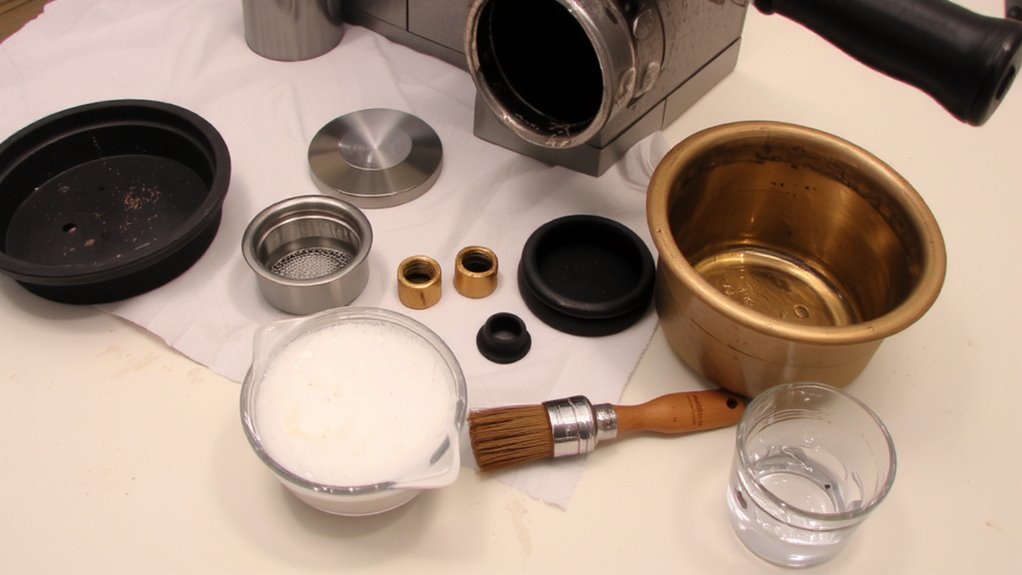
Why leave coffee gunk to slow down your machine’s performance? Scrub internal parts with Cafiza to remove stubborn caffeine residue and mineral buildup that water alone can’t tackle. Mix Cafiza in hot water per the label-usually one tablespoon per liter-and soak removable components for 15–30 minutes. Use a soft brush to gently scrub group heads, portafilters, and baskets, focusing on crevices where grime hides. Cafiza breaks down oils and residue without damaging metal or rubber parts. For machines used daily, this deep clean every 1–2 weeks prevents clogs and maintains flavor quality. Avoid steel wool or abrasives-they scratch surfaces and trap future residue. While vinegar tackles mineral buildup, it doesn’t handle oils well; Cafiza does both, making it the better all-around option for consistent espresso quality and machine longevity.
Reassemble the Machine Correctly
Once you’ve cleaned each part and rinsed it thoroughly, reassembling your lever espresso machine properly guarantees it functions safely and brews consistently. Start by reinstalling the grouphead gasket, making sure there’s no gap or twist-this seal inspection is critical to prevent leaks and pressure loss. Align the lever mechanism carefully; improper lever alignment can cause binding or incomplete strokes, reducing extraction quality. Reattach the lever firmly to its pivot, ensuring smooth, wobble-free movement. Reinsert the piston and spring exactly as they were removed-some models, like the La Pavoni Europiccola, need precise stacking to maintain correct compression. Tighten all screws evenly, but avoid over-torquing brass components. Reconnect hoses and fittings securely, checking for kinks. Finally, do a dry run: pressurize without coffee to confirm smooth operation. If resistance feels off or you notice drips, double-check lever alignment and seal inspection before proceeding.
Clear the Group Head Path
With the machine fully reassembled and the grouphead gasket seated correctly, you’re ready to guarantee the brew path is free of old grounds and residue. Run a blank shot-without coffee-to flush out any debris. You’ll notice immediate improvements in water flow, which should be steady and even, not sputtering or pooling. Poor water flow restricts extraction and invites pressure buildup, which can damage seals or affect shot consistency. Check for leaks around the group head while pulling the lever; any sign of seepage means the path isn’t fully clear or the gasket isn’t sealed. If pressure builds too fast or too slow, inspect for obstructions in the shower screen or port basket. Clearing the group head path regularly prevents clogs and maintains reliable performance, especially on machines like the La Pavoni Europiccola or Bezzera Strega. Do this after every deep clean to keep operation smooth and extraction even.
Descaling the Lever Mechanism Monthly
You’ll usually want to descale the lever mechanism on your manual espresso machine about once a month, depending on how often you use it and the hardness of your water. Over time, calcium buildup can form inside the lever’s inner shaft, leading to mechanical resistance and uneven pull action. Using a food-safe descaling solution helps dissolve these deposits without damaging metal or chrome parts. Always follow the manufacturer’s instructions for dilution and contact time. For optimal results, consider using a Breville-approved descaler that’s specifically formulated for espresso machines to ensure compatibility and effectiveness.
| What to Check | What You Might Notice |
|---|---|
| Lever movement | Stiffness or sluggish return |
| Visible scale residue | White, chalky deposits near pivot |
| Pull smoothness | Increased resistance during operation |
Flush thoroughly with water afterward to remove any leftover solution. Regular descaling keeps the mechanism operating smoothly and extends the life of your machine.
Prevent Gunk With Post-Use Rinses
After every shot, a quick rinse of the group head and portafilter prevents coffee oils and fine grounds from drying and building up into stubborn residue. Run fresh water through the group head for 5–10 seconds to flush out leftover particles. This simple step counters gunk caused by high brewing pressure, which forces oils deeper into crevices. Also, use water temperature just below brewing levels-around 195°F-to avoid scalding residual coffee. Don’t use cold water, as it won’t dissolve oils effectively. For lever machines, avoid dry pulls during rinsing; they can trap residue without proper water flow. A blind basket can help if you’re backflushing, but daily rinsing reduces the need. Over time, skipping rinses leads to clogged screens and uneven pressure distribution. Consistent rinsing keeps internal paths clean, maintains proper brewing pressure, and extends time between deep cleanings. It’s low effort with high payoff.
On a final note
You’ve cleaned the group head, piston, and internal parts, tackled mineral buildup, and rinsed after each use-key steps to keep your manual lever machine running smoothly. Regular maintenance prevents gunk and guarantees consistent pulls. Skip descaling monthly, and you’ll risk clogs and poor performance. Stick to Cafiza for deep cleans, and always reassemble parts tightly but carefully. A well-maintained lever machine delivers better espresso and lasts longer-no surprises, just results.