Cupping at Home: How to Set Up and Conduct Professional Coffee Tastings
You can set up a professional coffee cupping at home with just a few key tools: a burr grinder, gooseneck kettle, scale, timer, and ceramic cupping bowls. Use freshly ground, medium-roast single-origin beans like Ethiopian Yirgacheffe or Sumatran Mandheling for clear flavor comparisons. Stick to a 1:16.67 coffee-to-water ratio, steep for 4 minutes, then break the crust and sip loudly to assess taste. Keep water at 200°F for best extraction. Small adjustments in grind or time can prevent bitterness or sourness. You’ll soon detect subtle notes like fruit or earth depending on origin-details that reveal how each step shapes your final cup.
Notable Insights
- Use fresh, single-origin beans roasted 2–4 weeks prior for clear, distinct flavor evaluation.
- Grind beans medium-coarse just before cupping to ensure even extraction and optimal freshness.
- Pour 200°F water over grounds and steep for exactly 4 minutes using a timer for consistency.
- Break the crust with a preheated spoon, inhale the aroma, then skim off floating particles.
- Sip loudly to aerate the coffee, assessing flavor, acidity, body, and aftertaste as it cools.
What Is Coffee Cupping and Why Try It at Home?
Coffee cupping isn’t just for roasters or baristas-it’s a straightforward method anyone can use to evaluate coffee’s flavor, aroma, and body right at home. You’ll smell the grounds, pour hot water, and break the crust to assess aroma. Then, you’ll sip loudly to aerate the coffee and detect nuances in flavor profiles. It helps you understand how coffee origins affect taste-Ethiopian beans often taste fruity, while Sumatran ones lean earthy. You don’t need fancy gear: a kettle, scale, grinder, and cupping spoons are enough. Cupping reveals subtle differences between beans you might otherwise miss. It’s practical for finding what you truly like, not just what brands suggest. Once you compare samples side by side, you’ll see how roast levels, altitude, and processing impact taste. Try it weekly to sharpen your palate and make future purchases more informed. For accurate results, use best coffee cupping bowls designed to standardize the tasting process.
How to Choose and Prepare Your Coffee Beans
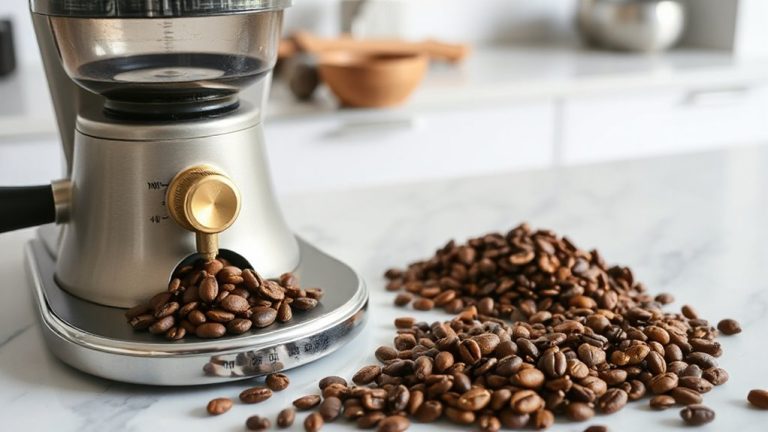
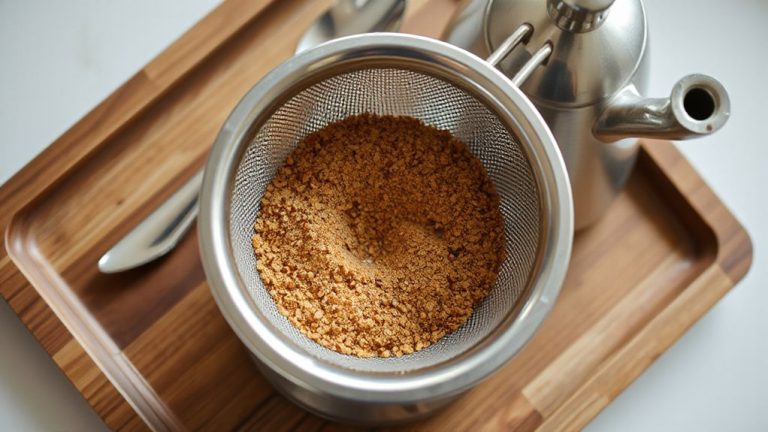
Freshness lies at the heart of a meaningful cupping session, so start by selecting whole beans roasted within the past two to four weeks. You’ll want to take into account bean sourcing-single-origin beans from reputable farms or co-ops often provide clearer flavor profiles, while blends can balance complexity and consistency. Look for transparent suppliers who list origin, altitude, and processing method. Roast profiles matter, too: medium roasts typically preserve origin characteristics better than dark roasts, which may mask subtle notes with smoky or bitter tones. Avoid pre-ground coffee, as it loses aromatic compounds quickly. Grind your beans just before cupping using a burr grinder for uniform particle size. Stick to a consistent grind setting-medium-coarse works best. Proper storage also helps; keep beans in an airtight container away from light, heat, and moisture until you’re ready to begin. For top-tier options that meet these criteria, consider trying some of the Best Coffee Beans recommended by experts.
Coffee Cupping Essentials: Tools You Need
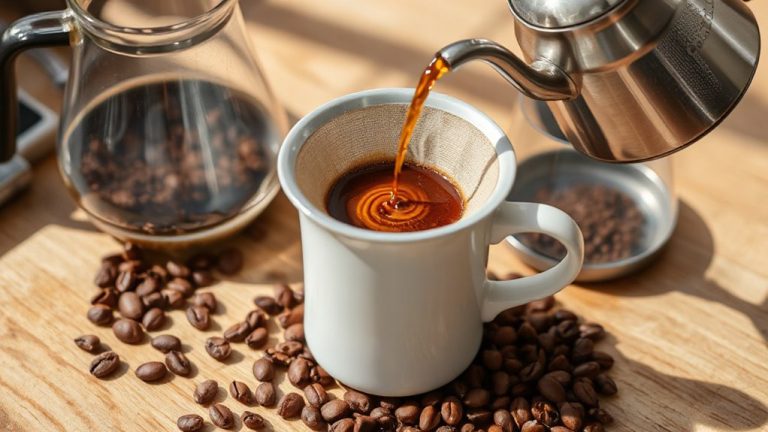
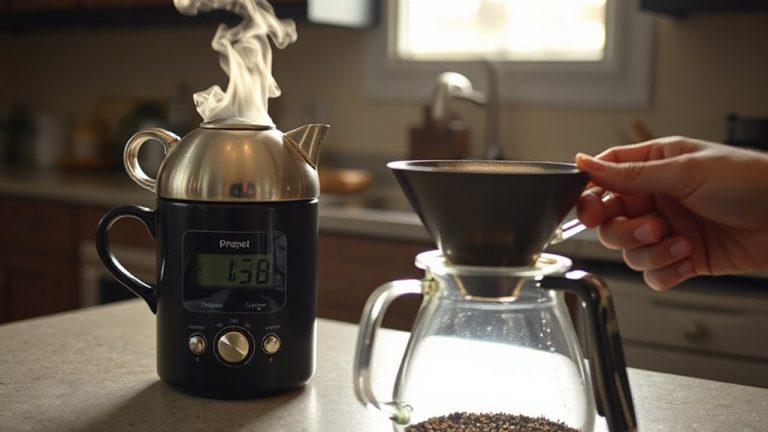
Starting with the right gear makes a noticeable difference, so gather these essentials before your session begins. You’ll need ceramic or glass cupping bowls-thick-walled ones retain heat better-and preheated spoons made of stainless steel for breaking the crust and sipping. A gooseneck kettle helps control water temperature, essential for accurate coffee grading. Use a precise digital scale to measure beans and water; aim for a 1:16.67 ratio. Your grinder should deliver a consistent medium-coarse grind, like sea salt. Don’t forget timers to track steeping time and notepads to record aroma profiles. Smell jars help isolate and compare scents. Calibration tools like a refractometer are optional but useful for advanced testing. Each tool supports objective evaluation, ensuring your setup matches professional standards while remaining practical for home use. For optimal results, consider a best gooseneck kettles model designed for precise pour-over control.
The Cupping Process: Step by Step
You’ll want to move systematically through the cupping process to get reliable, repeatable results. Start by grinding your coffee to a uniform consistency-think coarser than drip but finer than French press. Pour hot water (just off boil) over the grounds and let them steep for four minutes. Break the crust with a spoon, inhaling deeply for aroma identification. Skim off the foam, then let the coffee cool slightly before beginning flavor profiling.
| Step | Action | Purpose |
|---|---|---|
| 1 | Grind coffee | Guarantee even extraction |
| 2 | Pour water | Begin steeping |
| 3 | Break crust | Assess aroma identification |
| 4 | Skim grounds | Prepare for tasting |
| 5 | Cool & evaluate | Start flavor profiling |
How to Taste Coffee Like a Pro
Now that the coffee has cooled to a sipping temperature, it’s time to taste. Slurp a spoonful loudly to spread the coffee across your palate and aerate it, enhancing your ability to detect subtle flavor notes. Pay attention to sweetness, acidity, body, and aftertaste-each element reveals part of the coffee’s profile. Before tasting, revisit the aroma profiles you noted during the crust break; smells often foreshadow flavors. Compare what you smelled to what you taste-do stone fruit aromas match bright, juicy flavor notes? Use a flavor wheel if needed to pinpoint descriptors. Stay objective: avoid vague terms like “nice” and instead specify whether the coffee tastes nutty, citrusy, or chocolatey. Rinsing your palate with water between samples keeps your taste buds clear. Repeat with each coffee to build accurate comparisons. Consistent technique improves your ability to discern quality and roast impact.
Common Home Cupping Mistakes to Avoid
While it might seem straightforward, cupping at home can go off track if basic missteps aren’t avoided. Overextraction risks occur when grounds steep too long, creating bitter flavors. Underexposure errors happen with insufficient contact time, leading to sour or weak cups. Use a timer to maintain a 4-minute steep. Grind size matters-too fine increases extraction, too coarse reduces it. Always use fresh, evenly ground beans and water at 200°F.
| Mistake | Fix |
|---|---|
| Overextraction | Coarsen grind, shorten time |
| Underexposure | Fine-tune grind, increase time |
| Inconsistent water | Use electric kettle with temp control |
Calibration prevents flawed results. Stick to proven steps, and repeatable quality follows.
On a final note
You now have the basics to start cupping at home like a pro. Use fresh, high-quality beans, stick to the standard ratio of 8.25 grams per 150 ml of water, and keep your grind consistent. A gooseneck kettle helps, but a French press works in a pinch. Avoid common errors like stale beans or skipping flavor notes. With practice, you’ll taste more clearly and choose better gear and beans moving forward.