How to Clean and Maintain a Siphon Coffee Maker Without Damaging Components
Disassemble your siphon after each use, rinsing both chambers with warm water to prevent residue buildup. Clean with mild soap and a soft sponge-avoid abrasives or alcohol if rubber seals are present. Check gaskets for wear and glass for cracks by inspecting under light. Use vinegar for mineral deposits, never extreme temperatures. Store in a dry, cushioned spot with airflow. You’ll keep it running smoothly for brews to come.
Notable Insights
- Disassemble the siphon fully before cleaning, following the manufacturer’s guide to avoid damaging components.
- Clean upper and lower chambers with lukewarm water and mild soap, avoiding extreme temperatures to prevent thermal shock.
- Remove residue using a soft sponge or brush, focusing on the filter stem and chamber rims to protect glass and metal surfaces.
- Inspect rubber seals for wear and glass for cracks regularly to maintain vacuum integrity and prevent breakage.
- Store the siphon in a dry, cushioned, and ventilated space to protect glass and prevent seal deterioration.
Disassemble Your Siphon Before Cleaning
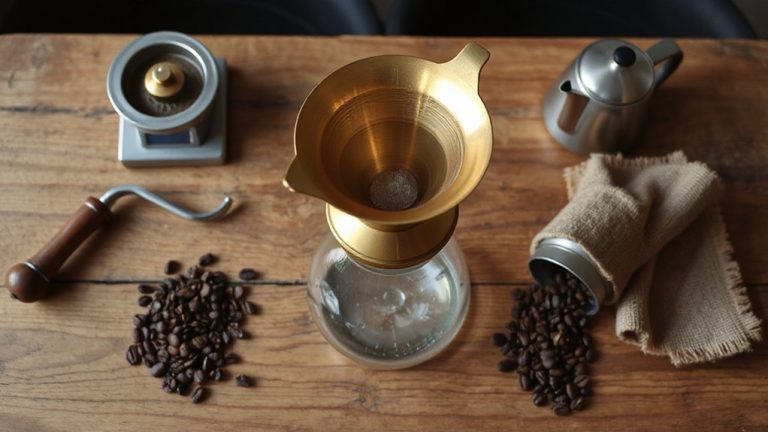
While it might seem like a small step, taking your siphon apart before cleaning is essential for thorough maintenance-you can’t properly clean what you can’t reach. Start by checking the manufacturer’s guide for material compatibility, since parts like glass chambers or rubber seals may react poorly to harsh scrubbing or certain cleaners. Some siphons use rubber gaskets that degrade with prolonged exposure to alcohol-based solutions, while others have silicone parts more tolerant to varied cleaners. Use only the recommended disassembly tools-often just a simple wrench or your hands-to avoid damaging threaded joints or seals. Never force parts apart; if something resists, double-check the assembly design. Most modern siphons, like the Yama or Hario models, allow tool-free breakdown, but older or metal-heavy versions might require specific wrenches. Proper disassembly guarantees each component gets adequate attention without risk of cracks, warping, or stripped fittings. For those seeking reliable options, consider checking reviews of the best siphon coffee makers to ensure long-term durability and ease of maintenance.
Clean the Upper and Lower Chambers
Start by rinsing both the upper and lower chambers with warm water to remove any leftover coffee residue-this helps loosen stuck particles and prevents staining over time. Use lukewarm water, as extreme water temperature can stress the glass, especially if the chambers are still warm from brewing. Never immerse hot glass in cold water or vice versa, since thermal shock may cause cracks. For daily cleaning frequency, a simple rinse suffices if you’re using the siphon regularly, but a deeper clean every few uses keeps oils from building up. Fill each chamber with warm water and a small drop of mild dish soap, swirl gently, then rinse thoroughly. Residual soap can affect your coffee’s taste, so make certain all suds are gone. Distilled white vinegar works well for mineral deposits if you use hard water. Always dry components with a soft cloth to avoid water spots and potential breakage from damp storage.
Scrub Away Coffee Residue Gently
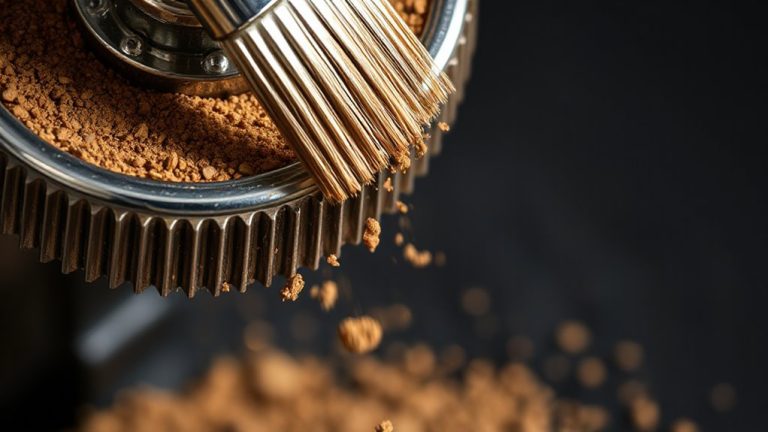
After rinsing the chambers and removing loose particles, it’s time to tackle any lingering coffee residue that can affect flavor. Use gentle scrubbing with a soft sponge or a non-abrasive brush to avoid scratching glass or metal surfaces. Focus on areas where oils and residue build up, like the filter stem and lower chamber rim. For effective residue removal, a mix of warm water and mild dish soap works best-avoid harsh chemicals that can degrade materials over time. Never use steel wool or aggressive pads, as they compromise both appearance and function.
| Tool | Use Case |
|---|---|
| Soft sponge | Gentle scrubbing on glass surfaces |
| Non-abrasive brush | Reaching curved areas safely |
Consistent, careful cleaning keeps your brew tasting clean and your siphon in top shape.
Inspect Seals and Glass for Damage
Your siphon brewer’s performance hinges on intact seals and uncracked glass, so a quick inspection after each use can save you from surprises during brewing. Run your fingers along rubber gaskets to check for brittleness or warping-damaged seals won’t create the vacuum needed and hurt leak prevention. Hold the glass chambers up to the light, slowly rotating them to aid crack detection. Even hairline cracks weaken structural integrity and can burst under heat. Don’t rely on sight alone; gently press on glass joints to test for flex, which may signal hidden flaws. If you spot cloudiness or etching, it’s likely from mineral buildup, not damage-clean with vinegar instead. Replacing worn seals is cheap and easy, but cracked glass means replacing the whole chamber. Catching issues early keeps your brew consistent and avoids safety risks. Regular checks are key.
Store in a Dry, Cushioned Spot
Keep the glass chambers and seals in good shape, and they’ll last longer-but how you store the siphon matters just as much. Always pick a dry, cushioned spot to prevent cracks and wear. Moisture invites mold and degrades rubber gaskets over time, while hard surfaces increase breakage risk. Proper ventilation stops trapped humidity from building up, especially in cabinets. Dust prevention keeps your brew clean and reduces cleanup before each use. Avoid open shelves where particles settle. Use a padded container or a lined cabinet with space for airflow.
| Storage Factor | Why It Matters |
|---|---|
| Dry location | Prevents mold and seal deterioration |
| Cushioned space | Reduces risk of glass breakage |
| Proper ventilation & dust prevention | Maintains hygiene and extends component life |
On a final note
You’ve cleaned and checked every part, so now reassemble the siphon carefully. Always let components cool before handling. Use filtered water to reduce mineral buildup, and avoid abrasive scrubbers that can scratch glass. Store the pieces separately in padded storage to prevent cracks. A well-maintained siphon lasts longer and brews better coffee. Regular checks keep seals tight and glass safe-skip this, and you risk leaks or breakage.