Maintaining Manual Grinders: Cleaning and Calibration for Consistent Results
You should clean your manual grinder every two to four weeks, depending on use. Disassemble it-most models like the 1Zpresso JX or Kinu M47 come apart without tools-and brush out grounds with a soft brush or compressed air. For stuck oils, use isopropyl alcohol on metal parts only, never water. Let all pieces dry completely before reassembling. Reset the grind setting to factory zero, then test brew and adjust one notch at a time. Sour coffee? Go finer. Bitter? Coarsen it. Match your grind to your brew method: fine for espresso, medium-coarse for Chemex. A dirty grinder brings stale, uneven flavors-cleaning keeps your shots balanced and bright. There’s more to get right for long-term consistency.
Notable Insights
- Disassemble the grinder weekly for daily use, brushing out coffee grounds from burrs and chute to preserve flavor clarity.
- Clean built-up oils every 2–3 months using isopropyl alcohol on metal parts only, avoiding water to prevent rust.
- Reassemble only after all components are completely dry, ensuring proper alignment of burr, ring, and adjustment shaft.
- Reset to the manufacturer’s baseline setting post-cleaning, confirming smooth knob operation before grinding.
- Test grind and adjust incrementally, matching size to brew method for balanced extraction and optimal taste.
Clean Your Manual Grinder in 7 Simple Steps
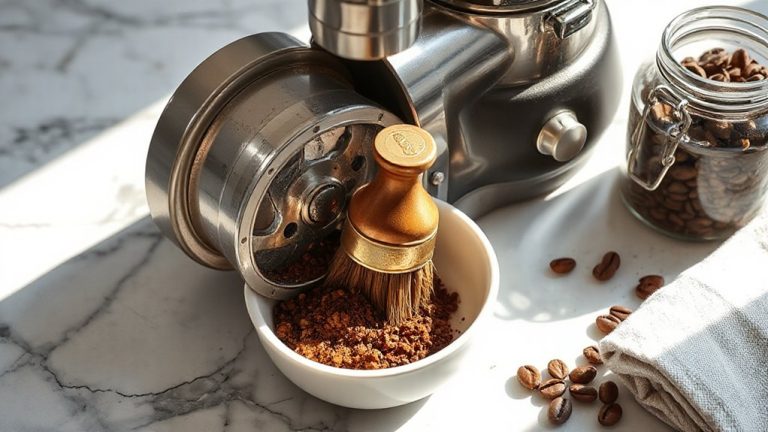
A clean manual grinder keeps your coffee tasting fresh and guarantees consistent performance over time. Start by disassembling the burr housing-most models, like the 1Zpresso JX or Kinu M47, allow this without tools. Use a soft brush or compressed air as your primary cleaning tools to remove coffee grounds from the burrs and chute. Wipe down surfaces with a dry microfiber cloth; never use water unless the manufacturer specifies it. Clean weekly if you brew daily. Proper grinder storage matters: keep it in a dry place, preferably in a sealed container or with a protective cover to prevent dust buildup. Avoid storing beans inside the hopper long-term, as oils degrade over time and affect grind quality. Regular maintenance prevents wear and secures your grinder delivers uniform particles. This simple routine supports accurate calibration and better extraction. You’ll notice cleaner flavor and longer gear life. A dedicated coffee grinder cleaning brush helps reach tight spaces and improves cleaning efficiency.
Remove Built-Up Oils and Old Coffee Residue
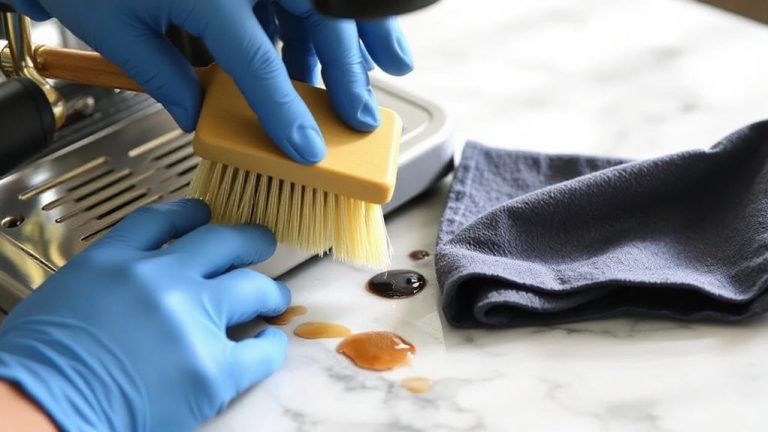
After you’ve cleared loose grounds and dust from your grinder’s burrs and housing, the next step is tackling the sticky oils and old residue that brushing alone won’t remove. These oils, left behind after coffee oxidation, turn rancid and alter flavor over time. Grounds cling more easily when static buildup attracts them to plastic components, especially in dry environments. To fix this, use grinds-aid tablets or a soft brush dampened with isopropyl alcohol (70% or higher) on non-plastic parts only-never soak burrs. Let metal components air-dry completely. For frequent grinders, doing this every 2–3 months keeps flavors clean. Occasional users can stretch it to four. Some, like those with ceramic burrs in the 1ZPresso Q2, need gentler care. Others, such as steel-burred Comandantes, handle deeper cleaning better. Either way, skip water-it causes rust and worsens residue long-term. Choosing the right tool makes maintenance easier, and top models like those in the best manual coffee grinders are designed for easy disassembly and cleaning.
Put It Back Together and Reset the Grind Setting
Once you’ve cleaned all the parts and made certain they’re fully dry, reassemble the grinder carefully, aligning the burr, retaining ring, and adjustment shaft exactly as they came apart-getting this wrong can throw off grind consistency or damage the mechanism. Proper reassembly techniques are critical; even slight misalignment in models like the 1ZPresso Q2 or Timemore C2 can reduce calibration accuracy. Make sure the burr seat is free of debris and the adjustment knob turns smoothly. After locking everything in place, reset the grind setting to your manufacturer’s baseline-often marked with a “0” or factory indicator. This step guarantees a reliable starting point for future tweaks. Avoid forcing parts; if something resists, double-check alignment. Correct reassembly directly impacts how precisely your grinder delivers particle size, which affects extraction. Taking your time here improves long-term performance and keeps your results predictable, shot after shot.
Test Your Grind and Make Small Adjustments
How does your coffee taste? If it’s off, your grind size or brewing time might need tweaking. After reassembling your grinder, brew a test batch. Pay attention to flavor: sour means it’s too coarse or brewing too fast; bitter suggests it’s too fine or brewing too slow. Adjust in small increments-one notch at a time-and retest. Selecting the right mill grinder type can significantly impact grind consistency and overall brew quality.
| Brewing Method | Ideal Grind Size |
|---|---|
| Espresso | Fine |
| Pour-Over | Medium-fine |
| Chemex | Medium-coarse |
| French Press | Coarse |
| Cold Brew | Coarse |
Small changes make a big difference. A slightly finer setting slows brewing time and increases extraction; coarser speeds it up. Always adjust, brew, and taste. Repeat until flavor balances-sweet, clear, and smooth. Your grind size directly shapes brewing time and taste, so fine-tune patiently.
How Often to Clean Your Manual Grinder
You’ll want to clean your manual grinder every two to four weeks with regular use, though it depends on how often you grind and the type of beans. If you use oily or dark roast beans, residue builds up faster, so cleaning closer to every two weeks helps maintain flavor consistency. For light, dry roasts, every four weeks may be enough. Daily users should lean toward the two-week mark to guarantee grinder longevity and peak performance. A quick brush-out of burrs and chambers removes most coffee oils and fines. For a deeper clean, disassemble as the manufacturer allows and use a dry brush or uncooked rice method-though rice can leave dust, so follow with a thorough wipe. Never use water unless the maker specifies it. Keeping your grinder clean prevents stale buildup that skews grind size and dulls performance over time. Consistent cleaning means consistent shots or brews-and a grinder that lasts longer.
Why a Dirty Grinder Ruins Your Coffee
Though it might seem minor, letting coffee grounds and oils build up in your grinder can seriously degrade your brew quality over time. These residues clog the burrs, messing with grind consistency and forcing your grinder to work harder. Inconsistent particles mean some extract too fast while others don’t extract enough, leading to unbalanced cups. Worse, old oils go rancid, causing flavor degradation that no amount of good beans can fix. You’re not just grinding fresh coffee-you’re mixing it with stale remnants from past sessions. Regular cleaning prevents this, keeping your grind size predictable and your flavors clean. For anyone relying on precision, whether using a conical burr like the 1ZPresso Q2 or a flat burr like the Timemore C2, maintaining a clear pathway guarantees every dose performs as intended. Clean burrs mean reliable results, cup after cup.
How Old Grinds Cause Bitter, Uneven Brews
When stale coffee particles linger in your grinder, they break down further with each use, turning into fines that don’t dissolve evenly during brewing. These old grinds contribute to bitterness and clog the burrs, leading to an inconsistent particle size. Grind oxidation happens quickly-within minutes of grinding, the exposed oils begin deteriorating, dulling the aroma and brightness you expect. That stale material sitting in the burrs or chute accelerates flavor degradation, harming your next brew before you even start. Unlike fresh grounds, oxidized particles extract unevenly, producing flat, harsh cups. Regular cleaning stops this buildup, preserving clarity and balance. Wipe the burrs, purge old residue, and brush out the chamber after each use. A dry, stiff brush works best-avoid water, which rusts metal parts. Keeping your grinder free of old grinds guarantees each cup reflects the bean’s true character, not yesterday’s mistakes.
On a final note
You’ll get better, more consistent coffee by keeping your manual grinder clean and properly calibrated. Built-up oils and old grounds cause uneven extraction, leading to bitter or weak brews. Follow these steps regularly-especially if you use oily or dark roast beans-and you’ll avoid flavor contamination. A well-maintained grinder, like the 1Zpresso JX or Timemore C2, performs reliably over time, so don’t skip cleaning every few weeks.