How to Diagnose and Fix a Drip Coffee Maker That Won’t Heat Water
First, make sure your coffee maker is plugged into a working outlet-test it with a lamp or charger. Unplug the unit and check the thermal fuse with a multimeter; if it’s blown, replace it. Test the heating element for continuity; no reading means it’s faulty. Descale with equal parts vinegar and water every few months to prevent clogs. If the machine’s old or repair costs exceed $50, a new one might be smarter. You’ll want to contemplate these factors before moving forward.
Notable Insights
- Verify the coffee maker is plugged into a working outlet and test power with another device.
- Check the thermal fuse for continuity using a multimeter; replace if blown.
- Test the heating element for continuity and proper resistance; replace if faulty.
- Descale the machine with a vinegar solution to remove mineral buildup affecting heating.
- Assess repair feasibility based on part cost, labor, and age of the coffee maker.
Check Power Supply First
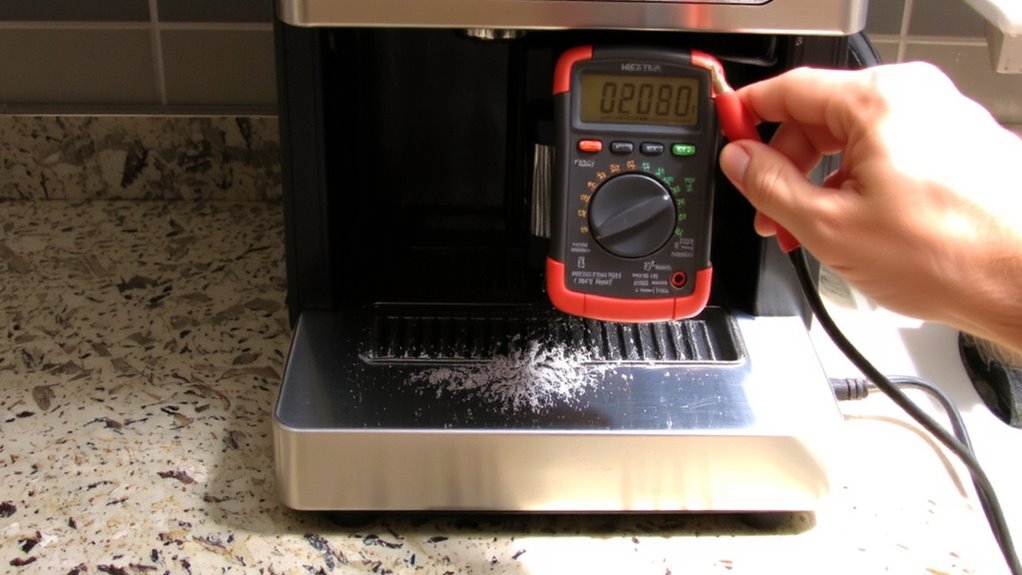
Before you start tearing into your coffee maker, make sure it’s actually getting power-this simple step saves time and frustration. Check that the cord is firmly plugged into a working electrical outlet. Sometimes, the connection loosens accidentally or gets jostled. Confirm the outlet functions by plugging in another device, like a lamp or phone charger. If that device powers on, your outlet’s fine. If not, the issue might be with the power source, not the coffee maker. Also, inspect the outlet for signs of damage or tripped breakers. A surge protector or power strip could be turned off or faulty-bypass it and plug directly into the wall. Don’t assume the machine is broken just because it won’t heat. Most models have a power light; if it’s off, power isn’t reaching the unit. Simple checks now prevent unnecessary repairs later.
Inspect the Thermal Fuse
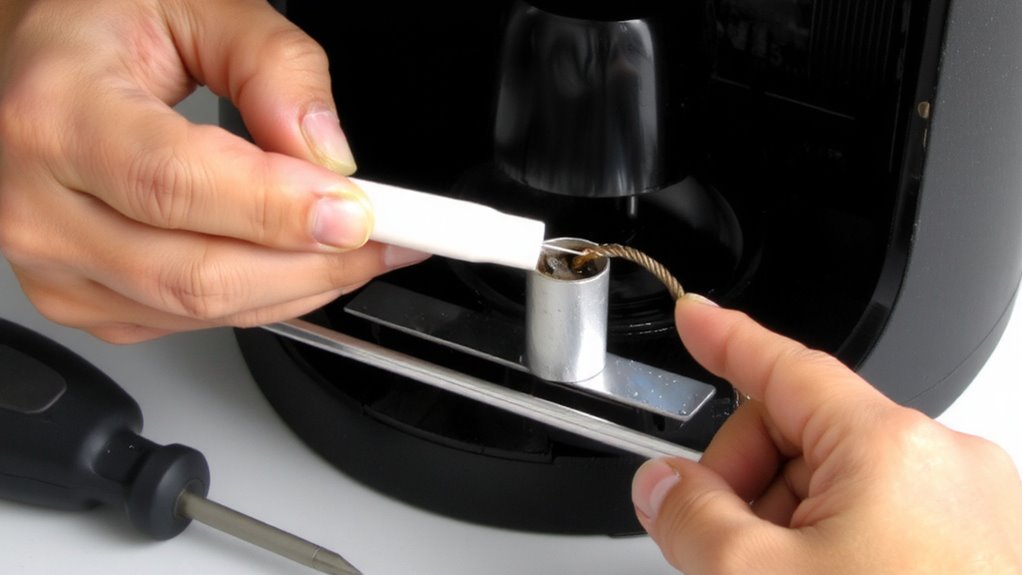
You’ll want to check the thermal fuse if your coffee maker still isn’t heating after confirming it’s getting power-this small safety device cuts electricity if the machine overheats, and once it blows, your brewer won’t turn on at all. Located near the heating element or base, the fuse often looks like a white or ceramic tube with wires attached. To test it, unplug the machine and remove the housing. Use a multimeter to check for continuity-no reading means the fuse is blown and needs replacement. A lack of fuse continuity stops power flow regardless of thermal resistance in other parts. Since thermal fuses fail permanently, bypassing isn’t safe or recommended. Common models like Keurig K-Mini or Mr. Coffee machines have replaceable fuses, but sourcing the exact match matters. If the new fuse blows quickly, an underlying issue-like a blocked vent or failing component-is likely causing excess heat.
Test the Heating Element
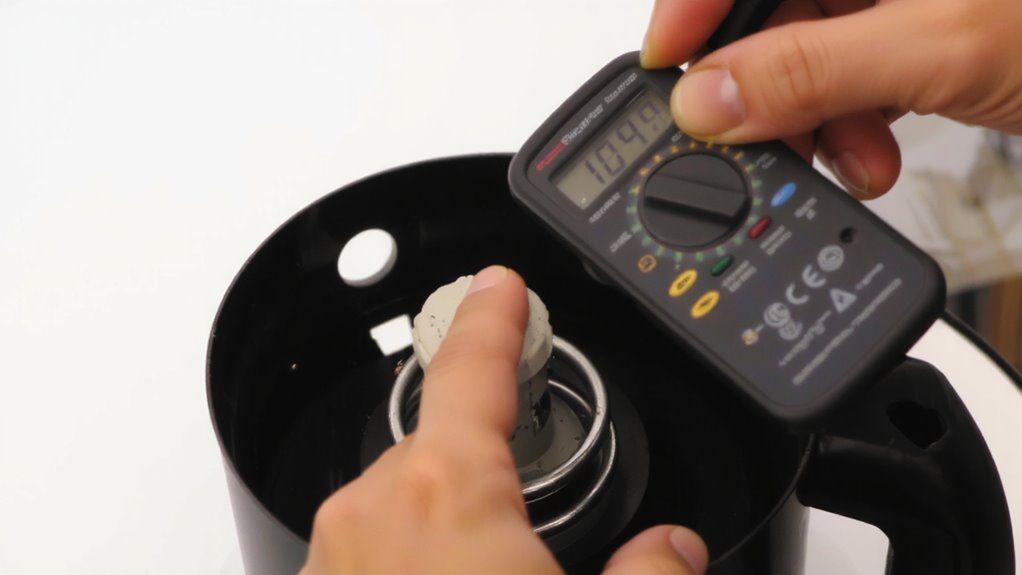
Start by locating the heating element, typically found at the base of the coffee maker beneath the water reservoir. Disconnect the power and remove the casing to access it safely. Use a multimeter to check for electrical continuity-the absence of a reading means the element is broken and won’t heat. Set your multimeter to measure resistance and place the probes on the element’s terminals. A healthy heating element usually shows a resistance measurement between 10 and 40 ohms, depending on the model. If you get no reading or infinite resistance, the element has failed. While some models allow replacement, others aren’t designed for user repairs. Keep in mind that even if the element tests fine, other issues could still be at play. This test alone won’t fix the machine, but it’ll tell you if the heating element is contributing to the problem.
Descale With Vinegar
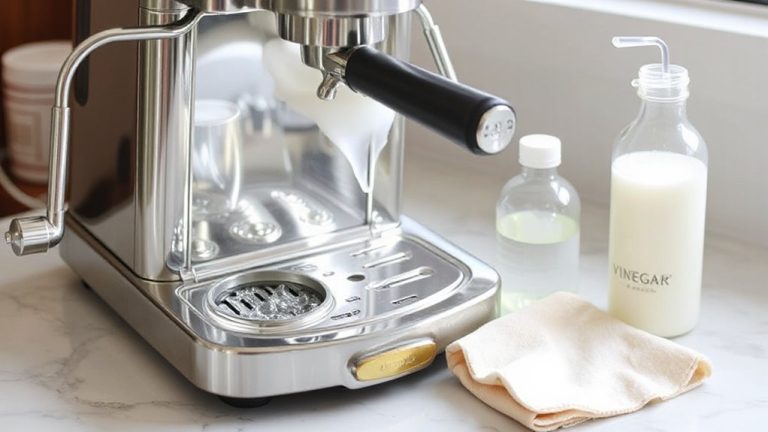
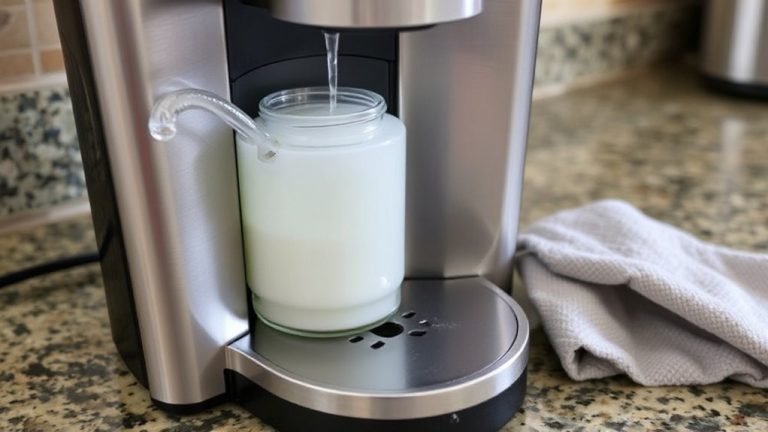
Mineral buildup from hard water can stop your coffee maker from heating properly, even if the heating element tests fine. You can fix this by running a vinegar solution through the machine. Mix equal parts white vinegar and water-this vinegar solution dissolves scale effectively. Start a brew cycle, let it pause halfway, then wait 30 minutes before finishing. This gives the solution time to break down deposits. Afterward, run two to three cycles with fresh water to remove vinegar taste. For machines used daily, aim for a descaling frequency of every 1–3 months, depending on your water hardness. Models like Keurig or Mr. Coffee respond well to this method. Regular descaling keeps heating performance strong and extends the machine’s life. Don’t skip this step-it’s simple and effective. Breville machines benefit from using a dedicated descaling solution like Best Descalers for Breville Machines to ensure optimal performance and compatibility.
Check the Thermostat
If your coffee maker still won’t heat after descaling, the issue might lie with the thermostat, which regulates the machine’s temperature during brewing. A faulty thermostat or malfunctioning temperature sensor can prevent proper heating, even if power is reaching the unit. These components work together to maintain safe, consistent water temperatures. Over time, thermostat calibration may shift due to wear or overheating, causing inaccurate readings. You can test the thermostat with a multimeter for continuity-no reading means it’s likely failed. Some models integrate the temperature sensor with the thermostat, so one replacement part covers both. While basic troubleshooting is doable, fixing internal components often requires disassembly and technical care. Replacement thermostats are usually model-specific, so check your maker’s manual. If calibration is off or the sensor isn’t responding, replacement is often the only fix.
Decide If Repair Is Worth It
Most coffee makers aren’t built to last forever, and when yours stops heating, it’s time to weigh whether fixing it makes sense. Consider the repair cost-replacement parts like a heating element or thermostat might run $20–$50, not including tools. You’ll also need to account for the time investment: diagnosing the issue, ordering parts, and carefully reassembling the unit can take several hours. Many modern drip machines are designed for disposal, not repair, making disassembly tricky. If your coffee maker is over five years old or a budget model like a basic Mr. Coffee, you’re likely better off buying a new one for around $40–$80. New models often come with improved reliability and safety features. Unless you’re repairing for learning purposes or have a high-end machine, the time investment and repair cost usually don’t justify the effort. You could even find a more reliable best drip coffee maker within your budget that offers better performance and longevity.
On a final note
You’ve checked the power, fuse, element, and thermostat-common fixes for a cold brew. If scaling was the issue, vinegar likely helped. If parts are faulty, replacements are affordable, but labor matters. For older models, buying new might save time. Machines under $50 often aren’t worth repairing. Consider reliability-brands like Technivorm or Bunn offer longer life. Weigh cost, effort, and future use before deciding.