How to Descale a Keurig K-Cup Brewer Without Damaging Internal Components
Use a Keurig-approved descaling solution like Keurig Descaling Solution or Durgol instead of vinegar to avoid residue and potential damage. Unplug the brewer, then mix the solution with water as directed. Run it through a brew cycle, let it sit for 30 minutes, then flush with fresh water multiple times. Finish with a test brew to verify no aftertaste. Doing this every 3–6 months keeps performance strong and prevents harm to internal parts-especially if you have hard water.
Notable Insights
- Use a descaling solution specifically labeled safe for Keurig to avoid damaging internal components.
- Never use undiluted vinegar or harsh chemicals that can degrade seals and tubing over time.
- Always unplug the brewer before starting the descaling process for safety and component protection.
- Follow the correct solution-to-water ratio to effectively remove scale without causing corrosion or residue buildup.
- Rinse thoroughly with fresh water by running multiple brew cycles to eliminate any cleaning residue.
Why Descaling Keeps Your Keurig Brewing Strong
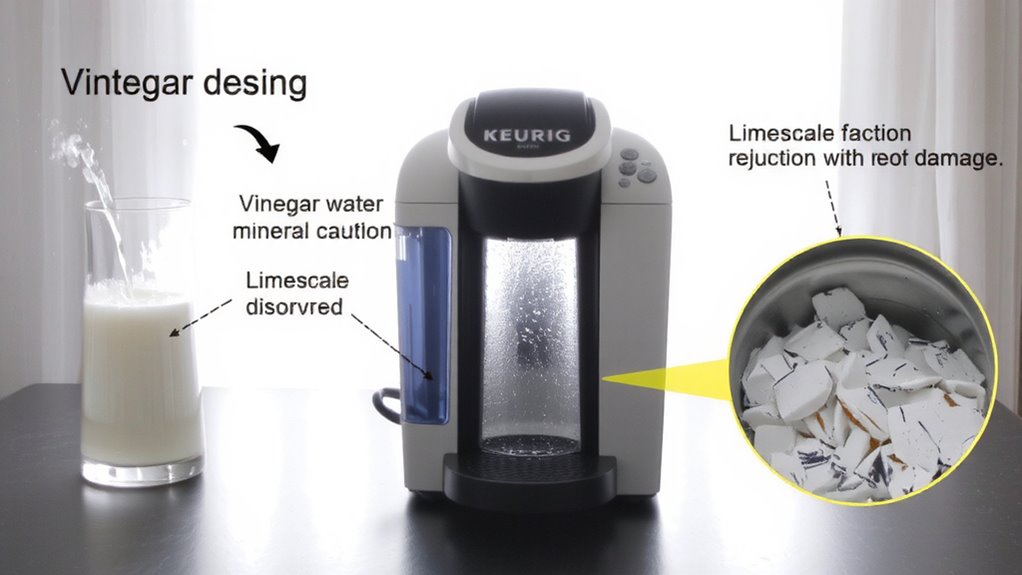
While you might not see it, mineral buildup from hard water slowly clogs your Keurig’s internal system every time you brew, which is why descaling matters. Poor water quality-especially high mineral content-leads to scale forming in narrow tubing and heating elements. Over time, this mineral buildup restricts water flow, reduces brewing pressure, and causes inconsistent temperatures. That means slower brews, weaker coffee, or even machine failure. Regular descaling removes these deposits, keeping components working efficiently. Signs like delayed brewing or lukewarm output often trace back to scale, not mechanical defects. Using filtered water helps slow buildup, but it doesn’t eliminate the need for maintenance. For most models, manufacturers recommend descaling every 3–6 months, depending on use and local water hardness. Doing so extends your brewer’s lifespan and guarantees each cup meets your expectations-without surprises.
Pick a Safe, Effective Descaling Solution
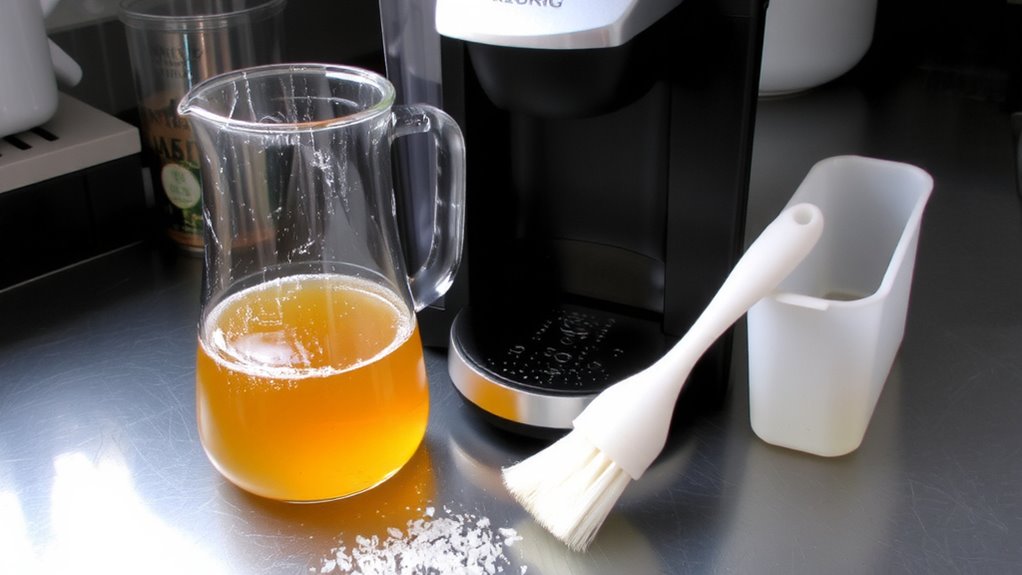
A good descaling solution keeps your Keurig running smoothly without damaging its internal parts. You can use white vinegar, but vinegar alternatives like citric acid or pre-mixed solutions often leave less odor and residue. Commercial solutions-such as Keurig’s own Descaling Solution or Durgol-are formulated specifically for coffee makers and tend to work faster and more reliably. While vinegar is cheaper, it may require multiple rinse cycles and doesn’t always remove heavy scale as effectively. Vinegar alternatives and commercial solutions usually cost more but offer convenience and consistent results. Always check your model’s manual-some manufacturers recommend against vinegar to preserve warranty coverage. For best results and long-term machine health, many users prefer trusted commercial solutions. Choose one that’s labeled safe for Keurig systems to guarantee it won’t harm seals, tubing, or sensors during regular use. For Nespresso machines, using an approved Nespresso descaler ensures optimal performance and prevents damage to sensitive components.
How to Descale Your Keurig in 8 Easy Steps
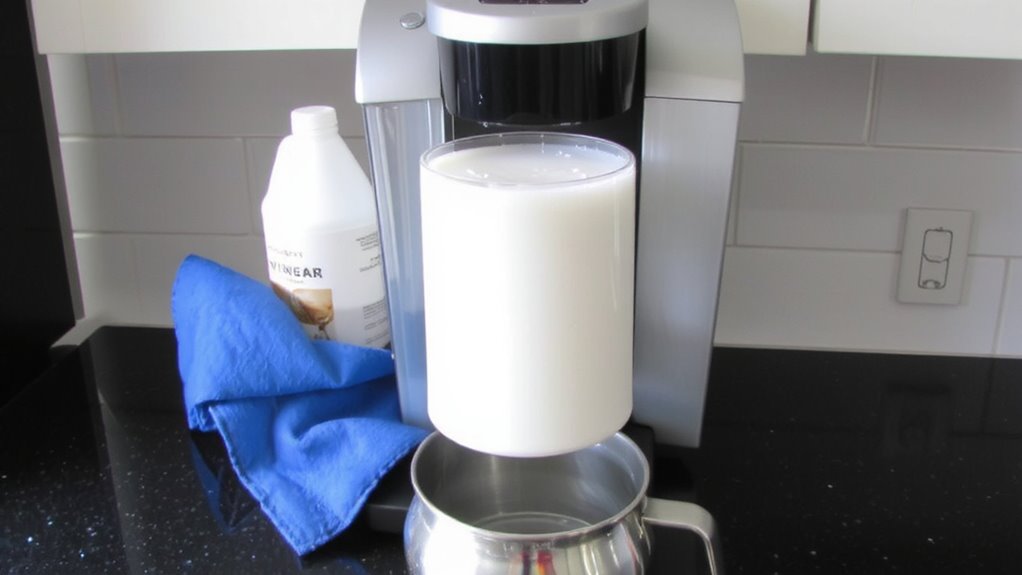
You’ve picked your descaling solution-whether it’s white vinegar, citric acid, or a commercial product like Keurig’s own formula or Durgol-and now it’s time to put that choice into action. Proper descaling clears mineral buildup from the heating element and restores ideal water flow. Follow these 8 steps: unplug the brewer, empty the water reservoir, mix solution with water as directed, pour into reservoir, run a brew cycle without a K-Cup, let it sit for 30 minutes, repeat until reservoir is empty, then discard used solution.
| Step | Action | Purpose |
|---|---|---|
| 1 | Mix solution with water | Prepare descaling fluid |
| 2 | Run brew cycle | Clean internal water flow paths |
| 3 | Wait 30 minutes | Dissolve scale on heating element |
Rinse Thoroughly and Run Test Brews
Now that you’ve completed the descaling cycle, it’s time to flush out any leftover solution-this step matters, because even a small residue can affect your coffee’s taste. Fill the reservoir with fresh water and run several brew cycles without a K-Cup, discarding each cup. This thorough rinse clears any lingering descaling agent, ensuring better water quality in every cup. Poor water quality not only alters flavor but can also encourage mineral buildup over time, shortening machine longevity. After two to three rinses, brew a test pot and smell or taste it; it should be neutral with no sour or chemical notes. If you detect any off-flavors, repeat the rinse cycle. Using filtered water for future refills helps maintain internal cleanliness and supports long-term machine longevity. Skip this step, and you risk affecting both taste and performance-so don’t rush it. Choosing a plastic-free coffee maker can further reduce unwanted flavors and support a more sustainable brewing process.
How Often to Descale Your Keurig (By Water Hardness)
Regularly descaling your Keurig isn’t just routine maintenance-it’s essential for keeping your brewer running efficiently, and how often you should do it depends mostly on your water hardness. Hard water builds up mineral deposits faster, which can affect water temperature and flow over time. Older machines, especially those past two years, need more frequent descaling due to accumulated wear and mineral intrusion.
Refer to this guide based on water hardness:
| Water Hardness | Descaling Frequency | Notes |
|---|---|---|
| Soft (0–3 gpg) | Every 6 months | Lower mineral content; slower buildup |
| Medium (4–8 gpg) | Every 3 months | Most common; balance of maintenance and performance |
| Hard (8+ gpg) | Every 2 months | Higher risk of clogs; impacts water temperature and machine age |
Adjust frequency if you notice slow brewing or inconsistent heat.
On a final note
You’ve cleaned your Keurig safely and effectively. Regular descaling keeps it brewing faster and tasting better. Use vinegar or a Keurig-branded solution every 3–6 months, depending on water hardness. Hard water means more frequent cleaning. Always rinse well to avoid aftertastes. Skipping steps risks buildup and damage. This simple upkeep extends your machine’s life and guarantees consistent results-no surprises, just good coffee.