How to Clean a Single-Serve Pod Machine’s Drip Tray Daily
Turn off and unplug your machine, then gently pull out the drip tray. Wash it with warm, soapy water using a soft sponge, scrubbing corners and ridges. Rinse well and dry completely with a lint-free towel or air-dry upside down. Avoid harsh cleaners or abrasives that can damage the plastic. Reinsert only when fully dry to prevent mold. Keurig and Nespresso models need this daily to avoid clogs and off-flavors-there’s more to keep yours running clean.
Notable Insights
- Turn off and unplug the machine before removing the drip tray to ensure safety.
- Wash the tray daily with warm, soapy water using a soft sponge to remove residue.
- Scrub corners and ridges with a small brush to eliminate trapped coffee grime.
- Rinse thoroughly and dry completely with a lint-free towel or air-dry upside down.
- Avoid harsh chemicals and abrasives that can damage the tray and harbor bacteria.
Why Clean Your Drip Tray Every Day
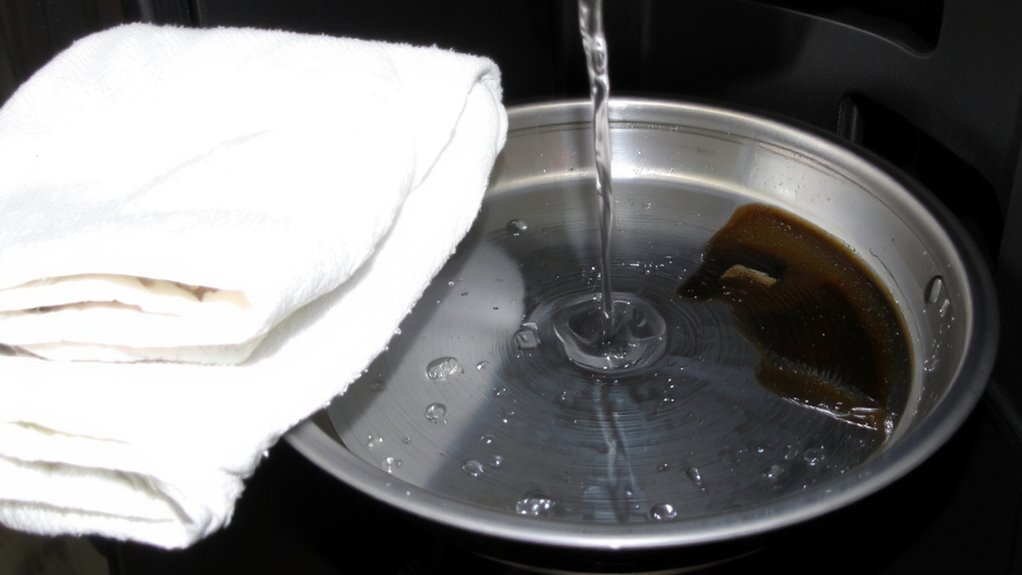
You should clean your drip tray every day to prevent buildup that can lead to odors, mold, and even affect machine performance. Daily cleaning offers clear hygiene benefits by removing coffee residue and trapped moisture where bacteria and mold thrive. Left uncleaned, the tray becomes a breeding ground for microbes, especially in warm, damp environments. This not only compromises the cleanliness of your kitchen but can also introduce off-flavors to your brew. Consistent wiping and rinsing help with odor prevention, stopping stale, musty smells from spreading. Most drip trays are removable, making rinsing under warm water quick and effective. For models like Keurig or Nespresso, skipping daily maintenance may void warranties or reduce lifespan. While some users rinse weekly, that delay increases risks. Daily care takes under a minute but guarantees reliability, better smells, and a more sanitary appliance-simple habits with measurable returns. Choosing the right best coffee drip trays can enhance ease of cleaning and improve overall machine maintenance.
What Supplies You Need for Cleaning
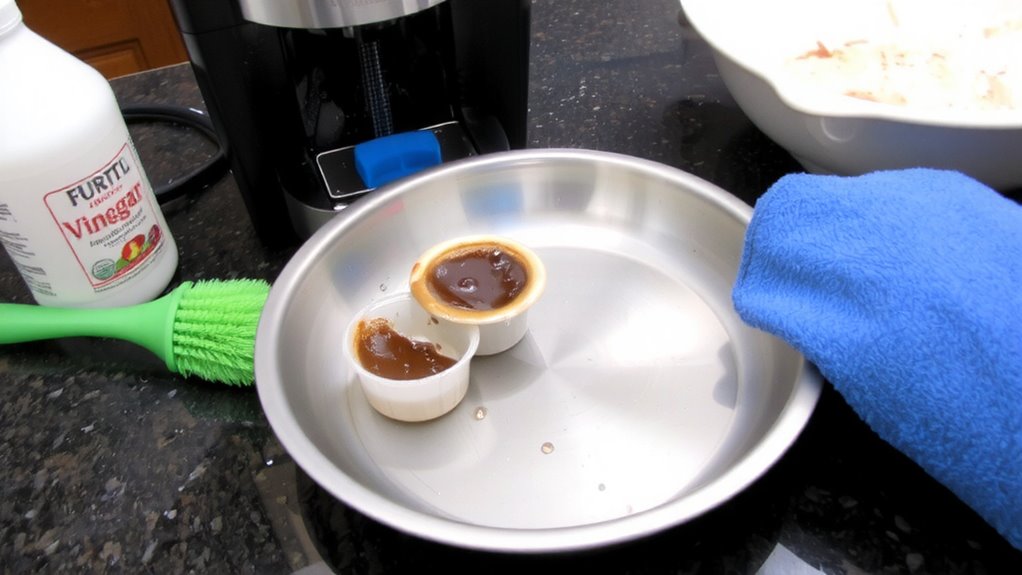
A well-stocked cleaning kit makes daily drip tray maintenance fast and effective. You’ll need a few basic cleaning tools: a soft sponge or microfiber cloth, mild dish soap, and a small brush-like an old toothbrush-for tight spots. Avoid abrasive pads or harsh chemicals that can scratch or damage the tray’s surface. For rinsing, use warm water to wash away coffee residue and soap. After cleaning, proper drying methods are key to preventing water spots and mildew. You can air-dry the tray on a clean rack, or pat it dry with a lint-free towel. Avoid leaving it wet, especially in enclosed spaces. Keeping these supplies on hand-soap, sponge, brush, towel-saves time and guarantees consistent cleaning. Having the right tools and drying methods ready means you’re set for quick, reliable upkeep every day.
How to Remove the Drip Tray Safely
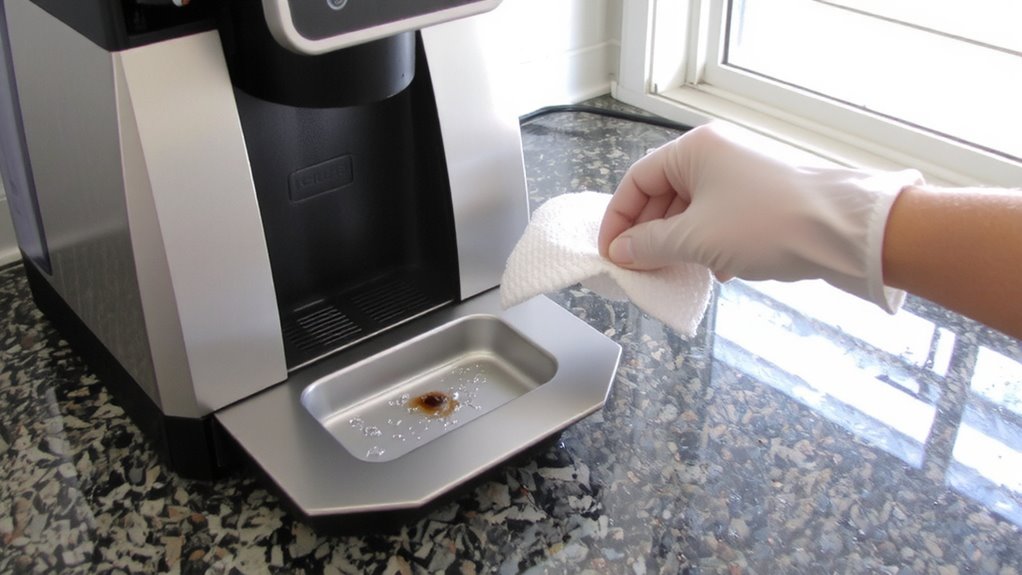
Getting the drip tray out without causing damage starts with turning off and unplugging the machine-safety first. Let it cool for a few minutes before touching any parts. Pull the tray gently; don’t force it. If it sticks, check for blockages or debris underneath. Once removed, set it aside for tray inspection. Look for cracks, warping, or built-up residue that might impair function.
| Step | Action | Purpose |
|---|---|---|
| 1 | Turn off & unplug | Prevents accidents |
| 2 | Pull tray slowly | Avoids misalignment |
| 3 | Do alignment check | Guarantees smooth reinsertion |
An alignment check helps avoid spills later. Always inspect before cleaning. Some models, like Keurig K-Classic or Ninja Hot & Cold, have slide-out trays; others require slight lifting. Know your model. A careful removal routine preserves seal integrity and supports long-term performance.
Wash the Tray With Soap and Water
Most of the time, cleaning the drip tray comes down to simple, effective steps that keep your machine running well. Fill your sink with warm water and a few drops of dish soap-nothing heavy-duty, since you want to avoid soap residue buildup over time. Scrub the tray gently with a soft sponge, paying attention to corners where coffee drips and hard water minerals collect. If you live in a hard water area, you might notice a chalky film; a quick rinse with distilled white vinegar helps dissolve those deposits. Rinse the tray thoroughly under running water to guarantee all soap is gone-leftover soap residue can affect future brews. Use mild pressure when scrubbing to avoid scratching the plastic. This quick wash removes oils and grime that accumulate daily, keeping your machine hygienic and functioning smoothly.
Dry It Completely Before Reinserting
Once you’ve rinsed off all the soap, drying the drip tray fully matters just as much as the wash itself. Moisture left behind can lead to mold, odors, or even affect your machine’s function over time. You’ve got two reliable options: air drying and towel drying. For air drying, place the tray on a clean rack upside down-it’s slower, but it avoids lint and scratches. Towel drying is faster; just use a lint-free cloth to wipe every surface, especially corners where water pools. Either way, check for moisture in the ridges and underside-those spots often get missed. Reinserting a damp tray traps humidity inside the machine, which speeds up grime buildup. Make sure it feels completely dry to the touch before sliding it back in. This small step keeps your brew environment clean and your coffee tasting fresh day after day.
Avoid These Common Cleaning Mistakes
While it might seem harmless to skip a step or two, cleaning your drip tray the wrong way can cause more problems than it solves. Avoid using harsh chemicals like bleach or ammonia-based cleaners-they can leave toxic residues and damage plastic parts over time. Stick to mild dish soap and warm water instead; they’re effective and safe. Also, don’t resort to abrasive scrubbing with steel wool or stiff brushes. These can scratch the tray’s surface, making it harder to clean in the future and more likely to trap grime. Instead, use a soft sponge or cloth to wipe away buildup gently. If residue has hardened, let the tray soak for a few minutes first. Regular maintenance with the right tools prevents damage and keeps your machine running smoothly. Quick, careful cleaning beats fixing avoidable damage later.
Stop Mold and Clogs Before They Start
Regularly cleaning your drip tray isn’t just about appearance-it’s your best defense against mold and clogs. Leftover coffee drips create a damp environment where mold thrives and gunk builds up over time. By removing and rinsing the tray daily with warm, soapy water, you prevent odors and maintain hygiene. Don’t just wipe the surface-take it out completely to clean underneath, where residue often hides. Dry it fully before reinserting to discourage moisture buildup. Some trays are dishwasher-safe, like on newer Keurig or Ninja models, which simplifies things. But if you skip even a few days, clogs and smells become harder to fix later. A clean drip tray means your machine runs smoothly and stays sanitary. It’s a small daily task that keeps bigger problems at bay. Stick to this habit, and you’ll extend your machine’s life and maintain better-tasting coffee.
On a final note
Clean your drip tray daily to prevent mold and clogs. Use mild soap, warm water, and a soft sponge-avoid abrasives that scratch. Dry it fully before putting it back, since trapped moisture leads to buildup. Never skip this step, even if the tray looks clean. A neglected tray can affect machine performance and coffee taste. For models like Keurig or Nespresso, follow the manufacturer’s guidelines to maintain warranty and function. Stay consistent-this small habit keeps your brew tasting fresh and extends your machine’s life.