Step-by-Step Pre-Infusion Technique for Lever Espresso Machines
Warm your lever machine for 20 minutes, then clean the portafilter and group head. Pull the lever slowly-over 10–15 seconds-so water gently wets the puck without rushing. Start with light resistance, letting the coffee bloom for 5–8 seconds before increasing pressure. Use even distribution and tamping to avoid channeling. Models like the Flair or La Pavoni respond best to controlled, deliberate pulls. You’ll get sweeter, more balanced shots with practice-the next steps refine your control even further.
Notable Insights
- Warm up the machine for at least 20 minutes to ensure stable temperature and optimal pre-infusion performance.
- Clean the portafilter and group head, and verify the basket is secure and free of clogs before dosing.
- Distribute and tamp the grounds evenly using tools like a WDT stirrer or distribution pen to prevent channeling.
- Pull the lever slowly to initiate pre-infusion, allowing 10–15 seconds for gradual puck saturation with minimal drip.
- Apply light initial resistance for 5–8 seconds, then progressively increase pressure for a balanced, even extraction.
What Pre-Infusion Does for Lever Espresso
While you might think lever espresso machines don’t need pre-infusion since they’re already gentler on the puck than pumps, using pre-infusion can still improve extraction by letting the grounds settle and expand before full pressure hits. This short pause with low or no pressure leads to more even water distribution, which supports enhanced extraction. Without it, channeling risks increase slightly, especially with uneven tamping or older levers like the La Pavoni Europiccola. With pre-infusion, you get better flavor development-think clearer acidity, sweeter notes, and reduced bitterness. It’s not magic; it’s physics. Even lever machines benefit from this brief soak, particularly when dialing in light roasts or finicky beans. Most manual levers let you control this by pausing mid-pull after water first contacts the puck. Keep it short-one to five seconds-depending on roast level and grind. It’s a small step that makes a real difference in your shot quality.
Get Your Lever Machine Ready for Pre-Infusion
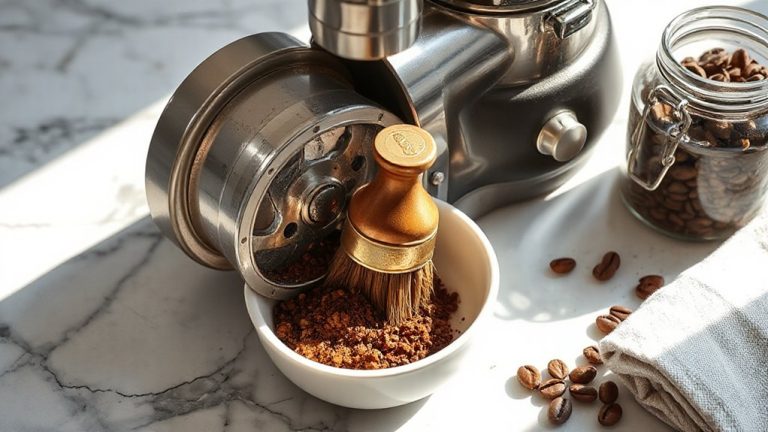
Pre-infusion starts with preparation, and your lever machine needs a few simple steps to set it up right. Guarantee your machine is warmed up for at least 20 minutes-stable temperature is key for proper machine calibration. Next, remove the portafilter and inspect the group head. Any leftover coffee or oils can disrupt water flow, so don’t skip portafilter cleaning. Use a brush and rinse thoroughly. Check that the basket is secure and free of clogs. Verify that your water level and pressure settings match your machine’s specs. If your lever feels stiff or loose, consult the manual for small adjustments. For optimal extraction, consider upgrading to a precision espresso portafilter designed for even pressure distribution.
Pull the Lever Slowly: Master the Pre-Infusion Phase
You’ve warmed up the machine, cleaned the portafilter, and checked the basket-now it’s time to start the pre-infusion. Pull the lever slowly to begin. This lets water saturate the coffee puck gently, reducing channeling and promoting even extraction. Your lever control is critical here-too fast, and you’ll spike pressure, ruining the bloom. Aim for a steady, controlled motion. You should see a slight resistance as water enters the puck, with minimal or no drip at first. This phase isn’t about full flow rate; it’s about preparation. A slow pull lets the coffee expand, setting up for a balanced shot. Machines like the Flair or Bezzera Unica respond well to this technique. Watch for the first drops-they should appear after 10–15 seconds. Consistency in speed guarantees predictable results. Practice builds muscle memory. Over time, you’ll feel when the flow rate is right.
Adjust Pressure During Pre-Infusion for Balance
If you’re aiming for a balanced shot, dialing in the right pressure during pre-infusion makes a real difference. Too much pressure too soon causes uneven extraction; too little, and you risk stalling. With lever machines, you control this manually, so mastering flow control is key. Start with light resistance, letting water evenly saturate the puck for 5–8 seconds. Then ease into higher pressure slowly. This approach supports effective pressure tuning, helping avoid harsh or sour notes. Machines like the Flair or Espro leverage this method well, letting you adjust mid-pull. Consistent flow means better balance-think sweet, rounded shots with clarity. Practice with grind size and pull speed, not just timing. Small changes in lever angle or hand pressure matter. Treat each pull as feedback. With reps, you’ll fine-tune repeatable results.
Fix Channeling, Stalls, and Uneven Wetting
A solid pre-infusion can prevent several common issues like channeling, stalls, and uneven wetting, all of which ruin extraction. You’ll see better results when you focus on consistent puck preparation and proper tamping technique. Uneven wetting often starts with sloppy distribution-use a tool like a WDT stirrer or distribution pen to spread grounds evenly before tamping. Your tamping technique must deliver uniform pressure; tilt or twist, and you invite channels. A level, firm tamp guarantees water flows evenly during the low-pressure pre-infusion phase. With lever machines, this slow start allows water to soak the puck without force, reducing the chance of stalls. If you still get channeling, check for cracks or gaps in the puck. Fixing these issues early improves flow and concentration, giving you a cleaner, more balanced shot every time.
On a final note
You’ve pulled a solid shot by using pre-infusion to even out extraction. Slow lever control and careful pressure adjustment help avoid channeling or stalls. With lever machines like the Flair or Bezzera Strega, practice builds consistency. It’s not magic-just timing and feel. Skip it, and you risk sourness or uneven flow. Do it right, and shots turn sweet, balanced, and repeatable every time.