How to Clean a Coffee Machine’s Cup Warmer Surface Without Damaging It
Unplug the cup warmer and let it cool completely before wiping it with a soft microfiber cloth, warm water, and mild dish soap. Avoid abrasive pads or harsh chemicals like bleach that can damage the surface. For sticky spots, use a 1:1 vinegar-water solution or a baking soda paste with a non-scratch sponge. Never soak the unit or let liquid pool near edges. Dry thoroughly before plugging back in-cleaning it regularly keeps performance sharp and prevents buildup from affecting your coffee’s warmth and taste.
Notable Insights
- Unplug the cup warmer and let it cool completely before cleaning to prevent electrical hazards and surface damage.
- Use a soft microfiber cloth with mild soapy water to gently wipe the surface, avoiding abrasive scrubbers that can scratch.
- Apply a 1:1 vinegar-water solution to tackle sticky residue, letting it sit briefly before gently rubbing and wiping dry.
- Never soak the warmer or allow liquids to pool near edges to avoid internal electrical damage.
- Dry the surface thoroughly before plugging the machine back in to ensure safe and efficient operation.
Why a Clean Cup Warmer Matters
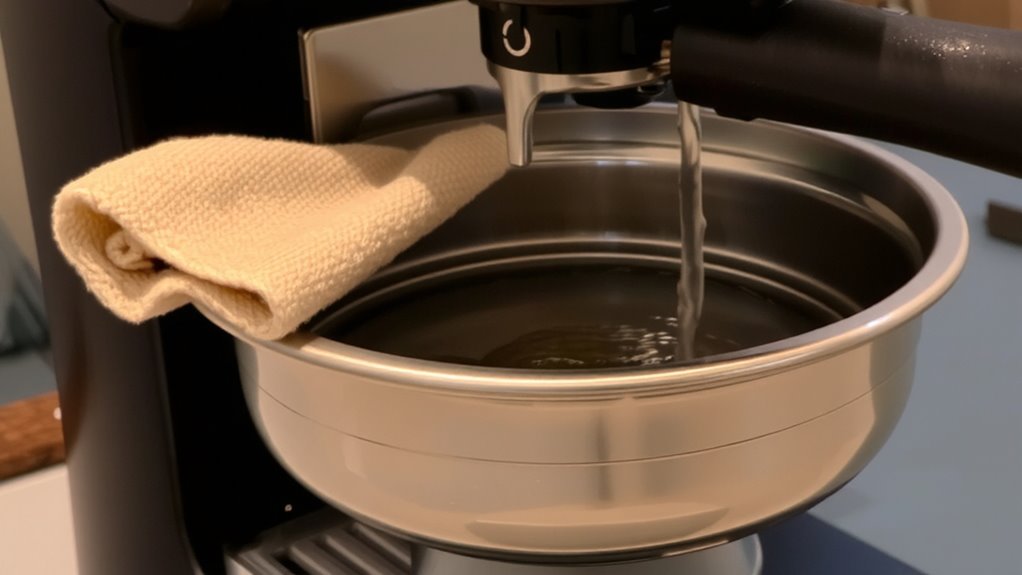
A warm cup matters more than you might think-it helps preserve the temperature and flavor of your coffee with every pour. When your cup is cold, it pulls heat from the brew too fast, dulling the coffee aroma and shortening its enjoyable life. A clean cup warmer maintains consistent heat efficiency, ensuring each cup heats evenly and quickly. Grime, coffee splatter, or mineral buildup act as insulators, reducing performance over time. You’ll notice cups warming slower or unevenly, which affects your drink’s quality. Stainless steel warmers, common on machines like Breville or De’Longhi models, are efficient but prone to staining if neglected. Regular wiping with a damp cloth keeps the surface clear and functional. You don’t need harsh cleaners-just mild soap and water. Keeping it clean means better heat transfer and a more reliable brewing experience every time.
What You’ll Need to Clean It (and What to Avoid)
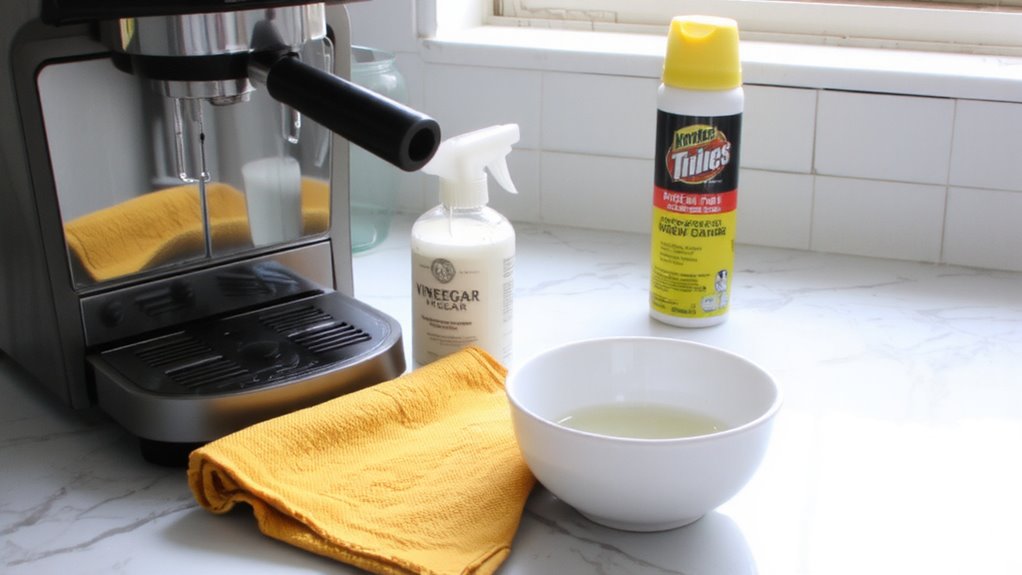
While you might be tempted to grab whatever cleaner is handy, using the right tools makes all the difference when cleaning your coffee machine’s cup warmer. You’ll need a soft microfiber cloth, warm water, and a mild dish soap-these are gentle yet effective for daily buildup. A small brush, like a clean toothbrush, helps reach crevices without scratching. Avoid abrasive scrubbers like steel wool or scouring pads; they can damage the surface and leave scratches where grime hides. Stay away from harsh chemical cleaners, especially ammonia-based or bleach-containing ones, as they can discolor or corrode the metal. Instead, opt for vinegar and water (1:1) for light disinfecting. Always unplug the machine first. Never soak the unit or let liquid seep into electrical parts. Simple, safe ingredients get the job done-no need for aggressive products.
How to Clean the Cup Warmer Safely
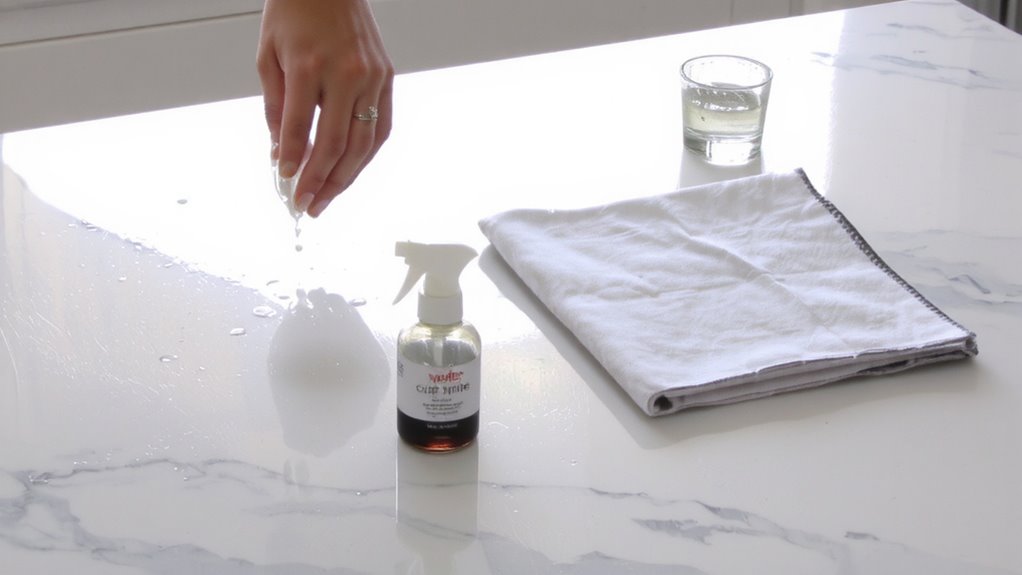
Now that you’ve gathered the right supplies and know what to steer clear of, it’s time to clean the cup warmer safely. First, unplug the machine and let the surface cool completely-cleaning a hot plate can damage both the unit and your cleaning cloth. Use a soft, damp microfiber cloth with mild soapy water to wipe away residue. Avoid abrasive scrubbers that might scratch the surface and disrupt heat distribution. For sticky spots, gently rub with a little vinegar solution, then wipe dry. Never let liquid pool near seams or edges, as moisture can seep into electronics. Proper cup placement matters: uneven or off-center cups can leave uneven residue, so clean the entire surface evenly. A smooth, clean surface guarantees even heat distribution across all cups. Rinse-free cleaners made for appliances work well, but rinse thoroughly if using soap. Finally, dry completely before plugging back in.
How Often to Clean Your Cup Warmer?
You’ll probably want to wipe down your cup warmer every one to two weeks if you use it daily, especially if you notice coffee oils or residue building up. Regular cleaning prevents stuck-on grime and helps avoid long-term heat damage from baked-on spills. If you tend to leave mugs on the warmer for long periods, check more often-residue from coffee spills can harden under constant low heat. For light users, cleaning once a month is usually enough. Always turn off and cool the warmer before cleaning to prevent warping or surface harm. Using a damp cloth daily to catch fresh spills can extend deeper cleaning intervals. Neglecting it completely risks stains and sticky buildup that are tougher to remove later. Consistent, light maintenance beats scrubbing off hardened messes and keeps your machine working safely longer.
Fixing Stains, Residue, and Sticky Spots
If daily wiping hasn’t kept up with spills, you’re likely dealing with stubborn stains, residue, or sticky spots on your cup warmer. Coffee rings and dried syrup from creamers can leave behind a dull, tacky film. For light buildup, dampen a soft cloth with warm, soapy water and gently scrub the surface-this often lifts most residue without risk. For tougher messes like burnt spills, let a vinegar-water mix (equal parts) sit on the spot for 5–10 minutes before wiping. Avoid abrasive pads or harsh chemicals like bleach, which can scratch or degrade the warming plate. If stains persist, a baking soda paste (baking soda + water) applied with a non-scratch sponge may help lift grime. Always unplug the machine first and never soak the surface. Wipe dry thoroughly before reuse.
Daily Habits to Prevent Buildup and Damage
Regularly wiping down your cup warmer after each use goes a long way in preventing residue and damage over time. Regular wiping stops coffee oils, water spots, and dust from building up into tough stains. Use a soft, damp cloth-microfiber works best-and wipe in gentle circular motions to avoid scratching the surface. Avoid harsh scrubbers or ammonia-based cleaners; they can strip finishes or leave streaks. After wiping, make sure to follow up with timely drying using a dry section of the cloth or a separate towel. This prevents water rings and mineral deposits, especially if you have hard water. Leaving moisture sitting overnight invites corrosion and dullness. Also, keep cups clean before placing them on the warmer-residual soap or grime transfers easily. These small habits extend the life of your warmer and keep it looking like new with minimal effort.
On a final note
You’ve cleaned the cup warmer safely, and that’s key to keeping it functional and hygienic. Use a soft cloth and mild cleaner-never abrasives or ammonia-based products. Do this weekly, or more if you spot buildup. Sticky spots? Tackle them early with warm, soapy water. A dry wipe daily helps prevent grime. Proper care extends the machine’s life and guarantees a clean base for every cup.