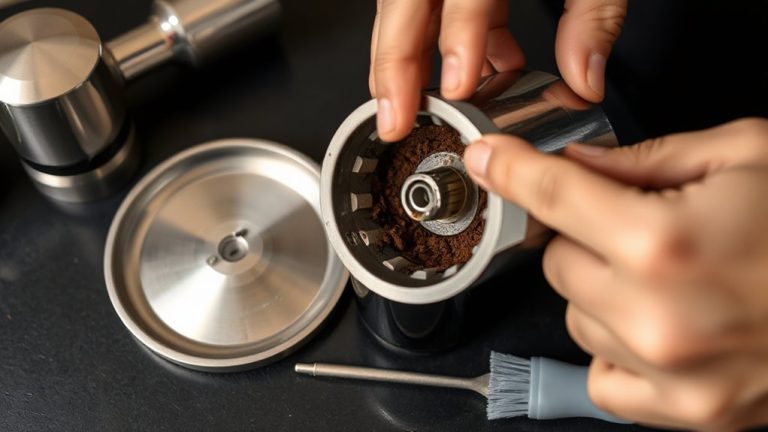
The Importance of Pre-Grind Bean Inspection for Consistent Grind Performance
You’re risking uneven extraction every time you skip checking your beans. Cracked, oily, or pale quaker beans throw off grind consistency, clogging grinders or causing under-extraction. A quick visual pass on a white tray with daylight lighting reveals defects and roast variances that machines can’t handle uniformly. It takes under a minute, prevents flavor flaws, and keeps your espresso predictable. Do this daily, and you’ll already be ahead of most home baristas. There’s more to get right once you start spotting the warning signs.
Notable Insights
- Inspecting beans before grinding ensures uniform density and moisture, critical for consistent grind size.
- Mixed roast levels lead to uneven extraction; visual checks prevent under- or over-extraction in brewing.
- Defective beans like quakers or insect-damaged ones disrupt grind consistency and compromise flavor.
- Using a white tray and daylight lamp enhances defect detection for precise, repeatable grinding results.
- A daily inspection routine takes under a minute and maintains grinder performance and brew quality.
Why Checking Beans Before Grinding Is Worth It
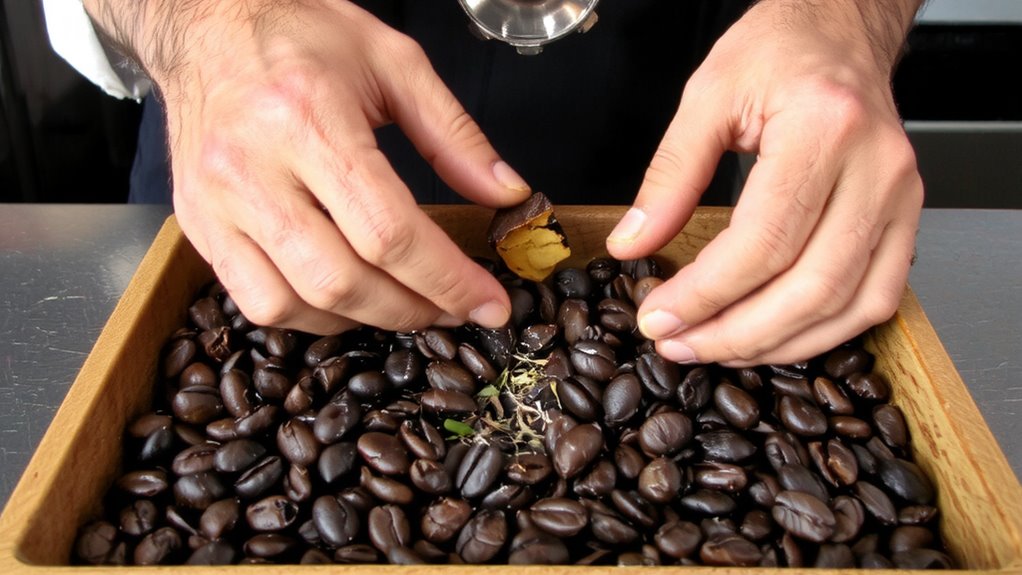
A quick look at your coffee beans before grinding isn’t just habit-it’s your first real quality check. You’re really checking for consistency in bean origins and roast profiles, both of which directly affect grind performance. Beans from different origins-like Ethiopian Yirgacheffe or Colombian Huila-vary in density and moisture, meaning they grind differently even at the same setting. If your roast profiles are mixed-say, a light and a medium roast together-your output will be uneven, leading to under and over-extraction. Visually inspecting beans helps you catch mismatches before they ruin your brew. It only takes a few seconds, but it guarantees your grinder processes a uniform batch. This step matters most with manual grinders or doserless espresso machines, where consistency is harder to maintain. You’re not just prepping-you’re preventing avoidable mistakes. Choosing the right tool for the job starts with understanding your options, and reviewing a comprehensive buying guide can help ensure your mill grinder supports consistent results.
Spot These Common Defects in Pre-Grind Beans
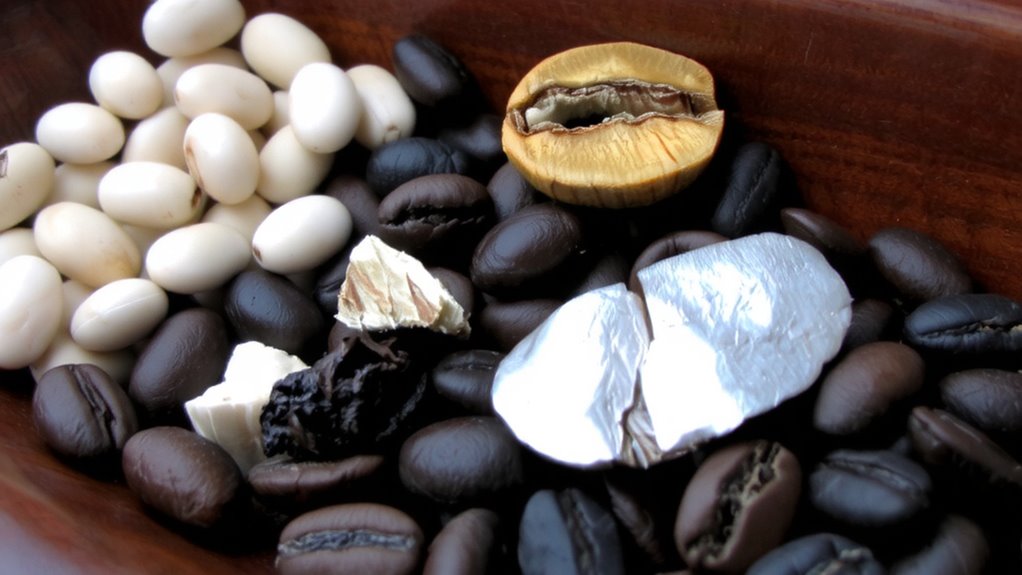
You’ll want to check your beans closely before grinding because certain defects can throw off the whole brew. Look for inconsistent color or texture-these often signal issues tied to bean origins or processing methods. Beans from different regions may show natural variation, but severe discoloration, insect damage, or black spots usually mean defects. Hollow or crushed beans can clog grinders, especially with light roast levels where beans are denser. Overly oily surfaces on medium or dark roast levels might indicate staleness or poor storage. Check for quakers-pale, underdeveloped beans that resist even roasting-and remove them; they won’t grind evenly. Broken or chipped beans aren’t always bad, but too many suggest rough handling early in the supply chain. Spotting these flaws early helps maintain control over your grind quality without relying solely on equipment.
How Flawed Beans Ruin Grind Consistency
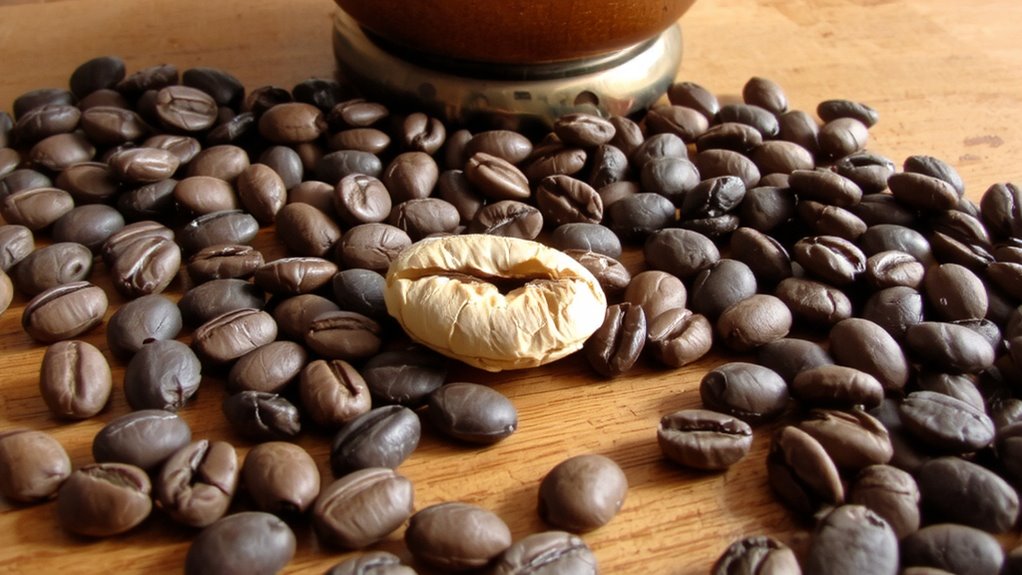
Grind uniformity starts long before the burrs begin to turn-flawed beans throw a wrench in consistency no matter how high-end your grinder. You’re likely dealing with uneven particle size because defective beans vary in bean density, causing them to fracture unpredictably during grinding. Low-density beans, like quakers or insect-damaged ones, crumble too easily, creating fines that clog filters and lead to over-extraction. Meanwhile, their harder, denser counterparts produce boulders that under-extract, muddying your flavor balance. Roast variance compounds this-underdeveloped or inconsistently roasted beans react differently to the same grind setting, making repeatable results nearly impossible. Even with precise equipment, these inconsistencies slip through, ruining shot-to-shot control. Removing flaws pre-grind isn’t just detail-oriented; it’s essential for stable particle distribution. You’ll get cleaner extractions, fewer clogs, and more accurate profiling-especially critical in espresso, where grind consistency directly impacts quality and waste. Investing in a high-quality coffee and espresso grinder can further enhance grind uniformity when paired with proper bean inspection.
Use a Tray and Light to Inspect Beans Quickly
With the right setup, spotting defective beans doesn’t have to slow you down. Use a flat tray and bright light to quickly scan for issues in bean color and surface texture. A white tray provides contrast, making discoloration obvious, while angled LED light highlights cracks, oiliness, or uneven texture. Inspect a sample of 20–30 beans for consistency-this takes less than a minute.
| Feature | Benefit | Example |
|---|---|---|
| White tray | Enhances visibility of bean color | Ceramic or plastic |
| LED lamp | Reveals surface texture details | 5000K daylight bulb |
| Flat surface | Allows easy bean spreading | Baking sheet |
| Side lighting | Reduces glare, shows defects | Desk lamp at 45° angle |
You’ll catch faded, overly shiny, or misshapen beans before grinding. Good lighting and contrast make all the difference.
Make Pre-Grind Checks a Daily Habit
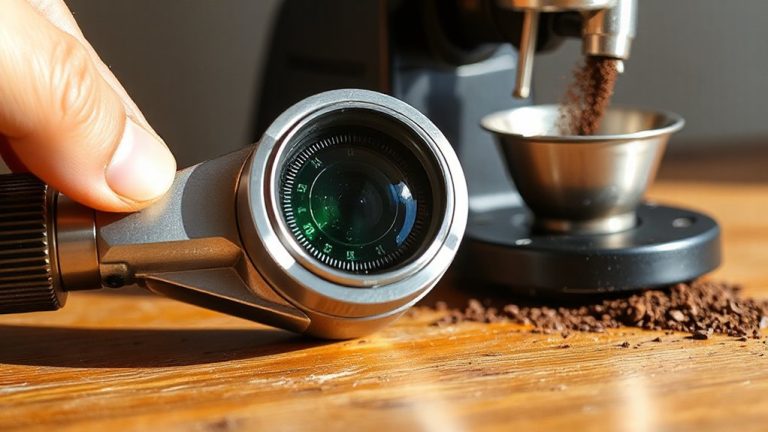
Regularly checking beans before grinding shouldn’t be reserved for special occasions-it’s a simple step that fits easily into your daily routine. You’ll catch issues early by making pre-grind checks a habit, especially when you prioritize bean freshness and grinder calibration. Stale beans grind unevenly and dull blades faster, so inspect for shine and aroma each time. If the beans look flat or smell off, they’re likely past peak freshness and will hurt your shot quality. At the same time, verify your grinder is properly calibrated-small shifts happen daily. Even a slight misalignment affects particle size, leading to under or over-extraction. Models like the Baratza Encore or Eureka Mignon require quick tweaks to stay accurate. Doing this daily takes under a minute but guarantees consistent dosing and flavor. Skip it, and you risk brewing blind. Make it standard, and your coffee stays predictable, clean, and repeatable every time. A well-maintained grinder ensures optimal performance, and selecting the best coffee grinders can make a significant difference in consistency and ease of use.
Keep Your Grinder Clean and Coffee Tasty
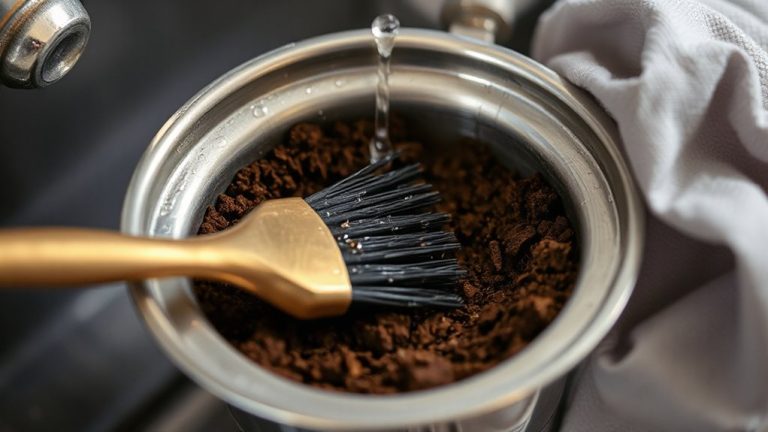
You’ve already made checking your beans and dialing in the grind part of your morning routine, but skipping cleaning your grinder can undo all that effort. Oily residue and old grounds build up over time, affecting grind consistency and flavor. Coffee absorbs moisture easily, so poor bean storage or inadequate moisture control can worsen clumping in the grinder, leading to clogs and uneven particle size. Grounds mixed with moisture promote mold and rancidity, especially in humid environments. Cleaning your grinder weekly-brushing out old residue and wiping burrs-keeps it running smoothly. For grinders, brush regularly and disassemble monthly if possible. Airtight containers in cool, dry places support proper bean storage and reduce static and clumping. Avoid freezing beans unless sealed perfectly-condensation harms more than it helps. Good moisture control and clean gear mean every shot or cup reflects the bean’s true taste, not leftover gunk.
On a final note
You should inspect beans before grinding to catch defects like chips, quakers, or foreign debris. These flaws disrupt grind consistency and hurt extraction. Use a lighted tray for fast, clear checks-takes less than a minute. Making it routine helps maintain flavor and grinder performance. Pair this habit with regular cleaning, and your shots or brews stay more predictable, batch after batch. It’s simple, practical, and effective.