How to Fix a Coffee Maker That’s Leaking From the Bottom
Unplug your coffee maker and check for loose screws or fittings in the housing-tighten them gently to avoid cracking plastic. Inspect the water reservoir for cracks; use food-safe epoxy for small leaks or replace it if damaged. Check the brew basket and boiler gaskets for wear, replacing them if brittle or flattened. Clear the water inlet valve with a paper clip and flush with vinegar. For persistent leaks, model-specific replacements from Keurig or Cuisinart may be necessary-knowing your machine’s exact issue leads to the right fix.
Notable Insights
- Unplug the machine and remove the water reservoir to inspect for loose fittings or cracks in the housing.
- Tighten any loose screws in the frame or casing, taking care not to crack plastic components.
- Check the water reservoir for cracks or a degraded seal, and replace it if damaged.
- Inspect and replace the brew basket gasket if it’s cracked, flattened, or no longer forms a tight seal.
- Examine the boiler gasket for wear or brittleness, and replace it if compromised to stop internal leaks.
Check for Loose Parts or Fittings
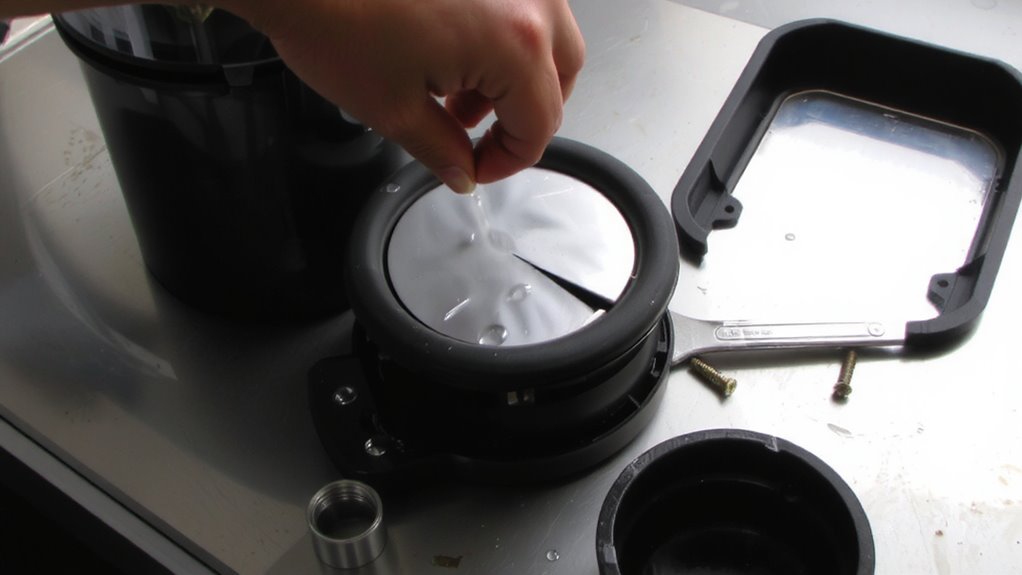
Ever wonder why your coffee maker is leaving puddles on the counter? Start by checking for loose parts or fittings-common culprits behind leaks. First, unplug the machine and remove the water reservoir. Inspect the base and internal components. Wiggling parts may reveal loose screws holding the housing or internal frame. Tighten them carefully with a screwdriver, but don’t over-tighten and risk cracking plastic. A damaged housing-cracked or warped-can also cause leaks, especially near joints or seams. Even small gaps let water escape during brewing. If you notice splits or brittleness in the casing, replacement may be needed. Some models, like older Mr. Coffee units, are prone to housing wear. While fixing loose screws is easy, a damaged housing often means the machine’s lifespan is ending. Regular checks help, but don’t ignore structural flaws-they won’t fix themselves.
Fix a Cracked Water Reservoir
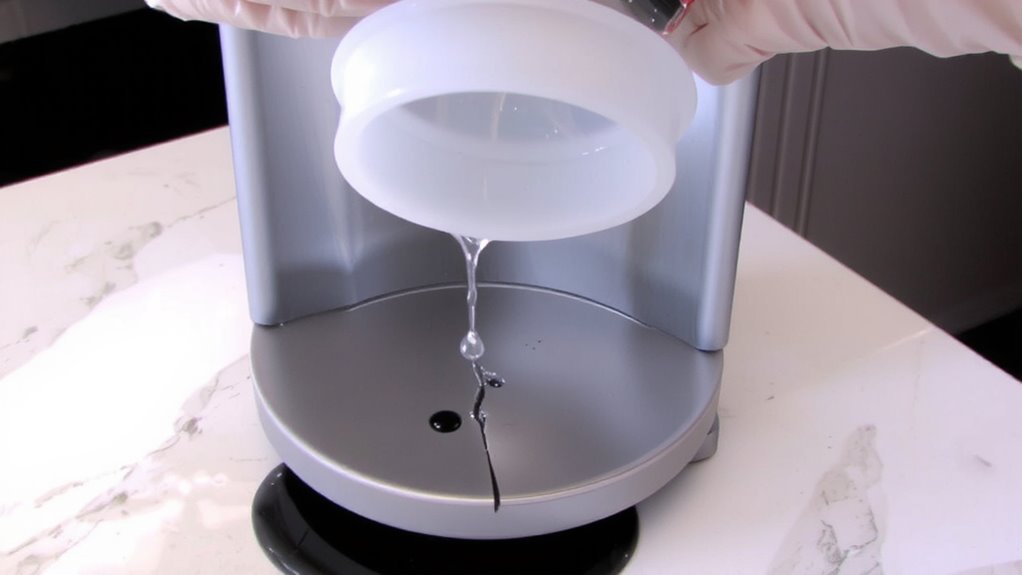
Why is water pooling around the base of your coffee maker during a brew cycle? A cracked reservoir could be the culprit. When the water tank is damaged, leaks form, especially under pressure. Don’t ignore it-this can lead to mold or electrical issues. For minor cracks, a food-safe epoxy might work as a temporary cracked reservoir repair. But if the damage is extensive, replacement is safer. Consider doing a reservoir seal replacement too, since seals degrade over time and can mimic crack symptoms.
| Option | Best For |
|---|---|
| Epoxy fix | Small cracks, short-term use |
| Reservoir replacement | Major cracks, long-term reliability |
Always unplug the unit first. Check your model number-brands like Keurig, Mr. Coffee, and Cuisinart have specific tank designs. A proper fix stops leaks and extends machine life.
Replace a Worn Brew Basket Gasket
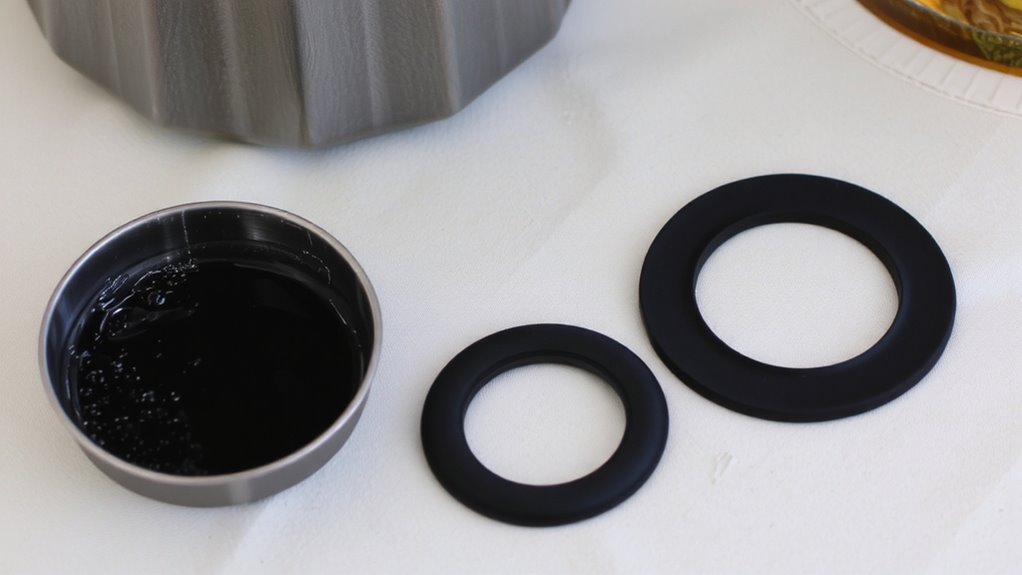
A cracked reservoir isn’t the only cause of leaks-sometimes the issue lies where the brew basket meets the machine. Over time, the gasket that seals the brew basket can wear out, leading to drips. To fix this, remove the basket and inspect the rubber ring around it. If it’s cracked, flattened, or brittle, it’s time for a replacement. Poor brew basket alignment can also worsen leaks, so make certain it clicks securely into place. When buying a new gasket, pay attention to gasket material quality-silicone tends to last longer and resist heat better than cheap rubber. Generic replacements may fit but often degrade faster. Stick to OEM parts when possible. Replacing the gasket is quick, inexpensive, and can stop leaks caused by worn seals.
Inspect the Boiler Gasket for Leaks
If you’ve already checked the brew basket and the leak persists, it’s time to look at the boiler gasket, a small but critical seal inside the machine that keeps pressurized water and steam contained during brewing. Over time, high boiler pressure and heat cycles can degrade this rubber gasket, compromising its seal integrity. A weakened gasket often causes slow drips or steam leaks from the bottom. To inspect it, power off and cool the machine, then remove the boiler cover-usually with a screwdriver. Look for cracks, warping, or brittleness. If the gasket’s flattened or damaged, it won’t maintain proper seal integrity under boiler pressure. Replacement is simple: unclip the old one, clean the surface, and press in a new OEM gasket. It’s cheap, widely available, and can restore full function. Don’t reinstall a compromised gasket-it’ll fail again quickly.
Clear a Clogged Water Inlet Valve
Where’s the water going if it’s not making it into the boiler? It might be backing up due to a clogged water inlet valve. Over time, mineral deposits or debris can block the inlet nozzle, restricting flow. When that happens, water pressure builds in the wrong places, which can force leaks at weak seals or seams-often under the machine. To fix it, unplug the coffee maker and remove the inlet valve if accessible. Check the inlet nozzle for visible gunk. Use a paper clip or soft brush to gently clear the opening-don’t scratch it. Flush the line with white vinegar to dissolve mineral buildup. Reassemble and run a water-only cycle to test flow. Models like Keurig K-Classic or Ninja Hot & Cold often have serviceable valves, while cheaper units may require replacement instead. Clearing the valve restores proper water pressure and can stop leaks before they worsen.
On a final note
Fixing a leaking coffee maker starts with checking loose parts and inspecting key components like gaskets and valves. Many leaks stem from worn seals or clogs, not major damage. Replacing a cracked reservoir or old gasket often solves the issue quickly and cheaply. For persistent leaks, examine the boiler or water inlet valve. Regular cleaning and maintenance prevent most problems. If fixes fail, consider replacement-some models aren’t worth repairing.