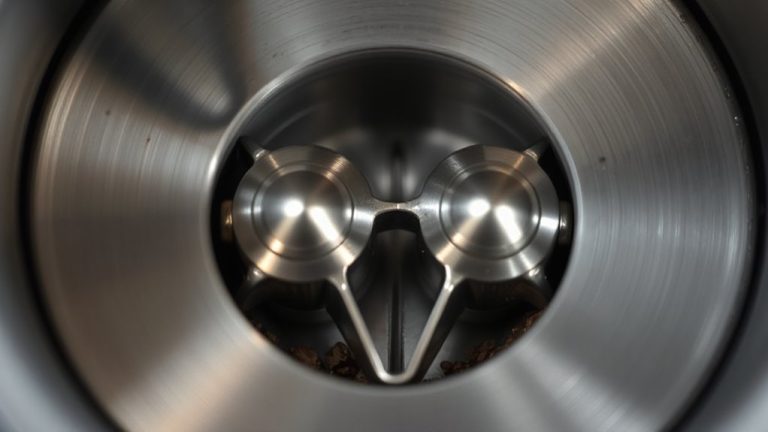
Why Your Grinder Is Producing Clumping Grounds
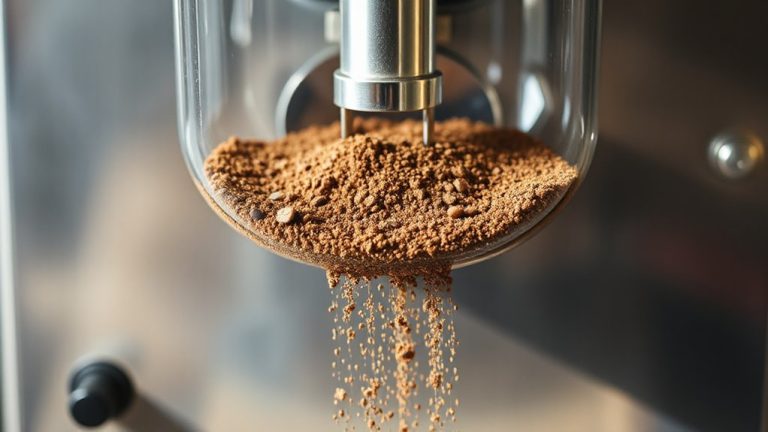
Your grinder produces clumping grounds because of inconsistent particle sizes, especially if the burrs are dull or misaligned. Humidity makes grounds absorb moisture, while oily dark roast beans trap it, increasing stickiness. Static electricity, common in plastic chambers like those in basic grinders, makes grounds cling. Try a metal-chamber model like the Baratza Vario or Lelit Velo. Adjust grind settings regularly and store beans in an airtight container-cold or damp beans worsen clumping. Tap the grinder after grinding to release stuck grounds, and consider upgrading to a high-quality burr grinder like the Mahlkönig EK43 for even results. You’ll find better control and fewer clumps with the right setup.
Notable Insights
- Poor grind consistency from dull or misaligned burrs creates uneven particles that promote clumping.
- High humidity causes coffee grounds to absorb moisture, leading to sticky clumps after grinding.
- Oily dark roast beans trap moisture and increase static, contributing to clumping during grinding.
- Plastic grinder chambers generate more static electricity, causing grounds to cling and form clumps.
- Incorrect grind settings or uncalibrated burrs produce fines that fill gaps and enhance cohesion.
Why Coffee Grounds Clump in Your Grinder
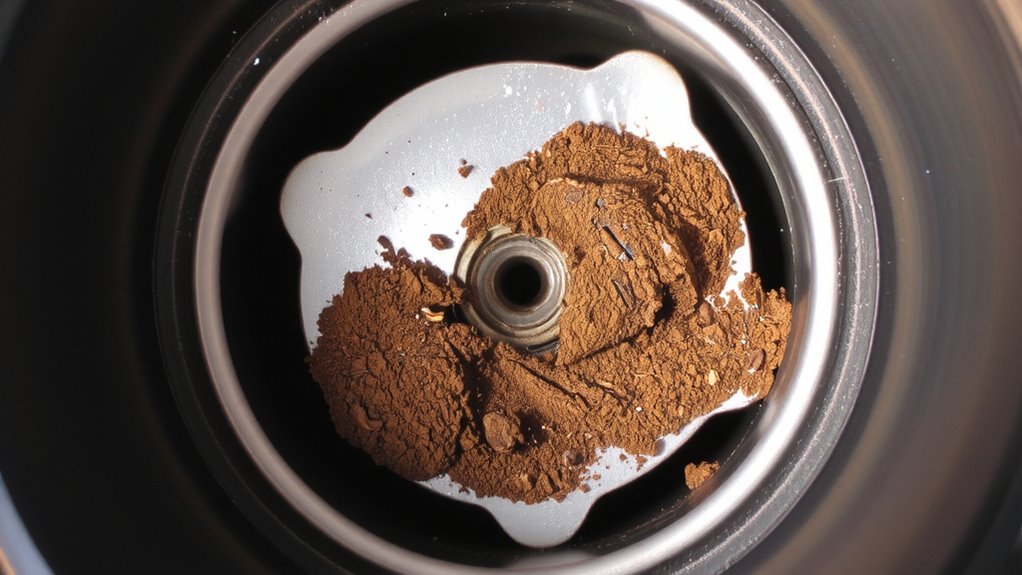
Your grinder’s tendency to clump isn’t just annoying-there’s a sign something’s off in the grinding process. Poor grind consistency often causes uneven particle sizes, letting smaller grounds fill gaps between larger ones. This boosts particle cohesion, making clumps more likely. High-quality grinders like the Baratza Encore or Mahlkönig EK43 produce more uniform particles, reducing this effect. If your grind looks patchy or feels dusty, the blades or burrs may be dull or misaligned. Uneven grinding also strains your brew method: espresso needs tight, even particles, while French press tolerates coarser but still consistent results. Adjusting grind size alone won’t fix clumping if the underlying issue is mechanical. Check for burr alignment, clean residues, and replace worn parts. For reliable results, invest in a grinder known for precision. Consistent output means less waste, better extraction, and fewer clumps slowing your workflow. A key factor in avoiding clumping is selecting one of the best coffee grinders based on performance and consistency.
How Humidity and Oily Beans Cause Clumping
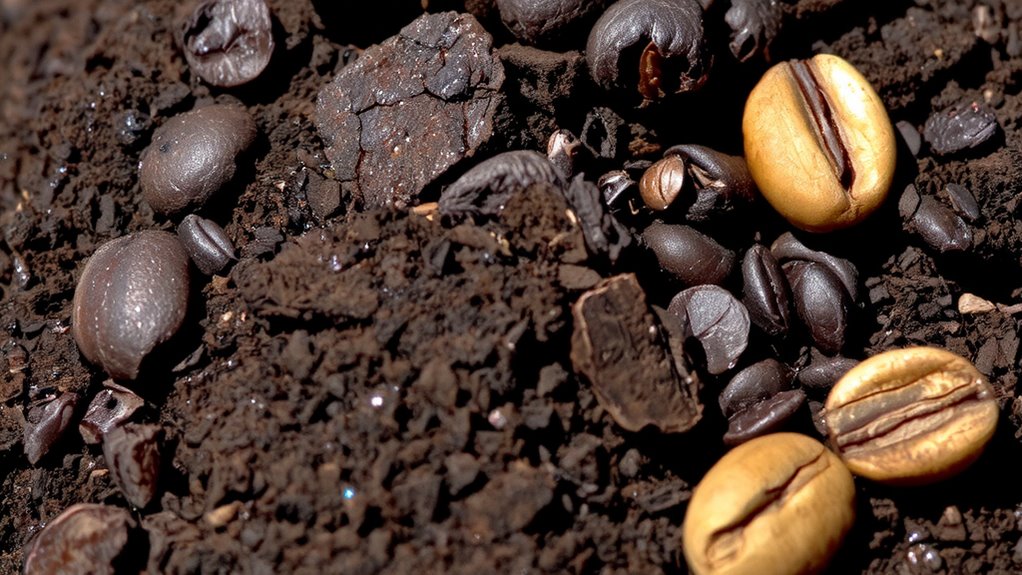
While moisture in the air might seem harmless, it’s a major culprit behind coffee ground clumping-especially in humid environments. When air humidity is high, your grinder’s grounds catch excess moisture, causing them to stick together. Oily beans make this worse, since their surface oils trap moisture and promote clumping. If you’re using dark-roasted beans, which often have higher bean moisture due to longer roasting, you’re more likely to see this issue. The combination of bean moisture and ambient air humidity creates a sticky situation literally. To reduce clumping, store beans in airtight containers away from steam and sinks. Grind just before brewing to limit exposure. Avoid refrigerating beans, as condensation increases surface moisture. Keeping your grinder clean also helps, since oil buildup retains humidity. Some grinders handle humidity better-ceramic burrs, for example, resist static and moisture better than steel in damp climates. Choosing the right best coffee grinders can significantly reduce clumping by improving grind consistency and minimizing static.
Stop Static-Induced Clumping in Your Grind
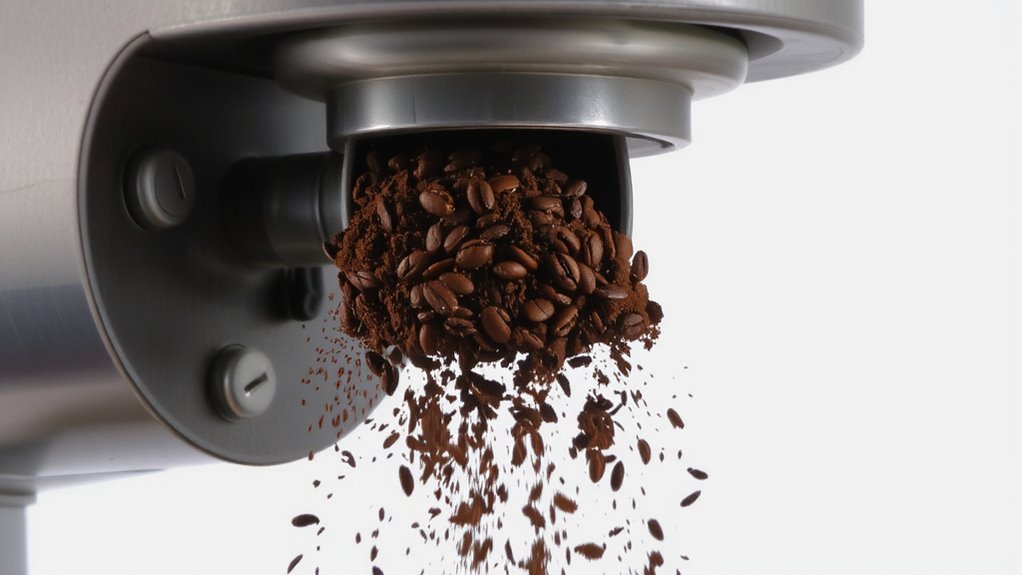
What if your coffee grinder’s clumping wasn’t about moisture but static electricity? That’s likely the culprit when grounds stick to your grinder’s walls or form clumps despite dry beans. As coffee beans crack during grinding, they generate an electrostatic charge, especially in low-humidity environments. This charge increases particle adhesion, causing fine grounds to cling together or to plastic components. Burr grinders, particularly those with plastic chambers, are more prone to this issue. To reduce static, try adjusting your brew time-grinding just before brewing minimizes charge buildup. A light tap on the grinder post-grind can dislodge stuck particles. Some users find that a small amount of ventilation or grounding the grinder helps. While metal chambers, like those in the Baratza Vario or Lelit Velo, reduce static better than plastic, no grinder eliminates it completely. For more insights on choosing a grinder that minimizes these issues, check out the top picks and buying guide.
Use the Right Grinder Setting to Prevent Clumps
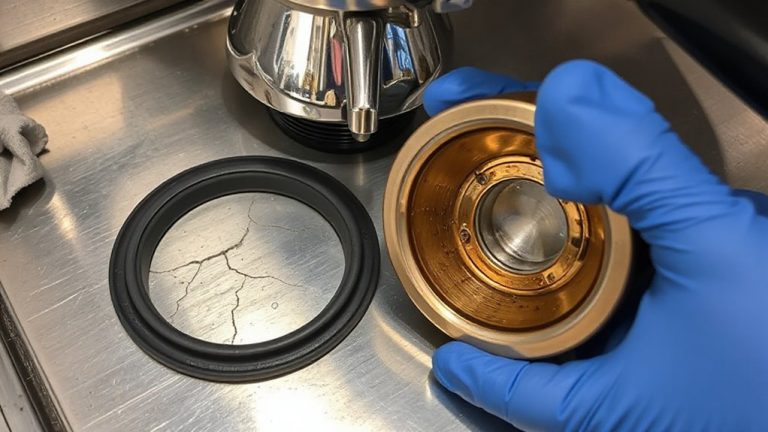
A single adjustment to your grinder’s setting can make a noticeable difference in reducing clumps. If your grounds are clumping, the issue might not be moisture or static-it could simply be an incorrect grind size. Too fine, and particles stick together; too coarse, and uneven extraction follows. Proper grinder calibration guarantees consistency, which minimizes clumping. Check your burr alignment, as misaligned burrs create uneven particle sizes that promote clumping. Most flat burr grinders allow minor adjustments to realign, while conical burr models may need manufacturer servicing. Brands like Baratza or Fellow often include tools or instructions for basic calibration. Don’t guess-adjust incrementally and test. Even small shifts in setting can improve flow and reduce clumps. Keep your grinder clean, recalibrate monthly, and verify burr alignment if performance drops. It’s practical maintenance that directly impacts grind quality.
How to Stop Clumping Before You Grind
If you want to stop clumping before it starts, begin by storing your beans properly-moisture is a main culprit, and exposure to humidity can make grounds stick together no matter how well you grind. Control pre grind moisture by keeping beans in a sealed container away from steam, sinks, or windows. Never refrigerate or freeze beans unless absolutely necessary, as condensation introduces moisture. Let them return to room temperature before grinding if chilled. Bean temperature matters-cold beans can shatter unevenly, increasing fines that clump. Grind right before brewing for the freshest, most consistent results. Avoid leaving beans out overnight in humid climates. Airtight jars like Airscape or simple mason jars work fine. Skip vacuum sealers unless you’re bulk-storing for weeks. The goal is stable, dry beans entering the grinder-this simple step cuts clumping dramatically and costs nothing.
On a final note
You can stop clumping by adjusting your grind setting slightly finer or coarser-experiment to find the sweet spot. Dry beans and low-humidity environments help, especially with oily dark roasts. Tap the grinder before dosing to settle grounds. For consistent results, use a burr grinder like the Baratza Encore or 1ZPresso Q2, and grind just before brewing. These steps reduce static and clumping, giving you a more even extraction every time.