Fix Espresso Machine Group Gasket Leaks (Under $10 DIY)
If water leaks around your espresso machine’s group head, the gasket is likely worn or damaged. Replace it by turning off the machine, letting it cool, and prying out the old gasket with a screwdriver. Clean the groove, then press in a matching-sized replacement, lightly greased with food-safe silicone. Make sure it’s seated evenly. Test with a brew cycle without coffee-look for leaks. Fixing alignment or reseating the gasket often solves seepage. A proper seal stops wobbling and improves extraction. Keep it clean and inspect it regularly. You’ll see how small tweaks make a real difference.
Notable Insights
- Shut off and cool the machine before removing the portafilter to safely access the leaking group gasket.
- Use a flathead screwdriver to gently pry out the old gasket, avoiding damage to the group head.
- Clean the gasket groove thoroughly to remove coffee oils and debris that could prevent a proper seal.
- Lubricate the new gasket lightly with food-safe silicone grease and press it evenly into the groove.
- Test for leaks by running a brew cycle without coffee and check for drips or steam at the group head.
Signs Your Group Gasket Is Failing
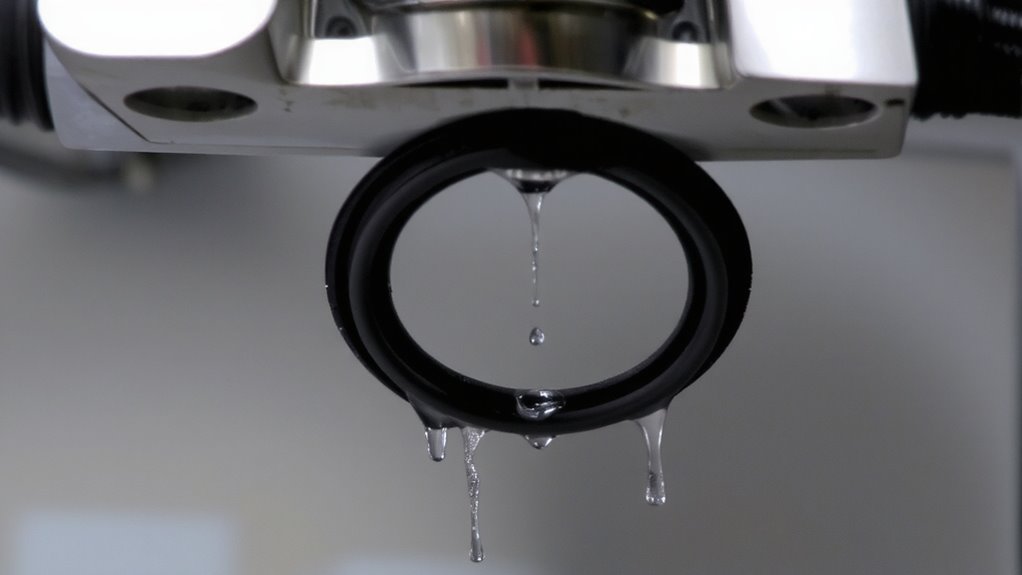
Wondering why water is seeping from the edge of your portafilter during brewing? It’s likely your group gasket is failing. One clear sign is a loose seal-when the portafilter locks in too easily or wobbles slightly, the gasket isn’t compressing properly. That gap lets water escape instead of flowing through the coffee. You might also notice visible cracks along the gasket’s surface. Even small splits can compromise the seal, especially under high pressure. Check it regularly: remove the portafilter and inspect the rubber ring in the group head. If it’s stiff, dried out, or has uneven wear, it’s time to replace it. A worn gasket won’t hold pressure, leading to messy leaks and poor extraction. Replacing it is simple and cheap-usually under $10 and takes minutes. Don’t wait; a failing gasket harms both machine performance and espresso quality.
What Causes a Leaky Group Gasket?
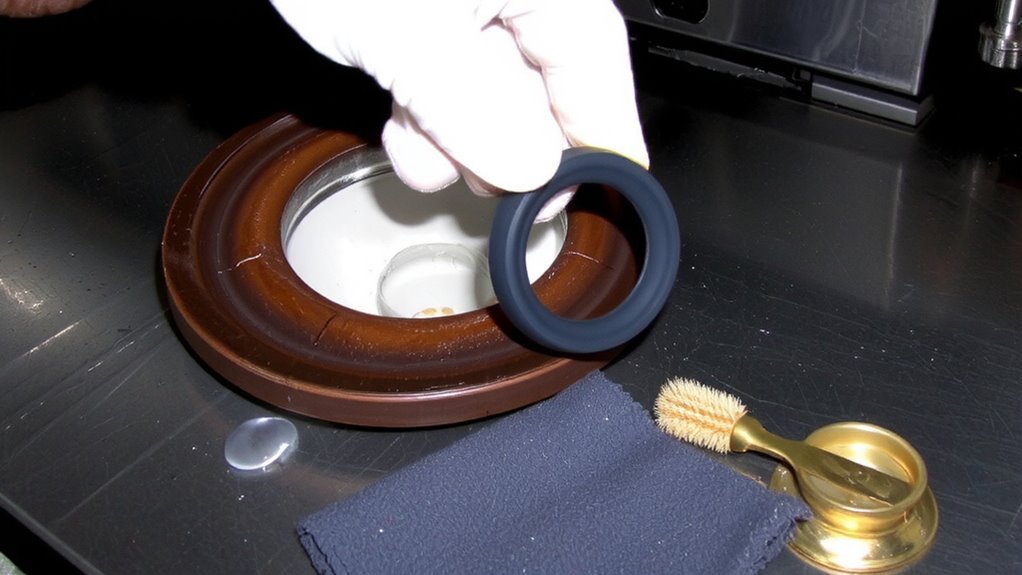
While a worn group gasket often leads to leaks, the root cause usually isn’t just age-it’s a mix of heat, pressure, and improper maintenance. You’re constantly exposing the gasket to high temps and steam, which degrades rubber over time. If you’re not cleaning it regularly, coffee oils and debris build up, accelerating wear. Material defects happen too-some gaskets have weak rubber or uneven thickness from the factory, making them fail faster. You might not notice it at first, but a flawed gasket won’t seal right under pressure. Installation errors are another common issue. If you overtighten the group head or misalign the gasket when putting it in, you’ll create gaps. Even a slightly twisted fit can cause leaks. Using the wrong replacement part for your machine model adds to the problem. Always check compatibility and follow proper fitment steps.
Remove the Old Group Gasket
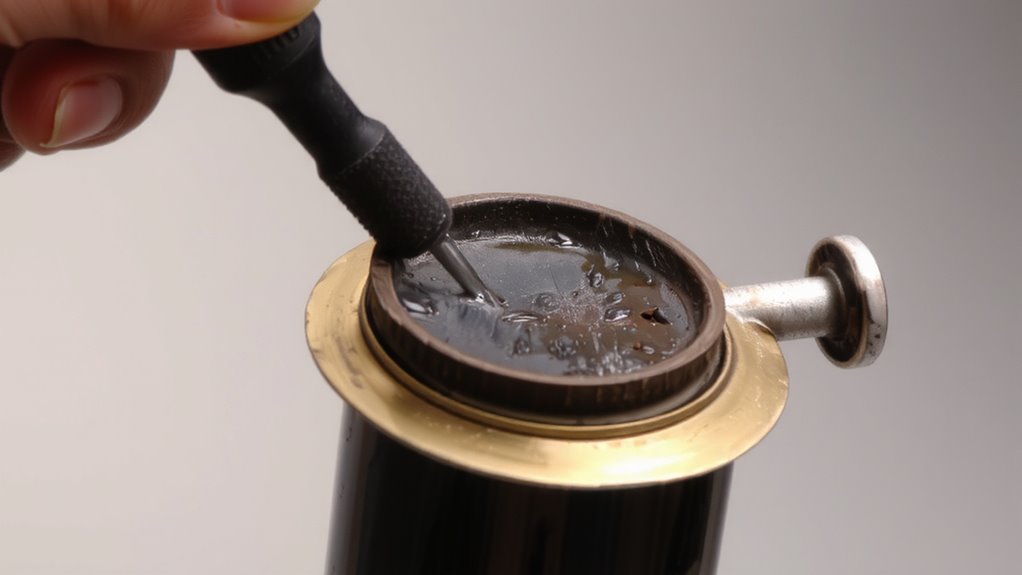
You’ll want to power down your espresso machine and let it cool completely before touching anything-working on a hot group head risks burns and makes removal harder. Once cooled, remove the portafilter and inspect the group gasket. Over time, gasket corrosion and seal deformation can cause leaks, reducing brew pressure and shot quality. Use a flathead screwdriver or a dedicated gasket removal tool to gently pry the old gasket from the group head’s groove. Work slowly to avoid scratching the metal surface-damaging it affects the new seal. If residue or corrosion remains, clean it with a soft brush or a non-abrasive cleaner. Avoid sharp tools that could gouge the group head. Check for deep grooves or pitting, which may require professional servicing. A clean, smooth surface guarantees the new gasket seals properly and prevents future leaks.
Install a New Group Gasket
A new group gasket should be installed with care to guarantee a proper seal and prevent leaks. Start by lightly lubricating the groove with food-safe silicone grease-this helps seat the gasket evenly and improves gasket alignment. Press the gasket into the group head by hand, working around the ring to avoid pinching or twisting. Make sure it sits flush and fully seated. Poor alignment can cause pressure leaks during brewing. Once installed, check the portafilter fit. It should lock in smoothly without wobbling or requiring excessive force. A tight, consistent fit guarantees even pressure and proper extraction. If the portafilter feels loose or binds, the gasket might be misaligned or the wrong size. Common sizes are 58mm or 54mm-confirm yours matches your machine model. Don’t overtighten the gasket retainer ring; hand-tight is enough.
Test for Leaks After Gasket Installation
How do you know the new gasket is doing its job? Run a pressure test to find out. Turn on your machine and let it heat up fully-this mimics real brewing conditions. Insert the portafilter and start a brew cycle without coffee, watching the group head closely. If you see drips or steam escaping around the edges, the seal check failed. That means the gasket isn’t seated right or could be slightly damaged. A solid seal means no leaks during the entire cycle. Some machines make this easier than others-older Lever models might need extra attention. If leaks persist, recheck the gasket alignment and make sure it’s fully pressed in. Repeat the pressure test until clean results confirm a proper fit. Don’t skip this step; a failed seal can cause inconsistent extraction or water damage over time.
How to Extend Your Group Gasket’s Lifespan
Now that you’ve confirmed the gasket seals properly under pressure, keeping it in good shape over time makes a real difference in performance and maintenance frequency. Regular cleaning prevents coffee oils and residue from degrading the rubber, which can lead to early leaks or warping. Remove the portafilter after each use and wipe it down-don’t let spent puck remnants sit. Backflush weekly with water or a mild cleaning solution if your machine allows it. Avoid harsh chemicals that break down rubber. When the machine’s off for long periods, guarantee Proper storage by leaving the portafilter unattached so air circulates. Keep the group head dry. Most gaskets last 6–12 months with care, but aggressive usage or hard water shortens that. Check every few months for brittleness or flattening. Replacing it proactively avoids surprise drips, but smart maintenance stretches each gasket’s usable life without sacrificing shot quality.
Fix Common Gasket Installation Mistakes
Getting the group gasket seated right matters more than most realize-it’s the main reason leaks pop up even with a fresh seal. Improper alignment is a common mistake; if the gasket isn’t perfectly centered in the group head, pressure forces water through weak spots during brew cycles. Always press it in evenly by hand before tightening. Another issue? Overtightened bolts. People think more torque equals a better seal, but that just deforms the gasket or cracks the group head. Use a screwdriver with moderate, consistent pressure-snug is enough. For machines like the Rocket R58 or Synca Go, follow the manufacturer’s torque specs if available. Let the gasket settle during the first few shots; don’t assume a small initial drip means failure. Double-check alignment and avoid brute force. These small steps prevent most post-installation leaks.
On a final note
You’ve replaced the gasket and checked for leaks-now your machine should seal properly during brews. A well-installed gasket lasts 6–12 months with daily backflushing and group head cleaning. Skip the shortcuts: misalignment or leftover debris causes leaks fast. Stick to OEM or proven aftermarket gaskets like those from La Marzocco or Rocket. This fix keeps pressure steady, shots consistent, and maintenance costs low.