How to Make a Single-Serve Pour Over Using a Ceramic Cone Brewer
Use a ceramic cone like the Hario V60 or Kalita Wave for better heat retention than plastic. Start with fresh beans-15–17 grams-and grind them medium-fine just before brewing. Boil water to 195°F–205°F, rinse your filter to remove paper taste and preheat the cone. Bloom the grounds with double their weight in water for 30–45 seconds. Pour slowly in concentric circles using a gooseneck kettle, keeping water within the bed. Total brew time should be 2.5 to 3.5 minutes. Adjust grind size to fix sour or bitter flavors-finer for sour, coarser for bitter. Tweaking one variable at a time gives you better control, and there’s more to learn about perfecting your method.
Notable Insights
- Use a ceramic cone with a paper or cloth filter for better heat retention and even brewing.
- Rinse the filter with hot water to remove paper taste and preheat the brewing setup.
- Grind 15–17 grams of fresh coffee to a medium-fine consistency, similar to table salt.
- Bloom the grounds by pouring twice the coffee’s weight in water and wait 30–45 seconds.
- Pour slowly in concentric circles with water between 195°F–205°F for a 2.5 to 3.5 minute brew.
Choose the Right Ceramic Cone and Fresh Beans
A good pour over starts with the right gear and beans, and your choice of ceramic cone can make a noticeable difference. Ceramic retains heat better than plastic or glass, giving you a more consistent brew. Popular options like the Hario V60 or Kalita Wave have distinct shapes-V60’s spiral ridges speed flow, while Kalita’s flat bottom promotes even extraction. Pair your cone with fresh, whole beans. Always check the bean origin and roast profile to match your taste. Light roasts highlight floral or fruity notes from regions like Ethiopia, while medium roasts from Guatemala offer balanced sweetness. Avoid pre-ground beans; grind just before brewing for maximum freshness. A burr grinder gives even particles, essential for clean flavor. Your gear and beans set the foundation-get them right, and the rest follows. For optimal results, use a medium-fine grind size, similar to the best coffee grinds for pour-over.
Boil Water and Prep the Ceramic Cone
You’ve picked your ceramic cone and fresher beans-now it’s time to get the water heating. Heat your water to the ideal brewing range: 195°F to 205°F. This water temperature guarantees proper extraction without burning the grounds. While the water heats, place your filter type-paper or cloth-into the cone. Rinse it with hot water to remove paper taste or settle the fibers, then discard the rinse water. This also preheats the cone, stabilizing the brew temp. Use a gooseneck kettle for better control during pouring. For precision pouring, consider using one of the best gooseneck kettles to maintain a steady, controlled flow throughout the brew.
| Feeling | With Rinsed Filter | With Dry Filter |
|---|---|---|
| Clean taste | High | Low |
| Paper aftertaste | None | Noticeable |
| Brew consistency | Stable | Unpredictable |
| Prep confidence | Confident | Doubtful |
This step sets the stage for a balanced extraction.
Weigh and Grind for a Balanced Brew
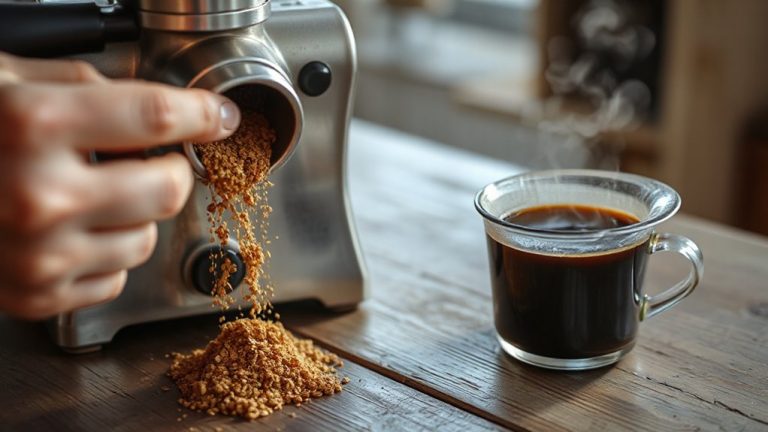
Every gram counts when aiming for a balanced pour over, so grab your scale and weigh 15 to 17 grams of coffee beans-enough for a single 8- to 10-ounce cup. Use a burr grinder for consistency; blade grinders create uneven particles that hurt extraction. Aim for a medium-fine grind size, similar to table salt-it’s ideal for ceramic cones. Too fine and your brew slows and may taste bitter; too coarse and it’ll be weak and sour. Match your grind to your water temperature: aim for 195° to 205°F. Water outside this range leads to under- or over-extraction, altering flavor fast. Ceramic cones retain heat well, so preheating matters. Adjust grind size in small steps if your coffee tastes off-this is more effective than changing water temperature. Consistency here sets the stage for even saturation and a clean, balanced cup. For the best results, choose a high-quality burr grinder that delivers uniform particle size.
Bloom the Coffee Grounds
Once you’ve poured just enough hot water to saturate the grounds-about twice the weight of the coffee-you’ll see the bloom begin to form, a crucial step that lets trapped carbon dioxide escape and prepares the bed for even extraction. This release guarantees a more consistent saturation rate, which directly affects flavor balance. You’ll notice the coffee puff up slightly, releasing a rich coffee aroma-this is a sign of freshness, especially if you’re using beans roasted within the past two weeks. Let the bloom last about 30–45 seconds; shorter for lighter roasts, slightly longer for darker ones. Avoid stirring or disrupting the surface, as that can alter flow and extraction. A proper bloom improves contact between water and grounds, minimizing channeling. If your coffee doesn’t bloom much, it may be stale or over-degassed. Fresh beans respond best, giving you a cleaner, more vibrant cup with better clarity and sweetness.
Pour Slowly in Concentric Circles
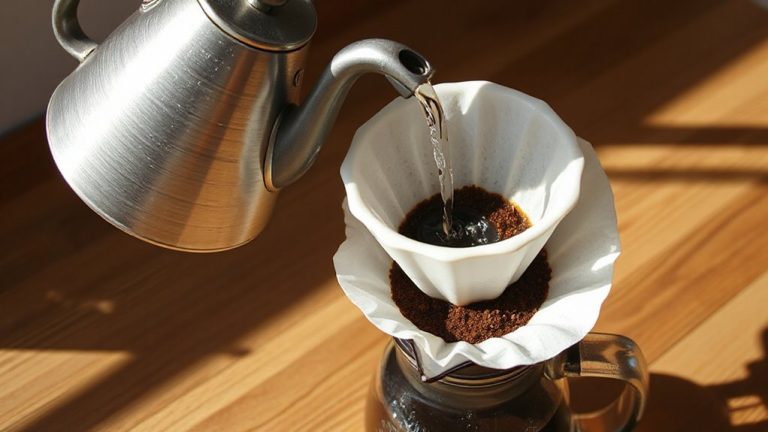
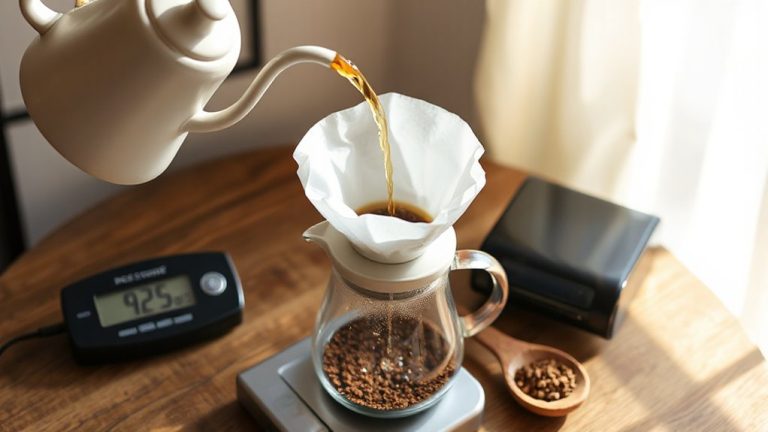
After the bloom settles and the initial gases release, it’s time to begin the main pour. Keep your water temperature between 195°F and 205°F for ideal extraction. Using a gooseneck kettle, pour slowly in concentric circles from the center outward, avoiding the filter edges. This guarantees even saturation and consistent brew time, typically around 2.5 to 3.5 minutes total.
| Pour Stage | Target Area | Approximate Time |
|---|---|---|
| First | Center to mid-ring | 0:00–1:00 |
| Second | Mid to outer ring | 1:00–2:00 |
| Third | Repeat pattern | 2:00–3:00 |
| Final | Small center pass | 3:00–3:30 |
Pause briefly between pours if needed to control flow. A steady, slow pace prevents channeling and under-extraction.
Tweak Your Brew for Taste
Why does one cup of pour over taste brighter than another, even when using the same beans? Because small changes in your brew method make a big difference. If your coffee tastes too sour, try adjusting the grind size finer-it slows extraction and adds body. If it’s bitter or dull, go coarser to cut back on over-extraction. You can also tweak water temperature: hotter water (around 205°F) boosts brightness and clarity, while slightly cooler water (195–200°F) tames acidity, useful for delicate or light-roast beans. Use a gooseneck kettle for control and a burr grinder for consistency. These tools let you make precise changes. Don’t change everything at once-test one variable at a time. Adjust grind size first, then tweak water temperature as needed. This methodical approach helps you dial in flavor without guesswork.
On a final note
You’ve brewed a clean, bright cup using minimal gear. Ceramic cones like the Hario V60 or Kalita Wave retain heat well and highlight flavor clarity, but they need a server or mug underneath. This method gives you control over time and temperature, better than most single-serve machines. If your coffee tastes weak, grind finer or slow your pour. For stronger results, adjust the ratio. It’s repeatable, quick, and ideal for one person who wants quality without fuss.