Cold Brew With a Mason Jar: No-Frills Method for Home Use
Use coarsely ground coffee-Ethiopian for floral notes or Colombian for chocolatey depth-and a wide-mouth mason jar with a tight-sealing stainless steel lid. Mix 1 cup grounds with 4 cups filtered water, steep 12–16 hours in the fridge for smooth results, then strain through a fine-mesh sieve lined with a paper towel. Skip sugar now and customize sweetness later. Room temp works but risks over-extraction; fridge steeping is safer. You’ll get cleaner flavor with minimal gear, and there’s more to fine-tune once you try variations.
Notable Insights
- Use a wide-mouth mason jar with a tight-sealing stainless steel lid for safe, odor-free cold brew storage.
- Grind coffee beans coarsely with a burr grinder to prevent over-extraction and muddy sediment.
- Mix one cup of coarse grounds with four cups of filtered water, stirring to fully saturate.
- Steep the mixture for 12–16 hours at room temperature or in the refrigerator without agitation.
- Strain through a fine-mesh sieve lined with cheesecloth or a paper filter for smooth, clean cold brew.
Choose the Right Coffee and Grind for Cold Brew
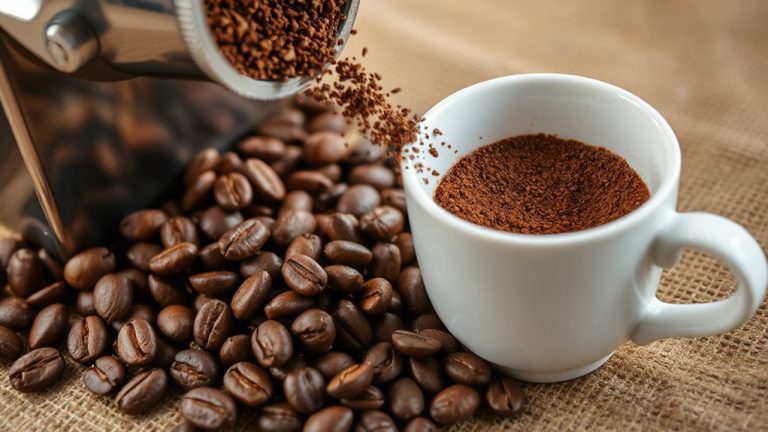
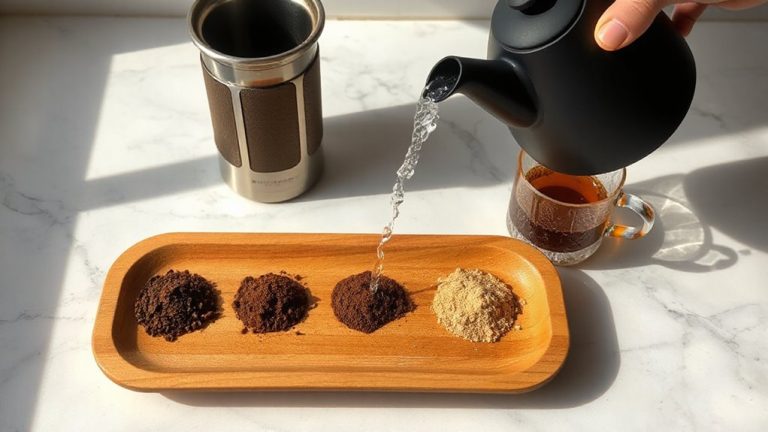
The foundation of a smooth, balanced cold brew starts with your coffee choice and grind size-get these wrong, and even the fanciest mason jar setup won’t save your drink. You’ll want a coarse grind to prevent over-extraction and muddy results; a blade grinder won’t cut it consistently-burrs are better. Coffee origins matter-beans from Ethiopia might add floral notes, while Colombian or Sumatran beans bring deeper chocolate or earthy tones. Lighter roast levels preserve acidity and complex flavors, but they can taste thin when cold-brewed. Most people prefer medium to dark roast levels for a fuller, smoother outcome. Don’t assume expensive beans work best; focus instead on freshness and roast date. Store your beans airtight, and grind just before brewing for best results. Pick what suits your taste, but start with tried profiles like Colombian medium roast. For optimal consistency, consider using a high-quality burr grinder designed specifically for cold brew.
Gather 3 Essentials for Mason Jar Brewing
You’ve picked your beans and got the right coarse grind-now it’s time to make sure you have the basics on hand to brew right. First, grab a wide-mouth mason jar-16 oz or larger-made of high-quality glass for solid glass durability. These jars handle temperature shifts well and resist cracking if handled properly. Always inspect the jar for chips to guarantee mason jar safety. Second, get a tight-sealing lid; stainless steel works best to prevent rust and keep air out. Third, use a fine-mesh coffee filter, reusable nylon bag, or cheesecloth to contain grounds during steeping. Avoid plastic jars-glass is non-porous and won’t absorb odors. Stick to trusted brands like Ball or Kerr for reliable construction. These three essentials keep your setup simple, safe, and effective. Prepare them now, and you’re ready to brew without hiccups.
Mix, Steep, and Strain in 4 Steps
Somewhere between simplicity and solid results lies this 4-step cold brew method using just your mason jar, no fancy gear needed. First, measure coarse-ground coffee using a 1:4 brewing ratio-about 1 cup grounds per 4 cups water. Use filtered water for better water quality, since chlorine or minerals can affect flavor. Second, mix the grounds and water thoroughly in your jar until fully saturated. Third, seal the jar and let it brew at room temperature or in the fridge-no agitation needed. Last, strain using a fine-mesh sieve lined with a paper towel or cheesecloth to catch fine particles. A French press or coffee filter setup works too, but the jar method costs less and saves space. This process yields a smooth, low-acid concentrate that lasts up to two weeks refrigerated. For those looking to upgrade, consider trying one of the top-rated at-home cold brew makers.
How Long Should You Steep Cold Brew?
Got your coffee and water mixed in that mason jar? Now it’s time to evaluate steep time. For cold brew, 12 to 16 hours is ideal. Less than 12 hours can leave your coffee weak and under-extracted; more than 18 might make it overly bitter. You’re aiming for a smooth flavor balance-rich without harshness. A 12-hour steep usually works well at room temperature, extracting more quickly. In the fridge, go closer to 16 hours for the same result. Room-temp steeping is faster but carries a slightly higher risk of off-flavors if left too long. Refrigerated steeping is safer and more consistent, especially in warm kitchens. Either way, seal the jar and let it sit undisturbed. No need to stir. After the time’s up, strain it well. That’s when you’ll taste the payoff of your chosen steep time-clean, balanced, and ready to dilute and serve. Those using a dedicated cold brew French press often find consistent results with minimal effort.
Sweeten, Flavor, or Boost Your Cold Brew
Want your cold brew to do more than just wake you up? You can easily enhance it with simple add-ins during or after brewing. Try tossing in cinnamon sticks or a splash of vanilla extract before steeping-both infuse smoothly and don’t need heat. For stronger flavor, leave them in longer. Or, customize your glass right before drinking to control sweetness and intensity.
| Add-In | How to Use | Flavor Effect |
|---|---|---|
| Vanilla extract | 1/4 tsp per cup | Sweet, smooth, aromatic |
| Cinnamon sticks | Steep with grounds, 1 stick | Warm, spicy, natural sweet |
| Simple syrup | 1 tbsp per 8 oz, to taste | Even sweetness, quick mix |
These options mix well, require no special gear, and let you adjust batch by batch. Vanilla extract adds depth without sugar, while cinnamon sticks offer bold warmth. Choose what fits your taste and keep it simple.
Keep Your Cold Brew Fresh and Strong
While cold brew can stay fresh for days, storing it the right way guarantees it keeps its smooth flavor and strength. Use airtight containers like mason jars or glass bottles-plastic can retain odors and affect flavor preservation. Keep your cold brew in the fridge at all times; warmer temps speed up degradation. Exposure to light and air ruins quality fast, so seal it tight and store it in the back of the fridge, away from the door. Don’t dilute the entire batch-pour what you’ll drink and leave the rest concentrated. That way, you maintain strength over time. Good storage methods mean fewer volatile compounds escape, preserving the clean, rich taste. Avoid freezing unless you’re making ice cubes, as texture changes can occur. For best results, consume within 7–10 days. Smart storage equals consistent quality.
On a final note
You’ve got all you need to make solid cold brew at home. A mason jar, coarsely ground coffee, and time do the work-no fancy gear required. Steep 12–16 hours, strain well, and refrigerate. It stays strong for up to 2 weeks. Add milk, sweetener, or ice as you like. Compared to store-bought, it’s cheaper and just as good. Just keep it sealed and cold.