The Complete Routine for Cleaning a Cold Brew Coffee Maker After Every Use
Rinse all parts right after use to wash away grounds and oils. Disassemble the pitcher, lid, and filter, then scrub the mesh with a soft brush. Wash everything with mild dish soap and warm water, avoiding abrasives that scratch surfaces. Rinse well to prevent residue. Let all pieces air-dry fully on a clean towel-don’t reassemble until completely dry. Use a vinegar-water mix weekly to cut odors and buildup.
Notable Insights
- Disassemble all components immediately after use and rinse under warm water to remove coffee grounds and oils.
- Scrub the filter mesh thoroughly with a soft brush to prevent clogs and bacterial buildup.
- Wash all parts with mild dish soap and warm water, then rinse completely to eliminate residue.
- Air-dry every piece fully on a clean towel, ensuring no moisture remains before reassembly.
- Avoid abrasive cleaners and use a vinegar-water solution occasionally to safely descale and deodorize.
Why You Should Clean Your Cold Brew Maker After Every Use
You should clean your cold brew maker after every use-without exception-because leftover coffee grounds and moisture create a breeding ground for mold, bacteria, and rancid oils that affect taste and safety. Bacterial growth can occur within hours, especially in warm environments, turning your maker into a risk for mild illness over time. Even if you don’t see visible grime, microbial presence is likely. Flavor contamination is another serious issue; old oils and residues seep into fresh batches, producing a stale, off-tasting brew. Materials like plastic or glass retain odors differently, but all types need prompt rinsing. Skipping cleaning just once starts a cycle of buildup that’s hard to reverse. Trusting a quick wipe isn’t enough-residual moisture fosters microbes. Daily cleaning stops bacterial growth before it starts and guarantees clean flavor extraction. Consistent maintenance protects your investment and health while delivering better coffee every time.
How to Clean Your Cold Brew Maker – Step by Step
A clean cold brew maker starts with a consistent routine. After each brew, disassemble the pitcher, lid, filter, and any removable parts. Rinse them immediately under warm water to remove coffee grounds and oils that can dull your brew strength over time. Use a soft brush or sponge to scrub the filter mesh thoroughly-clogged filters alter extraction and weaken flavor profile. Wash all pieces with mild dish soap, then rinse completely to avoid residue. Let components air-dry fully before reassembling to prevent mold or moisture buildup. For makers with plastic parts, avoid abrasive scrubbers that cause scratches where bacteria can hide. Glass carafes are easier to clean and maintain long-term taste purity. Regular cleaning guarantees every batch has full-bodied flavor profile and consistent brew strength. Skipping steps may save time now but harms performance later.
Best Cleaners and Tools for Cold Brew Makers
Just rinsing parts after each use keeps build-up at bay, but a deeper clean needs the right tools and cleaners to do the job right. Use a mild dish soap with warm water for daily cleaning-most cold brew makers are dishwasher-safe, but handwashing with a natural bristle brush helps remove oils without scratching surfaces. Natural bristle brushes are gentle on glass and plastic but avoid using them on metal parts to prevent bristle shedding. For tougher residue, a stainless scrubber works well on metal components like filters or carafes, but skip it on delicate surfaces. Avoid bleach or abrasive powders-they damage materials and leave lingering tastes. White vinegar mixed with water (1:1) is a safe, effective natural cleaner for descaling and removing odors. Always rinse thoroughly to prevent flavor contamination. These tools and cleaners maintain your brewer’s performance and longevity. Coffee enthusiasts appreciate maintaining their equipment to ensure the best Top Coffee Picks experience.
How to Dry and Reassemble Without Mold or Off-Flavors
One wrong move during drying or reassembly can introduce mold or off-flavors, so it’s essential to get this step right. After washing, place all parts on a clean, dry towel in an open area to guarantee proper air circulation-this helps moisture evaporate quickly and prevents mold growth. Avoid stacking or enclosing pieces; instead, spread them out, especially the filter and brewing chamber. Let them dry completely, preferably overnight. For filter maintenance, inspect the mesh or cloth regularly for residue or tears, as trapped particles can taint flavor. If your maker uses a permanent filter, rinse it well and let it dry separately. Plastic parts can absorb odors over time, so occasional vinegar soaks help. Reassemble only when every piece is fully dry. A quick wipe-down before storage keeps buildup at bay and guarantees your next batch stays clean and fresh. Owners of best at-home cold brew makers often report longer durability when following thorough drying protocols.
Mistakes That Make Cold Brew Bitter
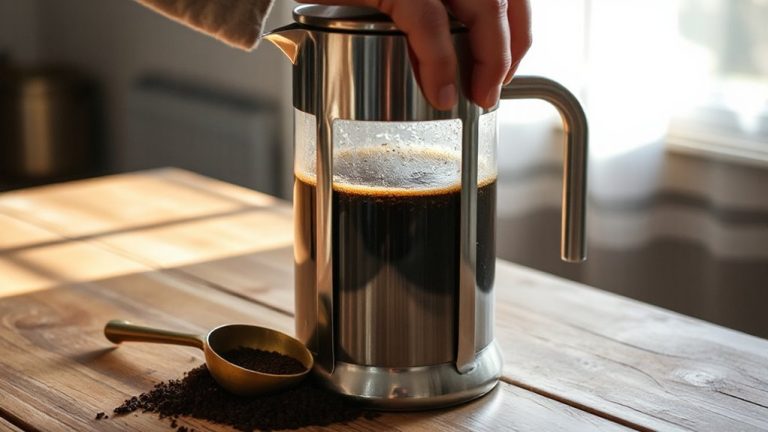
While it might seem like a longer steep time or stronger ratio always means bolder flavor, over-extracting your grounds is one of the quickest ways to turn cold brew bitter. Using the wrong grind size or exceeding the ideal steep time pulls out harsh compounds. Aim for a coarse grind-too fine increases surface area and speeds up extraction, leading to bitterness. Stick to 12–16 hours; beyond that, steep time often does more harm than good. Choosing the right cold brew French press can help maintain consistent grind and steeping conditions for smoother results.
| Mistake | Result |
|---|---|
| Grind size too fine | Over-extraction, bitter taste |
| Steep time over 16 hours | Increased bitterness, flat profile |
Don’t assume stronger means better. Adjusting grind size and monitoring steep time are simple fixes that make a noticeable difference. Keep both in check to preserve smoothness.
On a final note
You should clean your cold brew maker after each use to prevent oil buildup and mold. Use warm, soapy water or a vinegar solution, then rinse well. Let all parts air-dry fully before reassembling-this stops moisture traps that cause off-flavors. Avoid harsh scrubbing; a soft brush works better. Glass and stainless steel models tend to hold up better than plastic. A clean maker means smoother, better-tasting coffee every time.