Proper Method for Cleaning a Vacuum Coffee Maker’s Lower Chamber Daily
Let it cool for 15–20 minutes after brewing so the glass won’t crack and pressure can normalize. Once at room temperature, twist the lower chamber counterclockwise to remove it-don’t force it. Use a soft sponge with mild, fragrance-free soap and warm water to clean the inside gently. Rinse well under lukewarm water to remove all soap residue, then air-dry upside down on a clean towel. Check for cracks, cloudiness, or gasket wear before reassembling. Make sure all parts are dry and properly seated to avoid leaks or flavor issues next time. Proper care keeps your brew clean and your gear lasting longer. You’ll also want to know how different materials affect maintenance over time.
Notable Insights
- Let the vacuum coffee maker cool for 15–20 minutes after brewing to prevent thermal shock and burns.
- Disassemble the lower chamber only when fully cooled, twisting gently to separate from the upper chamber.
- Clean the lower chamber with a soft sponge, mild dish soap, and warm water to avoid scratches.
- Rinse thoroughly under lukewarm water to remove all soap residue and prevent flavor contamination.
- Dry completely upside down on a clean towel before reassembling to ensure no moisture or residue remains.
Let the Vacuum Coffee Maker Cool Before Cleaning
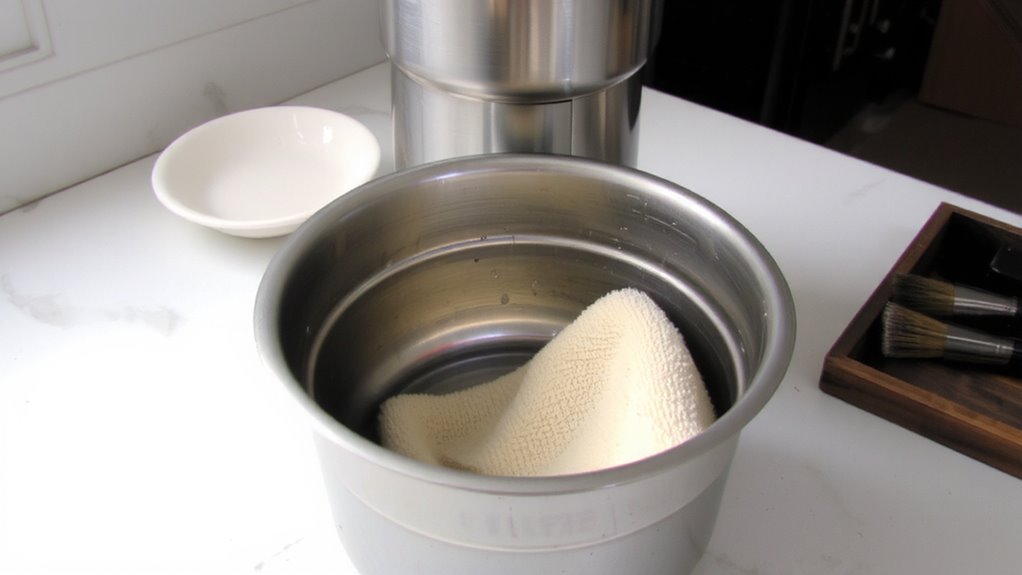
Once you’ve finished brewing, don’t rush to disassemble the vacuum coffee maker-let it cool completely before cleaning, since handling hot glass increases the risk of cracking or burns. This step is essential for both temperature control and safety precautions. Sudden contact with cold water or surfaces can cause thermal shock, especially in glass chambers. Even if the brew religions feels warm rather than hot, waiting guarantees internal pressures normalize. Leaving it undisturbed for 15–20 minutes is usually enough. Avoid cleaning it while placed on a cold countertop or near drafts, which may worsen stress on the glass. Planning ahead helps-start cleanup only when all parts are at room temperature. Following this simple rule extends your device’s lifespan and keeps your routine predictable. It’s a small delay that prevents costly mistakes and supports consistent, safe use.
Remove and Disassemble the Lower Chamber Safely
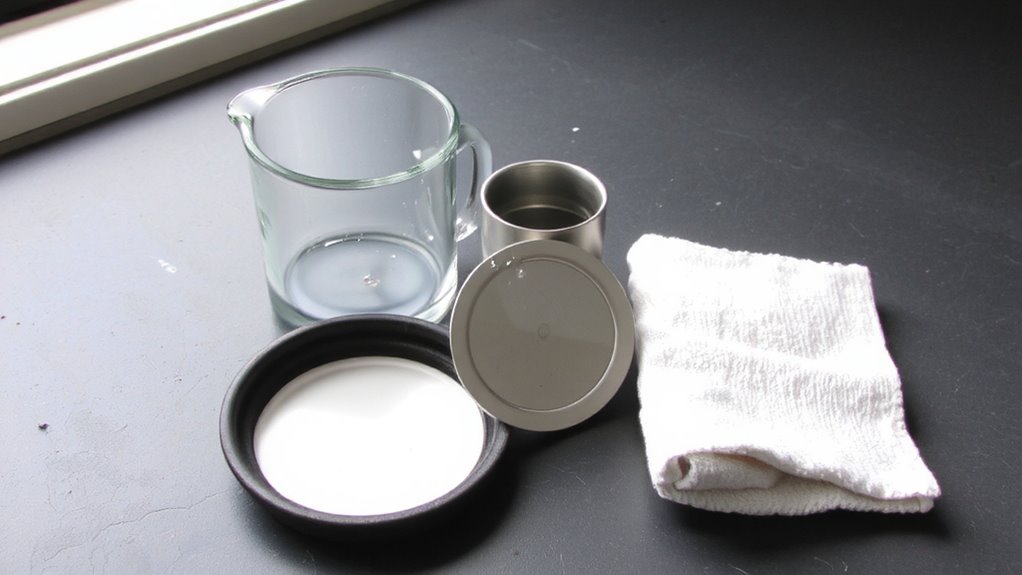
After the vacuum coffee maker has cooled completely, carefully separate the lower chamber from the upper assembly. Grip both parts firmly and twist counterclockwise-don’t force it, as excessive pressure can damage the glass or joints. Once detached, disassemble any removable components like the filter stem or valve, if applicable. This step is essential for thorough chamber inspection. Look for cracks, cloudiness, or mineral buildup that could affect performance. Check the rubber gasket at the base; if it’s brittle or misshapen, note it for seal replacement soon-worn seals cause pressure leaks and failed brews. Avoid submerging the entire base unit in water unless the manufacturer specifies it’s safe. Keep small parts organized to avoid loss. Proper disassembly guarantees effective cleaning and helps spot early signs of wear, maintaining your brewer’s reliability.
Use a Soft Sponge and Mild Soap to Clean the Chamber
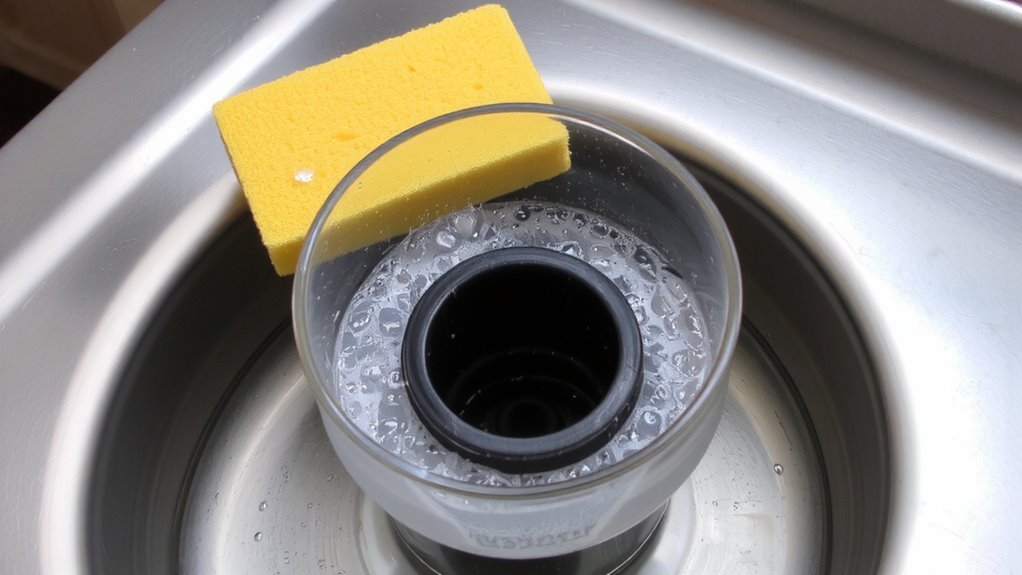
While the lower chamber is free of stubborn grime, tackle it with a soft sponge and a few drops of mild dish soap mixed in warm water. The sponge texture should be non-abrasive-like a standard dish sponge’s gentle side-to avoid scratching glass or metal surfaces. Avoid steel wool or scrubby pads; they can damage the chamber over time. Use only a low soap concentration: too much leaves residue that affects coffee flavor. Most dish soaps work, but fragrance-free options like Seventh Generation or dish-specific cleaners reduce the risk of lingering tastes. Gently circle the sponge inside the chamber, focusing on areas with light buildup. You don’t need pressure-just consistent motion. This method preserves the chamber’s integrity while effectively removing daily oils and residue. It’s fast, safe, and ideal for daily care, especially when done right after disassembly.
Rinse and Dry the Lower Chamber Thoroughly
Rinse the lower chamber under warm running water, tilting it to guarantee every trace of soapy film washes away-leftover soap can taint your brew with off-flavors. Keep the water temperature lukewarm; too hot might stress the glass, while too cold won’t effectively remove oils. Swirl the water inside to assure full coverage, then empty and repeat if needed. After rinsing, shake off excess water and place the chamber upside down on a clean, dry towel. Let it air-dry completely-don’t towel-dry, as lint or fibers may stick. Proper air circulation is key, so choose a well-ventilated spot away from clutter. If you’re in a humid environment, leaving the chamber near a fan for 10–15 minutes speeds drying without risk. Making certain it’s fully dry prevents water spots and microbial growth, both of which could affect your next brew’s quality.
Reassemble for Next Brew Without Residue or Damage
You’re ready to put the vacuum brewer back together, and doing it right means checking each piece for cleanliness and damage before reassembly. Inspect the lower chamber for cracks or cloudiness-compromised glass integrity can lead to breakage during heating. Verify all joints and seals are residue-free to maintain proper temperature control. Reassemble only when every part is dry and intact.
| Component | Reassembly Check |
|---|---|
| Lower chamber | Confirm glass integrity |
| Upper chamber | Clear of oil or grounds |
| Siphon tube | Secure, no cracks |
| Filter assembly | Properly seated and clean |
Handle the glassware gently to avoid stress points. A well-reassembled brewer verifies consistent temperature control and prevents leaks or shattering. Never force parts together-misalignment risks damage. With everything correctly positioned, your brewer is ready for reliable, high-quality coffee.
On a final note
Let it cool, then take it apart carefully. Wash the lower chamber with a soft sponge and mild soap-avoid abrasives to prevent scratches. Rinse well to remove all soap residue, then dry completely to stop water spots or mineral buildup. Reassemble only when fully dry to avoid damage. Doing this daily keeps your vacuum coffee maker working right and your coffee tasting clean.