Cold Brew Dilution Ratios: 1:1, 2:1, and 1:2 Explained
Start with a 1:1 mix of cold brew concentrate and water or milk for a balanced drink. Use filtered water to keep flavors clean, and chill your milk to preserve strength. Oat milk, like Oatly or Califia, gives a creamy, smooth result, while almond milk is lighter but may separate. Adjust to taste-try 2:1 for stronger, 1:2 for weaker. Ice choice matters; large cubes melt slower. Stick to cold ingredients to avoid dilution surprises, and you’ll get the best results every time. There’s more to fine-tuning your ideal cup just ahead.
Notable Insights
- Start with a 1:1 ratio of cold brew concentrate to water or milk for balanced flavor and adjust to taste.
- Use filtered water to preserve clean flavor and avoid impurities that affect taste during dilution.
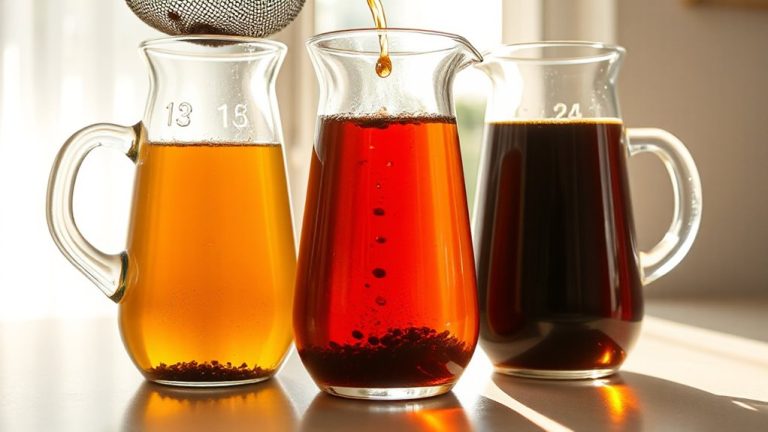
- For stronger coffee, try a 2:1 concentrate-to-diluent ratio; for milder, use 1:2 with water or milk.
- Oat milk is ideal for creaminess and sweetness, especially barista versions designed for cold brew.
- Always dilute with cold liquids and over ice to maintain temperature and prevent rapid melting or bitterness.
How to Dilute Cold Brew: Start With the Right Ratio
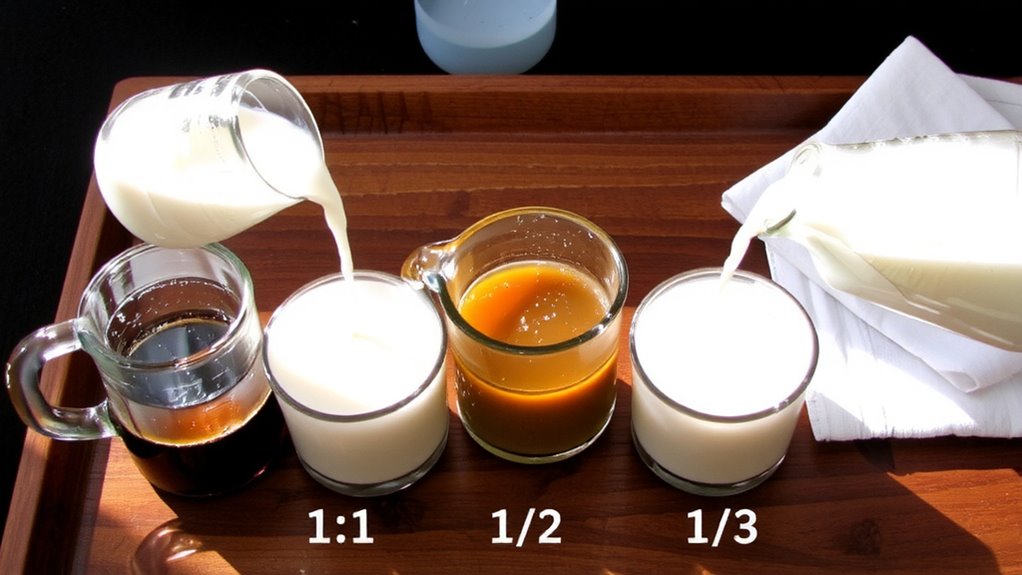
Most baristas agree that a 1:1 ratio of cold brew concentrate to water is a solid starting point. You can adjust later, but this balance typically delivers a smooth, drinkable strength without wasting concentrate. Use filtered water-it’s better for flavor extraction and won’t introduce off-notes. When pouring over ice, consider your ice texture; smaller or crushed ice melts faster, increasing dilution. Larger cubes melt slower, preserving strength and mouthfeel. If you steeped your grounds for 12–16 hours (standard brewing time), the concentrate should be robust but not overly bitter. Avoid diluting too much too soon-start with equal parts and taste. This ratio also works well with milk or non-dairy alternatives if you’re switching later. Keep your brewing time consistent so you can reliably tweak dilution. Precision helps replicate results, especially when scaling up batches. For best results, pair your dilution method with one of the top-rated cold brew coffee makers to ensure optimal extraction and flavor consistency.
Make It Stronger or Weaker Based on Taste
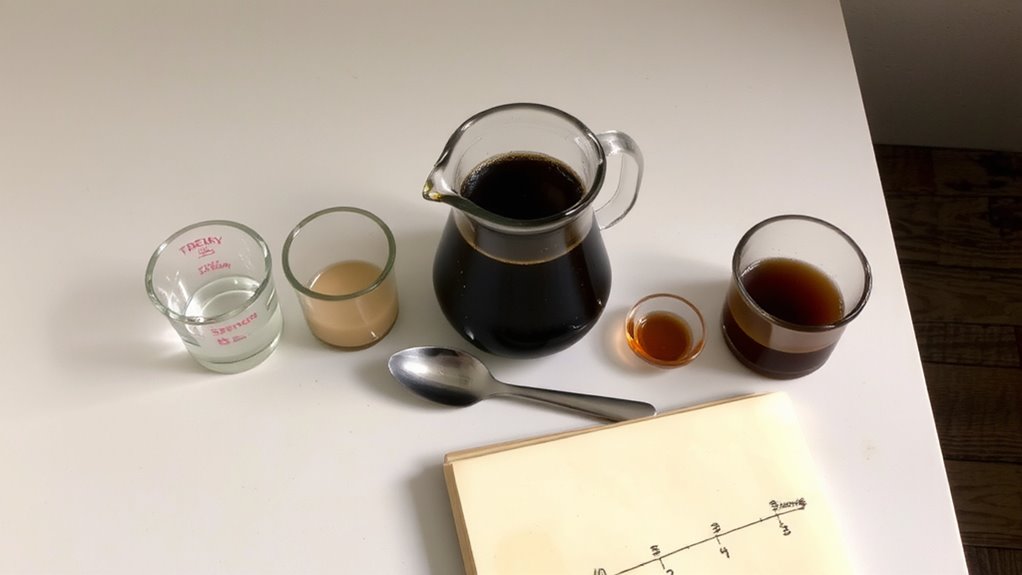
How does your cold brew taste straight from the concentrate? If it’s too intense, you’re not alone-most find it overly strong. That’s where dilution comes in. Start with a 1:1 ratio of concentrate to water, then adjust. Want it bolder? Use less water. Prefer it smoother? Add more. This is all about custom strength. Personal preference plays the biggest role; no single ratio fits all. Some like a robust 2:1 concentrate-to-water mix, while others go as light as 1:2. Taste as you go-small additions make a difference. Use cold water to preserve flavor. Room temperature or warm water can mellow the profile too quickly. Adjusting strength isn’t about rules-it’s about what suits your palate. Whether you’re pouring into a glass or a travel tumbler, fine-tune each batch. Your brew, your call. Keep notes if needed. Consistency helps refine your method.
Diluting Cold Brew With Milk: What Works Best
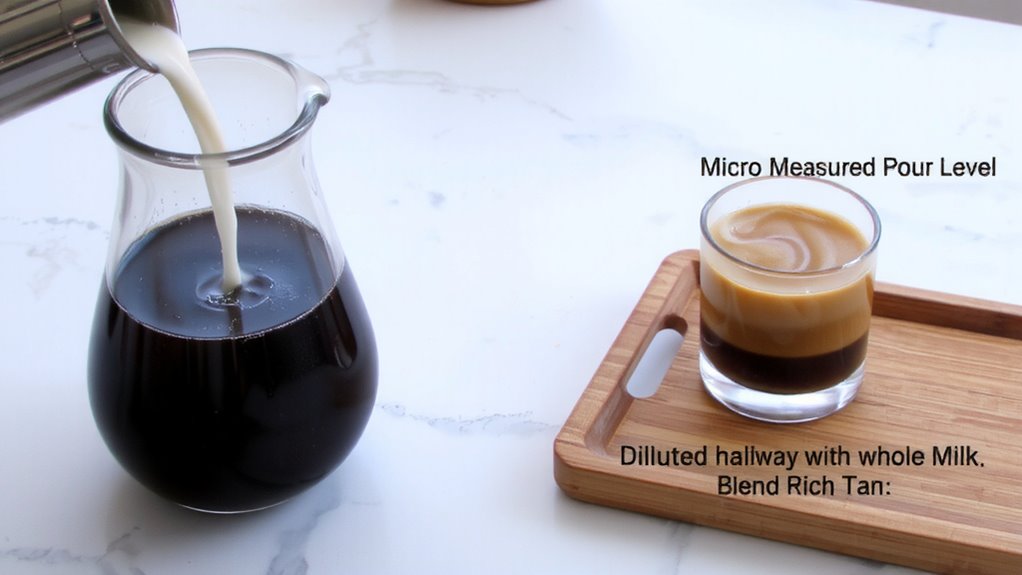
Cold brew’s smooth, low-acid profile pairs well with milk, giving you a creamy, balanced drink when diluted right. You’ll want to factor in milk temperature-cold milk preserves the chilled strength of your concentrate, while warmed milk subtly softens bitterness but risks melting ice too fast. For best results, pour milk over ice first, then add cold brew to maintain control over dilution. If you like foam, milk temperature also affects foam consistency: colder milk yields looser, thinner foam, while slightly warmed milk creates denser, longer-lasting bubbles-ideal if you’re using a handheld frother. Whole milk gives a richer mouthfeel and more stable foam consistency than skim or plant-based options, though those can work with added stabilizers. Aim for a 1:1 ratio of cold brew to milk, then adjust to taste. For optimal flavor extraction, consider using coarse-ground coffee specifically recommended for cold brew methods.
Best Milks for Creamy Cold Brew
The creamiest cold brew results come from milks that blend smoothly with concentrate without separating or overpowering the coffee’s natural flavors. You’ll find oat milk is a top pick-it’s rich, slightly sweet, and emulsifies well with cold brew, creating a smooth mouthfeel. Brands like Oatly and Califia Farms perform consistently when mixed chilled. Almond milk is lighter and lower in calories, but it can separate in high-acid brews and often tastes nuttier, which might clash with delicate coffee notes. It works best if you prefer a thinner texture and are okay with subtle flavor shifts. Whole dairy milk also delivers creaminess, but it’s not plant-based. For barista-style blends, oat milk generally outperforms almond milk in stability and flavor balance. Choose based on your taste preference and dietary needs, but if creaminess is your goal, oat milk is your best bet. For even better texture when mixing with cold brew, consider using oat milk formulated for barista edition performance.
Cold Brew-Based Iced Coffee Recipes
Once you’ve got a batch of cold brew concentrate ready, turning it into invigorating iced coffee drinks is quick and customizable-just dilute it with water or milk to taste, typically in a 1:1 ratio, then pour over ice. For flavor pairings, try oat milk with vanilla syrup or almond milk with cinnamon; dark roast pairs well with chocolate notes, while light roasts complement citrus or berry syrups. Serving suggestions include garnishing with a citrus twist or a sprinkle of cocoa for a refined touch. Use a mason jar or double-wall tumbler to keep drinks cold longer. If you’re adding sweeteners, stir well to guarantee even mixing. For a creamier texture, blend the cold brew with ice and milk for a frappe-style drink. These recipes work best with coarse-ground, slowly steeped concentrate to avoid bitterness. Adjust ratios based on roast strength and personal taste-stronger brews may need more dilution.
Top Cold Brew Mistakes That Ruin Flavor
While you might think brewing cold brew is as simple as mixing coffee and water, skipping key steps can easily lead to flat or bitter results. Using a too-fine grind increases over extraction risk, pulling out harsh compounds over time. You’re better off with a coarse grind, like what you’d use for a French press. If your brew tastes weak or sour, you likely have under brewing time-most recipes need 12 to 16 hours. Going shorter won’t save you; it reduces extraction of desirable flavors. Don’t store concentrate too long, either-after two weeks, it starts degrading. And always dilute before serving: standard ratio is 1:1 with water or milk. Mess up the balance, and you’ll mask the smoothness that makes cold brew worth the wait. Stick to the basics-grind size, time, ratio-and you’ll avoid the worst pitfalls.
On a final note
Start with a 1:1 ratio of cold brew concentrate to water or milk, then adjust to taste. Stronger? Use less liquid. Milder? Add more. Whole milk adds creaminess, while oat milk works well for a dairy-free option. Avoid thin skim milk if you want richness. Always chill your glass and serve over ice to prevent dilution. A French press or mason jar works fine for brewing-no fancy gear needed.