Nitro Cold Brew at Home: Whipped Cream Dispenser Method
You can make nitro cold brew at home using a whipped cream dispenser with nitrogen cartridges for small batches, a keg system for frequent use, or a countertop nitro maker like NitroBrew for ease. Chill your coffee first, use a fine-mesh filter, and dispense at 30–45 psi for a creamy cascade. Serve in a cold, tall glass at a 45-degree angle to maximize foam. Add flavors like vanilla or cinnamon before charging. There’s more to get right for bar-quality results.
Notable Insights
- Use a whipped cream dispenser with nitrogen cartridges for affordable, small-batch nitro cold brew at home.
- Infuse flavorings like vanilla bean or cinnamon into cold brew concentrate before charging for even taste distribution.
- Achieve creamy texture by chilling brew below 40°F and dispensing at 30–45 psi to create stable microbubbles.
- Serve in a chilled, clear tulip glass tilted at 45 degrees to enhance the nitrogen cascade and foam head.
- Clean equipment thoroughly after use to maintain performance and prevent clogs in dispensers or taps.
Infuse Cold Brew With Nitrogen: 3 Easy Ways
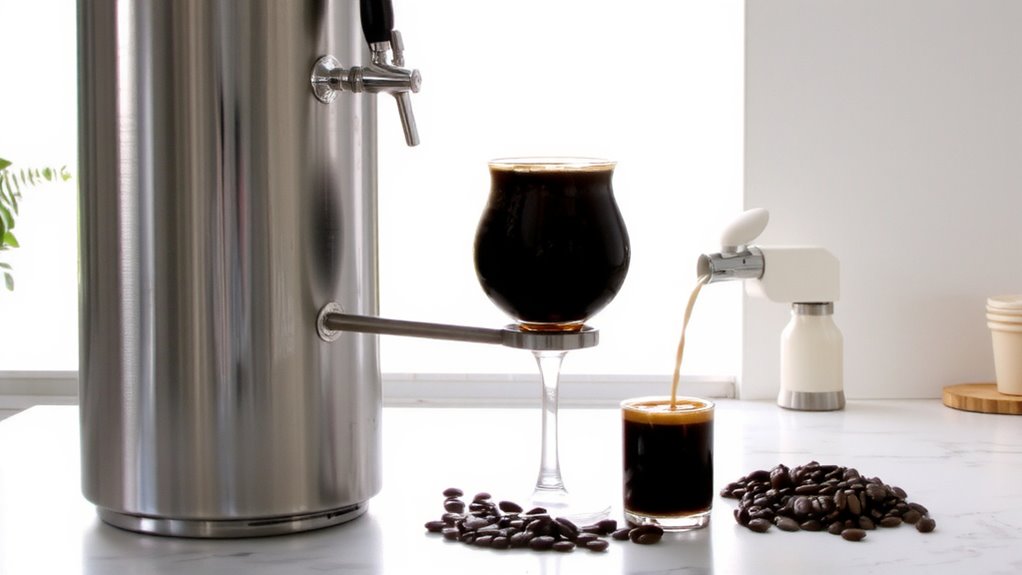
How do you get that creamy, casc outbreaks pour typical of café-style nitro cold brew? You infuse cold brew with nitrogen using one of three common methods. The first uses a whipped cream dispenser and food-grade nitrogen cartridges-shake the charged dispenser to dissolve the gas. It’s cheap and easy, but portions are small. The second method uses a dedicated nitro cold brew keg system with a nitrogen tank-great for frequent use, though pricier. The third option involves pre-charged nitro cans; convenient but less customizable. All methods create that silky mouthfeel by suspending tiny nitrogen bubbles in the brew. You can add creamer infusions before nitrogenating if you want flavored results, like vanilla or caramel-but do it before charging to guarantee even mixing. Each method preserves cold brew’s smoothness while enhancing texture. Choose based on volume needs, budget, and how hands-on you want to be.
Gather Your Nitro Cold Brew Tools
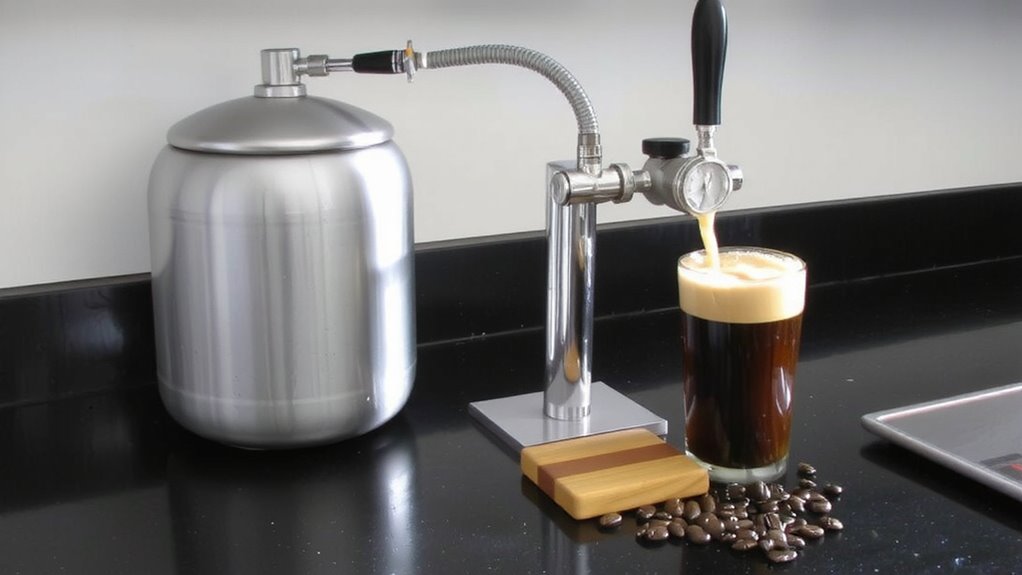
To get started with nitro cold brew at home, you’ll need a few key tools that match the method you plan to use. For home brewing, your equipment checklist depends on whether you’re using a whipped cream dispenser, keg system, or commercial-style nitro tap. If you’re using a cream whipper, you’ll need a 1-pint or 2-pint dispenser, N₂O or CO₂ cartridges (check compatibility), and a fine-mesh filter to avoid grounds. Keg systems require a stainless steel keg, nitrogen tank, regulator, and beer tap-more expensive but better for frequent use. Some opt for countertop nitro cold brew makers like the MilkLab or NitroBrew, which simplify infusion. Always guarantee gear is food-safe and easy to clean. Start with the method that fits your budget and space, and double-check each item on your equipment checklist before brewing. For reliable performance and ease of use, consider one of the best nitro cold brew makers recommended for home brewers.
Perfect That Creamy Nitro Texture
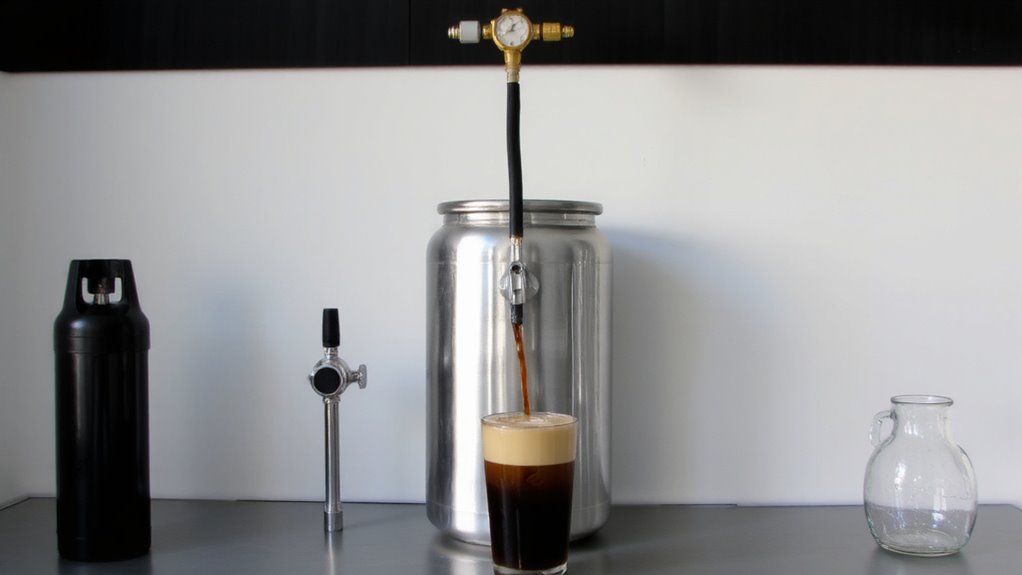
Now that you’ve picked your gear and got everything assembled, the next step is nailing the signature creamy texture nitro cold brew is known for. Achieving smooth cream consistency and lasting foam stability depends on proper nitrogen infusion. Use cold brew with low acidity and high dissolved solids-it helps form a velvety cascade. Chill your brew below 40°F before dispensing; warmth breaks down foam too fast. Pressure matters: 30–45 psi delivers ideal bubble dispersion. Over-pressurizing causes fizziness, hurting texture. Consistent shaking or forced carbonation builds microbubbles essential for that signature mouthfeel. Below is what influences your final pour:
| Factor | Boosts Texture | Hurts Texture |
|---|---|---|
| Cold temp | Yes | No (if warm) |
| Right pressure | Yes | No (if too high/low) |
| Fresh brew | Yes | Stale reduces foam stability |
| Proper steep | Yes | Under/over hurts cream consistency |
| Clean tap | Yes | Clogs disrupt flow |
Serve Your Nitro Cold Brew Right
Your nitro cold brew’s final impression hinges on the pour-get it right, and you’ll have that creamy, draft-style cascade seen in cafes. Start with proper glass selection: a clear, tall tulip or pint glass lets you see the nitrogen swirl and foam top out. Avoid wide-mouthed mugs-they kill the texture. Pour steadily at a 45-degree angle, then straighten up halfway to agitate the liquid and trigger the signature surge. Use chilled glassware to preserve temperature without over-diluting. For ice pairing, skip standard cubes; they melt fast and water down your brew. Instead, go for large, dense cubes or coffee ice-they hold up better and won’t ruin the richness. Serve immediately after dispensing to enjoy peak mouthfeel. Minimal foam? Check your nitro mix or tap pressure. Pour quality affects flavor perception, so take it seriously.
Try These Nitro Cold Brew Flavor Twists
What if your nitro cold brew could do more than just impress with texture-could it also surprise the taste buds? You can easily enhance your pour with simple flavor infusions. Try adding a split vanilla bean to your cold brew concentrate during steeping for a smooth, aromatic twist. For a revitalizing kick, cold-infuse with fresh mint and a touch of cocoa nibs-ideal for a homemade chocolate mint version. Using coarsely ground best coffee for cold brew ensures optimal extraction and smooth flavor in your nitro base. Below are five tested flavor additions you can use:
| Flavor Twist | Method |
|---|---|
| Vanilla Bean | Steep pod in concentrate 12–24 hrs |
| Chocolate Mint | Add mint leaves + cocoa nibs, steep 8 hrs |
| Cinnamon Stick | Stir into growler before dispensing |
| Orange Zest | Cold-infuse peel for 6 hours |
| Hazelnut Syrup | Add 1 tsp per serving at dispensing |
Always strain and test small batches first.
On a final note
You’ve got the basics: cold brew, nitrogen infusion, and proper gear. Use a whipped cream dispenser, nitro cold brew maker, or nitrogen charger for best results. Creamy texture comes from fine bubbles, so shake before pouring. Serve immediately in a glass to see the cascade. Try flavored syrups or cold brew blends, but keep ratios balanced. Each method has trade-offs in cost and effort-pick what fits your routine.