Introduction to Home Roasting Techniques for Enthusiastic Baristas
You can roast at home using air roasters for clean, even light roasts or drum models for richer, darker profiles. Start with fresh beans, a thermometer, and a cooling tray for best results. Hit first crack around 8–10 minutes, then control heat to avoid scorching. Cool fast and store beans airtight at room temperature. Small tweaks improve each batch, and there’s a smarter way to fine-tune your roast with the right setup.
Notable Insights
- Choose a roasting method like air, drum, or stovetop based on desired flavor profile and control level.
- Use fresh, high-quality beans roasted within 2–4 weeks of harvest for optimal sweetness and clarity.
- Monitor first crack timing and temperature ramping to control roast development and avoid defects.
- Cool beans rapidly post-roast to preserve flavor and prevent over-roasting from residual heat.
- Store roasted beans in airtight, valve-equipped containers at room temperature away from light and moisture.
Choose Your Home Roasting Method
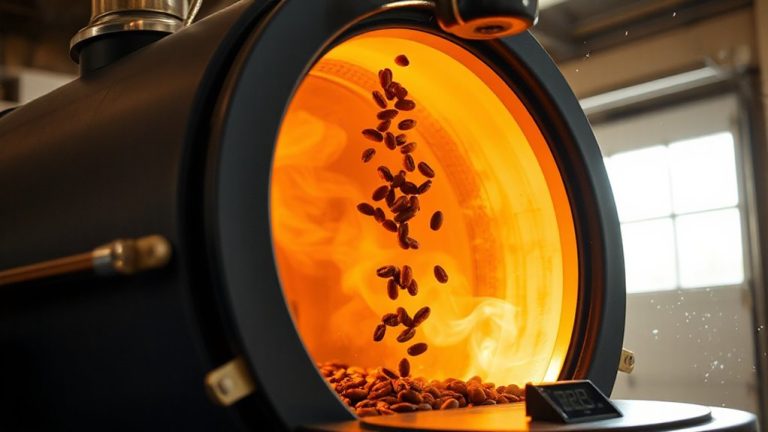
How do you want to roast your coffee at home? Your method shapes the roast profiles and influences flavor development substantially. Air roasters, like the FreshRoast SR800, use hot air to tumble beans, offering clean, even roasts with clear flavor separation-ideal for light to medium roasts. Drum roasters, such as the Poppy Creek or Behmor, provide slower, more conductive heat, enhancing body and complexity, especially in medium to dark roasts. Stovetop methods, like the Whirley Pop, are budget-friendly but demand close attention and yield less control. Each method affects heat transfer and roast time differently, directly impacting how sugars and acids develop. Consistency matters: repeatable settings help you fine-tune results. Consider space, noise, and batch size when choosing. Electric models offer precision and safety indoors; open-flame methods require ventilation. Pick a method that matches your desired roast profiles and fits your routine-consistent practice leads to better flavor development over time. For a curated list of top performers, check out the best air roasters based on performance and user feedback.
What Tools and Beans You Need
Starting with the right gear makes all the difference. You’ll need quality tools and fresh beans to roast well at home. Without them, even careful technique falls short. A reliable roaster, accurate thermometer, and cooling tray are essentials. You also need a scale and roast timer to track results. Using fresh beans guarantees clarity and sweetness in your cup-stale beans mute flavors no matter how well you roast. Below are key items to review:
| Tool or Ingredient | Why It Matters |
|---|---|
| Fluid-bed roaster | Fast, consistent heat; great for beginners |
| Cast iron skillet | Inexpensive, but demands attention |
| Fresh beans | Full flavor potential; roast within 2–4 weeks of harvest |
| Cooling tray | Stops cooking quickly; prevents over-roasting |
| Digital scale | Precision matters-beans and time must be measured |
Quality tools give control. Fresh beans give reward.
How to Hit First Crack and Control Roast Level
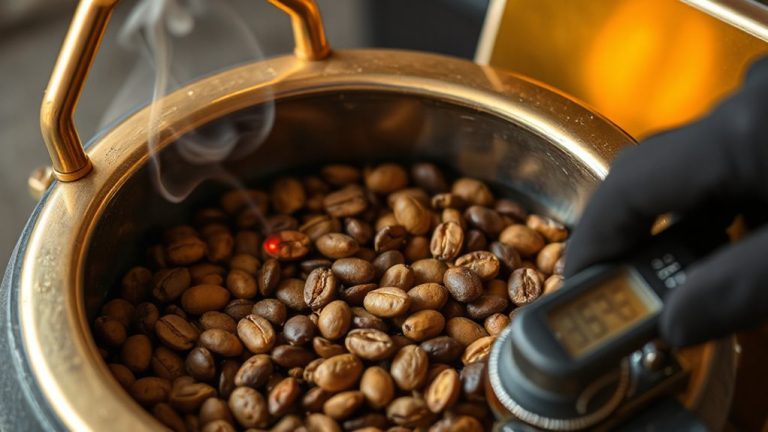
What separates a well-roasted bean from a missed opportunity? You hitting first crack at the right moment. That’s where roast profiling matters. You’re aiming for first crack around 8–10 minutes in, depending on your bean and setup. Use temperature ramping to control this-maintain a steady increase, typically 3.5–5°F per minute. Too fast, and you risk scorching; too slow, and the beans bake, losing sweetness. Roast profiles help you repeat success: note your time-to-first-crack and temperature curve. With a hot air roaster like the Popcorn Machine or Behmor, adjust heat early, as changes take time to affect the bean. Drum roasters like the FreshRoast SR800 give more direct control. Watch for the audible “crack” sound-your cue to decide roast level. Light roasts stop just after first crack; darker ones go further. Consistent monitoring means better control. For those using heat guns, selecting the best heat guns can significantly improve temperature stability and control during roasting.
Cooling & Storing Home-Roasted Beans
Once you’ve pulled your beans from the roaster, cooling them quickly is essential to stop the roast and preserve flavor. You’ll want to use a mesh colander or dedicated cooling tray, stirring constantly for even airflow-this takes about 3–5 minutes. Faster cooling helps lock in freshness and minimizes roast oxidation, which degrades taste over time. Delayed cooling can also alter bean density unevenly, affecting how they grind and brew later. After cooling, let beans rest 12–24 hours before brewing to release trapped CO₂. For storage, use an airtight container with a one-way valve, like the Fellow Atmos or Mason jar with a specialty lid. Keep them at room temperature, away from light and moisture. Avoid the fridge or freezer unless you’re storing long-term-condensation risks staling. Proper storage maintains quality for up to two weeks, though fresher is better.
Fix Common Roast Problems
If you’ve ever ended up with beans that taste smoky, flat, or unevenly roasted, don’t worry-most home roasters run into hiccups like scorching, stalling, or tipping, especially when learning the machine’s quirks. These issues often lead to roast inconsistency and noticeable flavor defects. Proper heat control and airflow help prevent them.
| Problem | Solution |
|---|---|
| Scorching | Lower charge temperature |
| Stalling | Increase heat mid-roast |
| Tipping | Reduce heat at first crack |
| Uneven roast | Make certain batch size is correct |
Avoid overfilling your roaster-too many beans restrict airflow and promote uneven development. Machines like the HotAir Popcorn Popper or Behmor roast unevenly if overloaded. Watch roast time: if it’s too long, you risk baked, flat flavors. Consistent results come from adjusting heat and agitation based on each roast’s behavior, not rigid settings. Track your runs to reduce future mistakes. Choosing the right equipment makes a significant difference, and reviewing a reliable best home coffee roasters guide can help you select a model suited to your skill level and budget.
What You Gain by Roasting at Home
While commercial roasters offer convenience, you gain greater control over freshness and flavor when roasting at home. You can roast beans the same day you brew, locking in peak aroma and taste. Freshness degrades quickly post-roast, so immediate use means noticeably better cups. Flavor experimentation is easy-you decide roast levels, from light cinnamon tones to deep smoky profiles, and can test single origins or blends. A small electric roaster like the FreshRoast SR500 lets you tweak time and heat for repeatable results. Batch size stays small, reducing waste. Over time, green beans cost less than pre-roasted; that adds up to real cost savings. Just store them in airtight containers away from light. Home roasting demands practice, but the payoff-custom flavor, better taste, lower long-term costs-is measurable. You’re not just saving money-you’re fine-tuning your coffee experience.
On a final note
You now have the basics to start roasting at home, whether using a popper, skillet, or dedicated roaster. Each method works-just match it to your budget and space. Watch for first crack to judge roast level, cool beans fast, and store them airtight. Expect uneven roasts or smoke at first; adjustments take practice. Still, the control over freshness and flavor beats store-bought beans. Roasting at home isn’t perfect, but it’s practical, rewarding, and puts better coffee within reach.