How to Replace Burrs in a 1ZPresso Q2 Manual Grinder
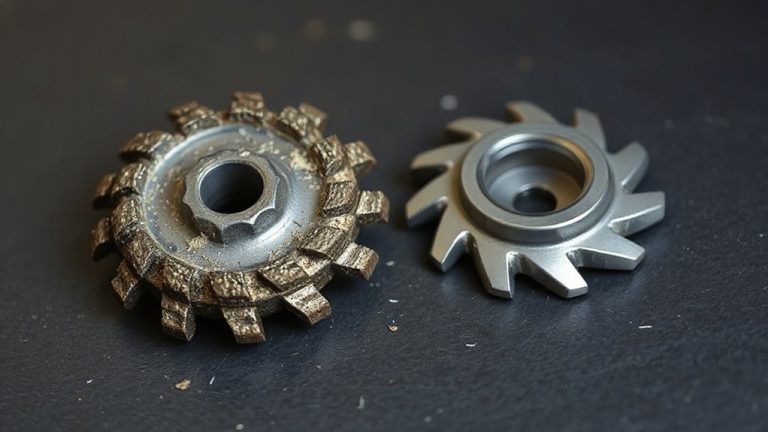
Replace your 1ZPresso Q2 burrs if grind consistency drops, shot times rise, or you see chipping or rust. Flip the grinder, loosen the dose ring’s set screw, then remove the ring to access the burrs. Lift out the upper carrier, then carefully pry out the lower burr. Seat the new burrs flat and aligned, press until they click, then reassemble snugly. Test for smooth rotation-proper fit guarantees precision with every turn. You’re just getting started with the full process.
Notable Insights
- Remove the dose ring using the included Allen wrench to access the upper burr carrier.
- Lift the upper burr carrier straight up to avoid damaging threads or the central shaft.
- Carefully pry out the lower burr and inspect for coffee residue or wear.
- Install new burrs by seating them flat and aligning properly to prevent wobbling.
- Reassemble components, ensuring smooth rotation and no grinding resistance before use.
Know When to Replace Your 1ZPresso Q2 Burrs
You’ll know it’s time to replace the burrs in your 1ZPresso Q2 when you start seeing inconsistent grind sizes, even after making careful adjustments. Loss of grind consistency affects extraction, leading to uneven brews and off flavors. Over time, steel burrs wear down, especially with daily use, reducing their precision. While the Q2 doesn’t have built-in wear indicators, you can spot wear by examining the burrs under light-chipped edges, visible flattening, or rust mean it’s time for new ones. Most users notice changes after 500–800 grams of coffee, depending on roast hardness and grind settings. If your espresso shots slip from 28 to 35 seconds without changes to dose or technique, suspect the burrs. Replacing them restores performance, ensuring uniform particle size and better flavor control. Keep a log of usage to track when replacements are due.
Remove the Dose Ring to Access the Burrs
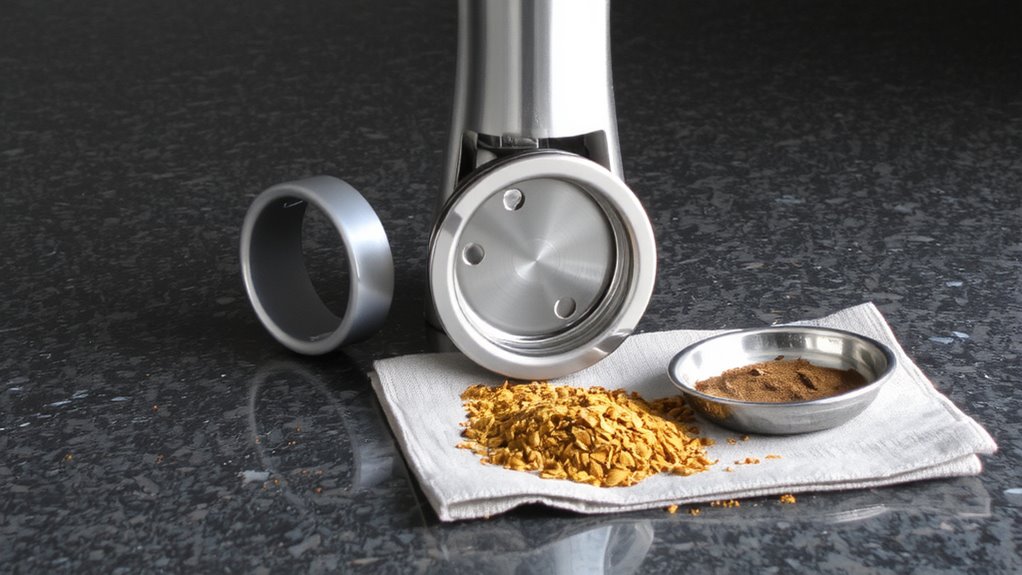
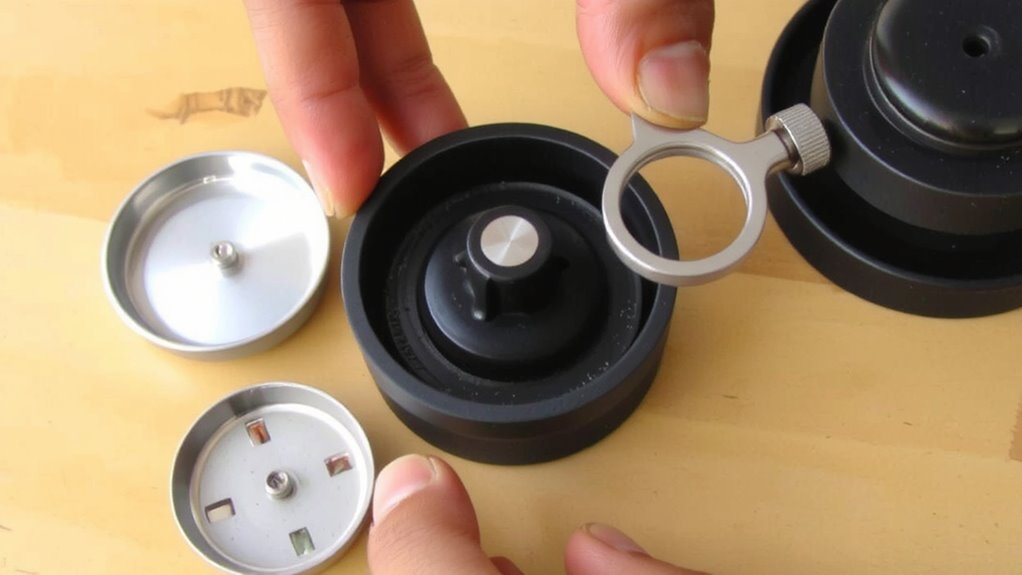
Once you’ve confirmed the burrs need replacing, the next step is gaining access to them by removing the dose ring. Start by flipping the grinder upside down and locating the set screw on the side of the ring. Use the included Allen wrench to loosen it-don’t remove it fully, just enough to let the ring spin free. The dose ring design on the 1ZPresso Q2 allows for quick disassembly, but be mindful of its position; note how it aligns with the adjustment collar for reassembly. Removing it exposes the upper burr carrier, which must be lifted carefully to avoid burr alignment issues later. Keep the grinder stable during this step to prevent internal parts from shifting. This design choice simplifies maintenance, though improper reinstallation can affect grind consistency. Take note of each component’s orientation now-it’ll save time and trouble when putting everything back together. A well-maintained manual grinder ensures consistent particle size, which is crucial for optimal extraction, especially when using best manual coffee grinders.
Remove Old 1ZPresso Q2 Burrs Carefully
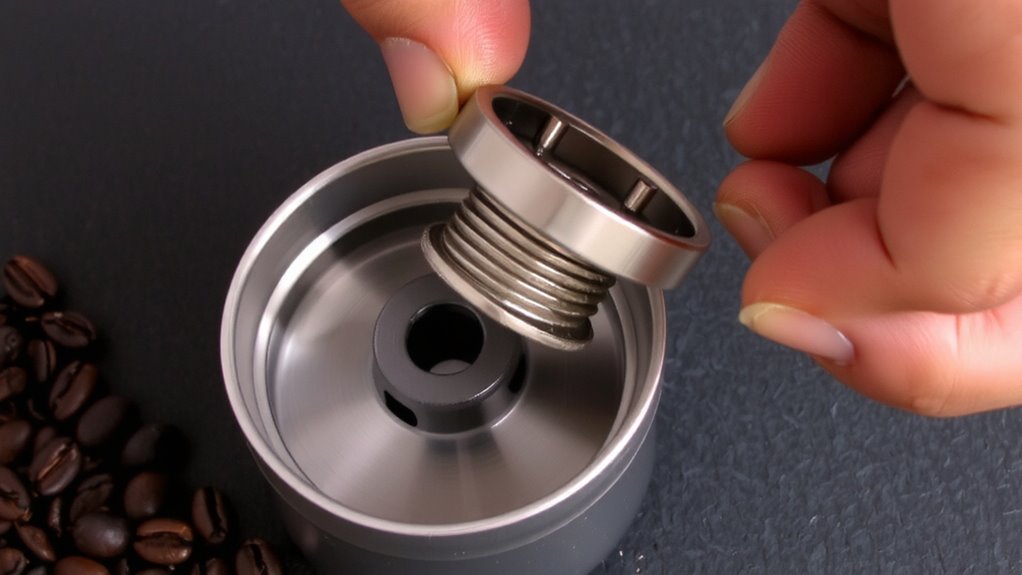
Start by gently lifting the upper burr carrier straight up to avoid misaligning the threads or damaging the central shaft. Once removed, you’ll see the lower burr seated in the grinder base. Use a small tool to carefully pry it out, applying even pressure to prevent cracking. During burrs cleaning, check for residual coffee oils or grounds stuck beneath-this buildup can affect performance and flavor. As you work, inspect the central shaft and thread area for wear. Before fully removing the old burrs, confirm all screw loosening is complete to avoid stripping components. Handle both burrs with care; ceramic ones are especially brittle. Discard damaged or worn burrs instead of reusing them. Keep the workspace clean to avoid introducing debris. This step prepares the grinder for new burr installation without complications.
Fit and Align Your New Burrs
With the old burrs out and the grinder base clean, it’s time to install the new set. Start by placing the new lower burr into the grinder base, making certain it sits flat and fully seated. Proper burrs alignment is critical-any tilt or gap affects grind consistency and can damage the mechanism over time. Gently press down until you feel the fit precision click into place. Then, position the upper burr onto the spindle, aligning the notch with the retaining pin. You should feel a snug, wobble-free fit. Don’t force it-if it resists, double-check alignment. A well-fitted burr set reduces unnecessary friction and guarantees even particle size. This directly impacts your brew quality, especially in espresso or pour-over. Take your time now; rushing risks misalignment and uneven wear later. Accuracy here sets the foundation for performance.
Reassemble the Grinder for Smooth Operation
Since the burrs are properly seated and aligned, you can now proceed with reassembling the rest of the grinder. Start by sliding the upper burr carrier back into place, making certain it clicks securely. Reattach the grind adjustment ring, turning it clockwise until snug-this maintains proper internal alignment. Next, screw the adjustment knob back onto the shaft firmly, but don’t over-tighten. Reinstall the hopper and twist it until it locks in place, contributing to overall grinder stability during use. A stable base reduces wobble, which improves torque efficiency when grinding. Make sure all components are clean and free of debris before final assembly, as residue can interfere with smooth operation. Finally, give the handle a few test turns. It should rotate freely without resistance or grinding noises. If it feels stiff, double-check alignment. Proper reassembly ensures consistent performance and extends the life of your Q2.
Calibrate Your Q2 for Consistent Grind Size
Now that the grinder’s reassembled and the burrs spin freely, it’s time to get your grind settings dialed in. Start by setting the Q2 to your usual coffee setting-say, medium-fine for pour-over. Grind a small batch and check for grind uniformity: consistent particles mean better extraction. If you see fines or boulders, adjust the ring incrementally. The Q2’s stepped adjustment offers reliable repeatability, helping you fine-tune with precision. Test different settings using a known coffee dose and brew method to see how changes affect flavor and flow rate. Don’t skip a few test grinds to stabilize the burrs post-installation. Also, clean the grinding chamber between adjustments to guarantee retention reduction-leftover grounds from earlier tests can skew results. With a few cycles, you’ll find a sweet spot that balances evenness and low retention, giving you clean, repeatable brews every time. For optimal performance, consider using high-quality burr grinders as they significantly impact grind consistency and overall brew quality.
On a final note
You’ve replaced the burrs, so now reassemble the Q2 carefully-don’t rush. A clean fit guarantees grind consistency. After reassembly, calibrate the grinder: adjust the ring slowly, testing small shots if using espresso. Fresh burrs crush beans more evenly, boosting flavor, especially in fine grinds. Worn ones cause uneven extraction. This refresh extends your Q2’s life and performance. It’s a simple fix that makes a real difference in your brew.