Step-by-Step Guide to Adjusting Burr Alignment in a Lelit PL43 Tam Grinder
Unplug your PL43 and remove the hopper and burr to access the grinding assembly. Place the lower burr flat on the spindle, then set the upper burr in evenly without forcing. Use a feeler gauge to check spacing and adjust the grind ring until you feel slight resistance-back it off a quarter turn. Reassemble carefully and run a test grind. If shots still pull unevenly, fine-tuning may be needed based on bean type and humidity. The full process reveals how small adjustments impact extraction.
Notable Insights
- Unplug the grinder and remove the hopper, gasket, and burr chamber components to access the burrs safely.
- Remove the locking nut with a wrench, then lift out the top burr and unscrew the lower burr carefully.
- Place the lower burr flat on the spindle and ensure the upper burr is level before reinstallation.
- Use feeler gauges to check even spacing around the burrs, adjusting until slight resistance is felt.
- Reassemble the grinder, run a cleaning pass, then test with a shot to evaluate flow and consistency.
Why Proper Burr Alignment Matters on the PL43 Tam
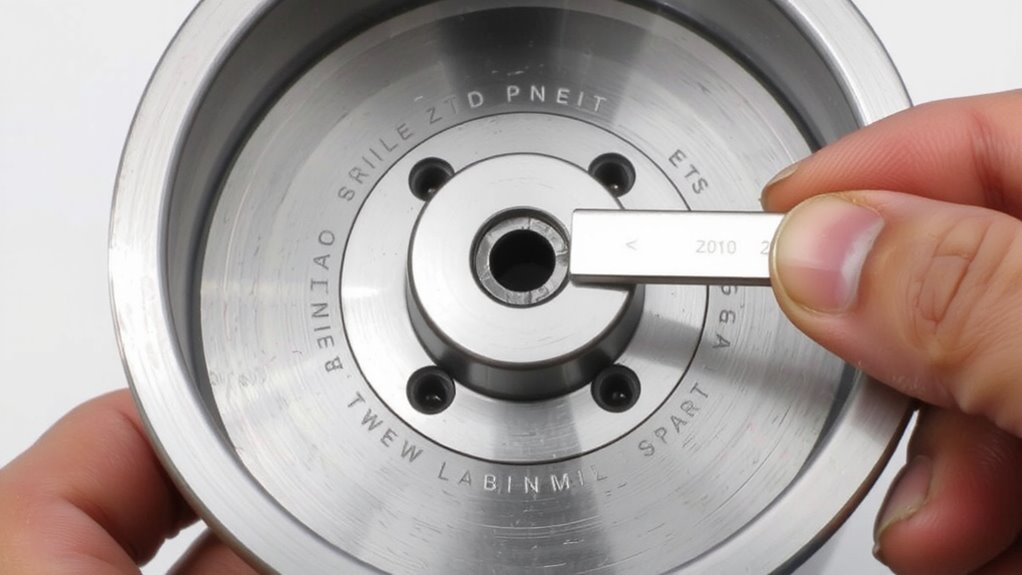
A misaligned burr isn’t just a minor quirk-it’s a direct hit to your espresso quality. When your PL43’s burrs aren’t properly aligned, grind consistency suffers, leading to uneven particle sizes. That inconsistency causes some grounds to extract too fast while others lag, wrecking flavor balance. You’ll notice it fast-sour notes, bitterness, or weak shots despite perfect brewing settings. Proper alignment guarantees each coffee particle is sized uniformly, letting water flow evenly through the puck. That means sweeter, more balanced espresso with the clarity and depth you’re after. Even slight misalignment can mimic dull burrs, so checking alignment is quicker and cheaper than replacement. Unlike flat burrs in other grinders that self-center, the PL43’s conical burrs rely on precise fit and placement. Get it right, and your grinder delivers café-level shots consistently. Neglect it, and you’re fighting variables you can’t taste your way out of. Alignment isn’t optional-it’s essential maintenance.
How to Tell If Your PL43 Burrs Are Misaligned
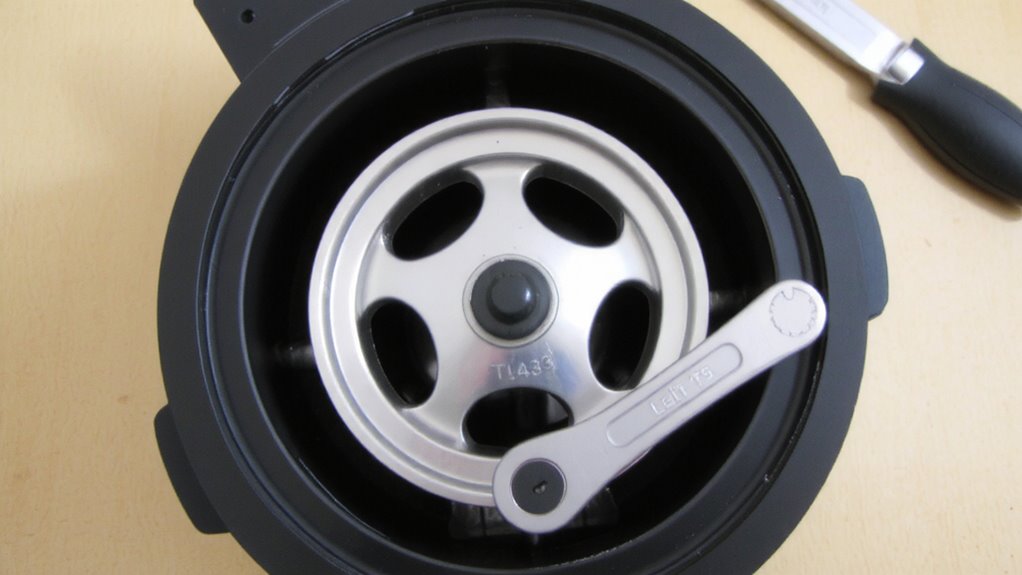
How can you tell when your PL43’s burrs are off? Start by listening-excessive grinder noise, especially a high-pitched grinding or scraping sound, often means the burrs aren’t aligned right. You might also notice inconsistent grind size, with some grounds way finer or coarser than they should be. That’s a red flag. Another clue is increased static buildup, causing more grounds to cling to the catch bin or burr chamber, even when humidity isn’t low. Poor alignment creates uneven spacing, forcing coffee particles through tighter or wider gaps, which worsens static and waste. You may find shots pulling unevenly-sputtering or channeling-despite proper dosing and tamping. While some static is normal, a sudden spike often points to alignment issues. If your grinder’s performance has declined without changes in beans or settings, realignment might be needed. These signs don’t always mean misalignment, but they’re strong indicators worth checking. Choosing the right mill grinder can significantly impact your espresso consistency and ease of maintenance.
Remove the Burrs Safely From Your Lelit Grinder
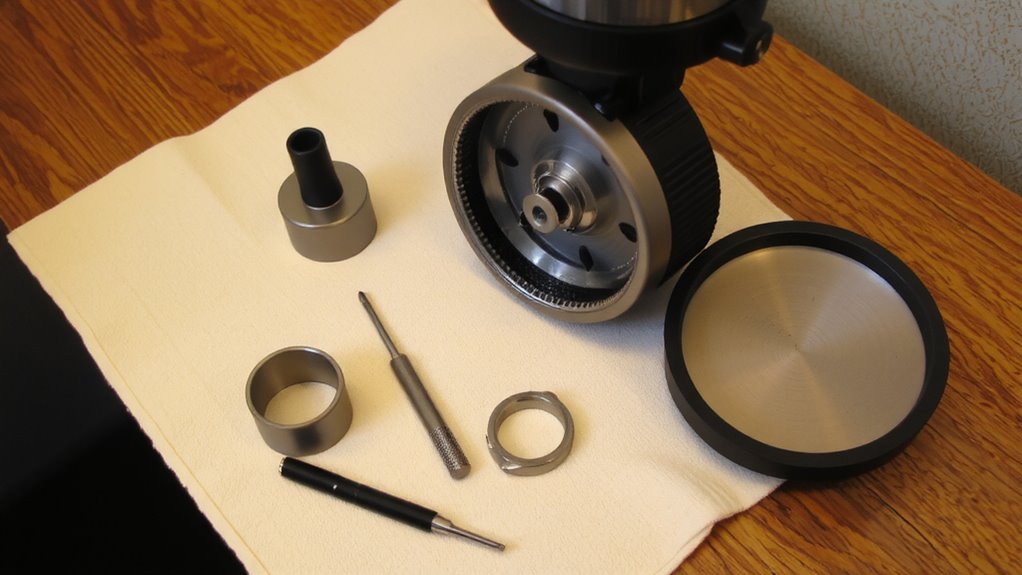
Before reaching for any tools, unplug your grinder and clear away coffee grounds from the burr chamber using a brush or compressed air. Removing the burrs safely is a critical part of grinder maintenance and guarantees thorough burr cleaning. On the Lelit PL43, start by removing the hopper and rubber gasket. Use the included wrench to loosen the locking nut counterclockwise-hold the burr carrier steady to avoid internal damage. Once loose, lift out the top burr assembly carefully. For the lower burr, unscrew it by hand or with a non-metal tool to prevent scratching. Avoid forcing parts; if resistance occurs, double-check alignment. Clean each burr with a stiff brush or use grinding cleaning tablets for residue. Keeping components dry and free of oils maintains consistency. This step prepares your grinder for realignment without risking damage or missteps later.
Realign the Burrs in 5 Simple Steps
Getting the alignment right on your Lelit PL43’s burrs makes all the difference for consistent grind quality and shot performance. Start by placing the lower burr back onto the spindle, ensuring it’s seated flat. Use alignment tools like feeler gauges or a purpose-made burr alignment gauge to check spacing. Hold the upper burr level and slowly lower it into place without forcing. Adjust the grinding ring until you feel slight resistance, then back it off a quarter turn. Repeat the process multiple times, checking for even contact around the entire surface-this is key for accurate burr calibration. If one side touches first, loosen the retaining screw slightly and realign. Proper alignment reduces heat and wear, leading to better extraction. Always double-check clearance with your alignment tools before moving on.
Reassemble and Test Your Espresso Grind
Now that the burrs are properly aligned, it’s time to put everything back together and see how your grinder performs. Reinstall the outer burr, ensuring it’s seated correctly, then reattach the grind ring and dosing cup. Power on your Lelit PL43 and run a small amount of coffee through to clear any residual particles. Adjust your grind setting to a medium-fine setting, typical for espresso. Pull a test shot and observe the flow-aim for 2 ounces in about 28–30 seconds. Good grind consistency should produce a steady stream and rich crema. Check the flavor balance-ashy or bitter tastes suggest issues, while balanced, sweet espresso indicates success. Uniform particles from precise burr alignment improve extraction, which directly affects taste. You’re not done once it’s reassembled-testing shows whether the alignment work paid off. Make small tweaks if needed, but avoid over-adjusting. For optimal results, consider upgrading to one of the best espresso grinders recommended by experts.
Fix Common Grind Issues After Realigning
What if your espresso still isn’t pulling right after realigning the burrs? Don’t worry-minor tweaks are normal. First, check your grind consistency. If you’re seeing fines mixed with boulders, the burrs might still be slightly off or need cleaning. Adjust the grind setting in small increments, testing shots each time. Poor consistency leads to uneven extraction, harming flavor balance. A well-aligned grinder should produce uniform particles, improving sweetness and reducing sourness or bitterness. Also, make sure your dosing and tamping are consistent-those affect results too. If flavor balance is still off, try recalibrating the zero point. Remember, even a properly aligned burr set needs dialing in based on bean freshness and humidity. Give it time, track your changes, and use a scale. Small, systematic fixes beat random adjustments every time. You’ll get there. Choosing the right best coffee grinders can significantly improve your grind consistency and overall brewing experience.
On a final note
You’ve realigned your PL43 Tam’s burrs, which should improve grind consistency and espresso extraction. If grind issues persist, check for wear or uneven retention. Proper alignment isn’t a fix-all-older burrs may still need replacement. Regular cleaning and periodic checks keep performance stable. This adjustment is one part of grinder maintenance, not a one-time solution. Use fine-tuned dose and distribution practices alongside alignment for best results.