How to Remove and Clean a Drip Coffee Maker’s Water Reservoir Daily
Unplug your coffee maker before removing the water reservoir-lift it straight up from the back or side, using the handle. Rinse it daily with warm water and mild soap, scrubbing gently with a soft sponge to remove grime. Avoid bleach or ammonia, which can damage plastic and leave harmful residues. Use white vinegar weekly to prevent mineral buildup. Dry thoroughly with a lint-free cloth before reattaching. A clean reservoir keeps your coffee tasting fresh-your machine’s performance depends on it.
Notable Insights
- Unplug the coffee maker before removing the water reservoir to ensure safety.
- Lift the reservoir straight up from the machine, using the handle without forcing it.
- Rinse the reservoir daily with warm water and mild dish soap using a soft sponge.
- Clean corners and crevices thoroughly to remove grime and prevent mold buildup.
- Dry completely with a lint-free cloth before reattaching to avoid leaks and ensure proper fit.
Why Daily Cleaning Matters
Regularly cleaning your drip coffee maker’s water reservoir isn’t just about keeping it looking nice-it’s essential for consistent performance and flavor. Water left sitting breeds bacteria and mineral buildup, which affects both taste and function. Daily wiping and rinsing provide key hygiene benefits, reducing contaminants that can transfer into your brew. It’s a small step, but it markedly aids mold prevention, especially in warm, damp environments. Most manufacturers, like Cuisinart or Mr. Coffee, recommend rinsing the reservoir daily and deep cleaning weekly with vinegar or a descaling solution. Skipping this invites unpleasant odors and potential health risks. If you use soft or distilled water, buildup slows, but microbial growth remains a concern. So, even if your machine seems fine, daily cleaning prevents unseen issues. It takes seconds, but the payoff-cleaner water flow, better-tasting coffee, and longer appliance life-is consistent and measurable. Stick to the habit, and your coffee will reflect the effort. Models with removable water reservoirs make this cleaning process significantly easier and more effective.
Remove the Water Reservoir Safely
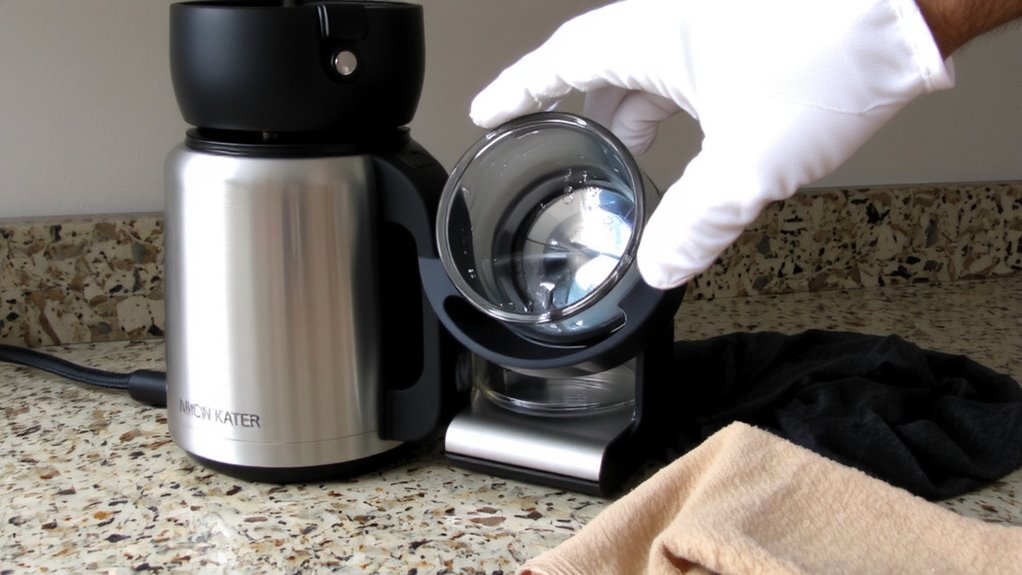
Now that you’ve made daily cleaning part of your routine, it’s time to tackle the next step: removing the water reservoir for a thorough clean. First, unplug the coffee maker to avoid any electrical hazards. Most models, like those from Cuisinart or Mr. Coffee, have a reservoir located at the back or side. Firmly grasp the handle grip and lift straight up. Don’t force it-some reservoirs snap in and need to be released gently. Always detach carefully to avoid damaging internal seals or tabs. If it feels stuck, check the manual; some require a button press before removal. Avoid pulling at awkward angles, which can warp the fit. A smooth removal guarantees better reattachment later and prolongs the unit’s lifespan. Keep movements controlled and movements deliberate. A steady hand prevents spills and part damage.
Use the Right Cleaners: Avoid These
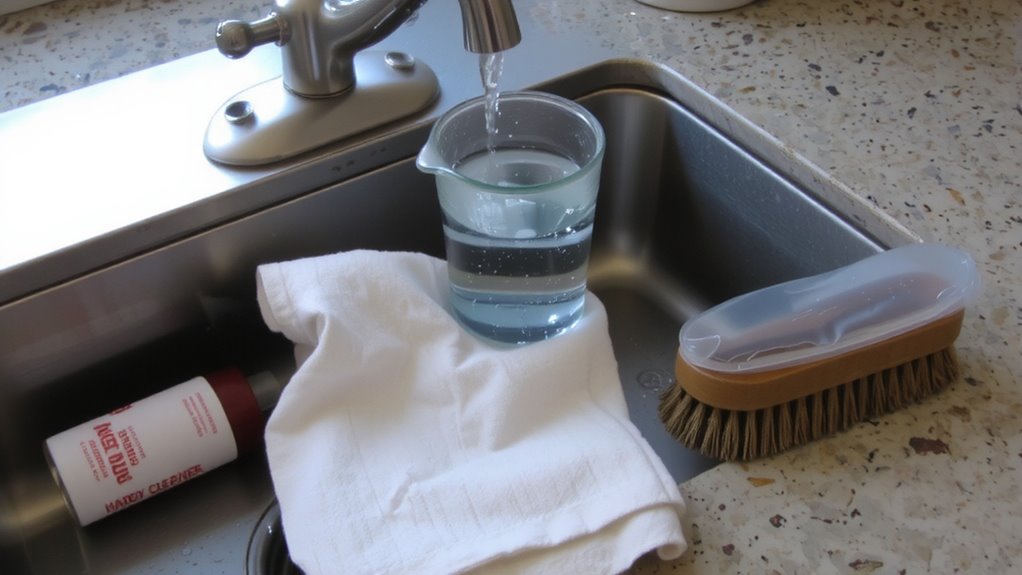
While some household cleaners might seem like a quick fix for a grimy water reservoir, many can leave behind residues or damage internal components. Avoid harsh chemicals like bleach or ammonia-based cleaners-they can degrade plastic and leave lingering odors. Skip abrasive scrubbing too; it can scratch surfaces and trap bacteria over time. Stick with gentle, food-safe solutions like white vinegar or manufacturer-approved descaling tablets.
| Cleaner Type | Safe? | Reason to Avoid |
|---|---|---|
| Bleach | No | Harsh chemicals damage parts |
| Ammonia-based sprays | No | Toxic fumes, residue risk |
| Baking soda + soft cloth | Yes | Gentle, effective cleaning |
Choose only cleaners designed for coffee makers or mild, natural acids. Always rinse thoroughly. Using the wrong products may void your warranty or harm daily performance.
Clean the Reservoir in 5 Minutes
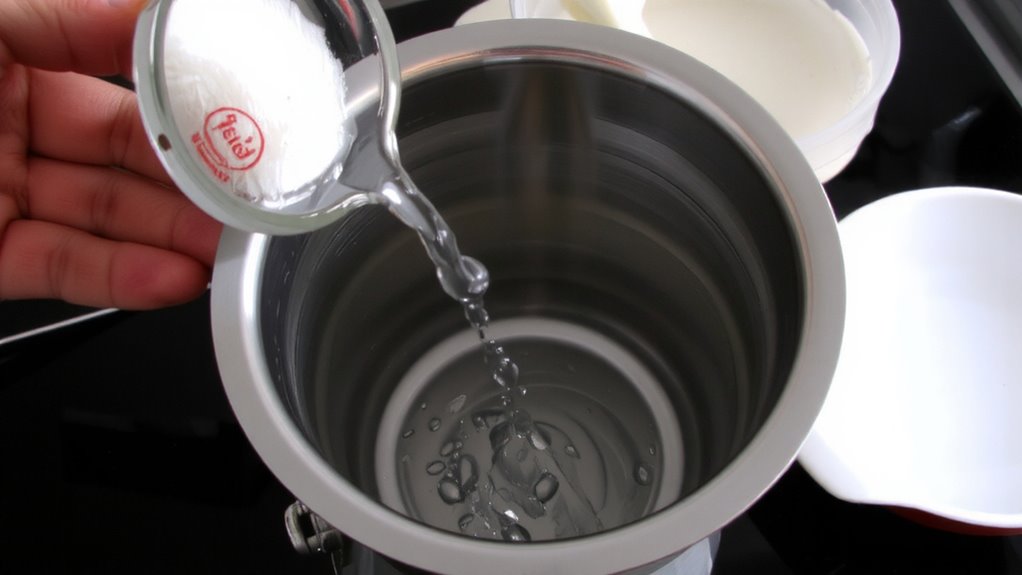
A quick five-minute clean keeps your drip coffee maker’s water reservoir free of buildup and ready for daily use. First, unplug the machine and remove the reservoir. Rinse it thoroughly with warm water to loosen any residue. Add a few drops of mild dish soap and scrub the interior gently with a soft sponge-avoid abrasive pads that can scratch. Pay close attention to corners where grime hides, since trapped moisture slows water flow and encourages mold growth. Rinse completely to remove soap traces, which can affect taste. For deeper mold prevention, wipe seams with a 50/50 vinegar-water solution weekly. This routine guarantees clear water flow and reduces bacteria without harsh chemicals. It’s effective, fast, and compatible with plastic and glass reservoirs. Repeat daily if you use the coffee maker often, especially in humid environments where mold risk increases.
Dry and Reattach the Reservoir
Wipe the reservoir dry with a clean, lint-free cloth before reattaching it-leaving moisture behind can promote mold growth, especially in corners and seams. While air drying may seem easier, it’s not reliable; damp areas can harbor bacteria if left too long. Instead, thoroughly dry all surfaces to guarantee nothing’s overlooked. Once dry, check for proper alignment when reinserting the reservoir into the coffee maker. A misaligned tank can block water flow or trigger error messages on models like Keurig or Cuisinart. Make sure the reservoir clicks securely into place and sits flush with the machine. Avoid forcing it-if it doesn’t fit smoothly, reposition it. Proper alignment guarantees the float valve and water sensor work correctly. Reattaching it right prevents leaks and maintains performance. This step only takes a minute but keeps your machine running efficiently.
Fix Cloudiness, Stains, or Leaks
If you notice cloudiness, stains, or leaks in your drip coffee maker’s water reservoir, it’s usually due to mineral buildup, hard water residue, or wear over time. Cloudiness and water stains often come from calcium and magnesium deposits. To fix this, soak the reservoir in equal parts white vinegar and water for 30 minutes, then scrub gently with a soft brush. Rinse thoroughly to avoid lingering taste. For stubborn stains, a diluted citric acid solution works well. Check all seals and connections if you spot leaks-cracks or worn gaskets are common causes. Regular cleaning helps with leak prevention. Avoid abrasive tools that can scratch plastic. If the reservoir is severely damaged, replacement is safer than risking spills or contamination. Most manufacturers sell replacement tanks. Keep your machine level and inspect it monthly for early signs of wear.
On a final note
You should clean your coffee maker’s water reservoir daily to prevent mold and mineral buildup. Just remove it gently, wash with mild soap and water-no harsh cleaners-and rinse well. Dry it completely before reattaching to avoid leaks. This quick habit keeps your coffee tasting fresh and extends the machine’s life. For cloudy stains, a monthly vinegar rinse helps. Skipping this step risks bacteria and poor performance, especially in hard water areas.