How to Deep Clean a Vacuum Coffee Maker’s Seals and Valves
Let your vacuum coffee maker cool completely before taking it apart. Remove the seals, valves, and gaskets by hand or with non-metal tools. Soak them in warm water and white vinegar for 30 minutes, or use a coffee-specific cleaner like Cafiza. Scrub gently with a soft brush, then rinse thoroughly. Reassemble only when all parts are dry, making sure everything fits snugly but without overtightening. Check for leaks by running water without coffee. A quick test helps confirm proper function and avoids surprises next brew. You’ll see how routine care keeps performance steady and extends the life of your brewer.
Notable Insights
- Remove seals and valves gently using hands or non-metal tools to avoid damaging delicate components.
- Soak seals in a warm vinegar solution to dissolve residue and prevent drying or cracking.
- Flush valves with distilled white vinegar to break down internal coffee oils and mineral deposits.
- Clean gaskets with a soft brush and mild soap, avoiding abrasives that can cause wear or scratches.
- Rinse all parts thoroughly and ensure they are completely dry before reassembling to maintain airtight seals.
How to Safely Disassemble Your Vacuum Coffee Maker
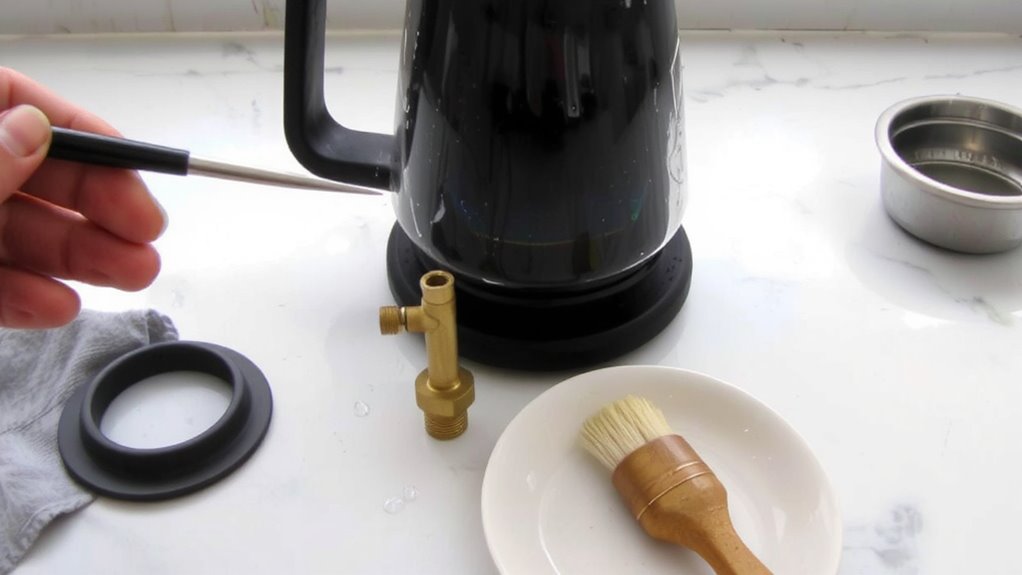
Before you begin cleaning, make sure the vacuum coffee maker has cooled completely to avoid burns or damaging the glass. Start by checking the manufacturer’s guide-some models, like the Yama or Bonavita, have unique assembly designs. Use only tools recommended for your model; most require just a small screwdriver or none at all. Avoid metal tools unless specified, since they can ruin rubber seals or glass components. Confirm material compatibility: rubber valves shouldn’t soak in alcohol-based solutions, and plastic parts may warp with heat. Gently twist and lift the upper chamber from the base-don’t force it. Inspect seals and valves carefully as you remove them. Keep track of each piece’s orientation for reassembly. Note any cracks or warping-these mean replacement is needed. Your tool requirements are minimal, but precision matters. Handle each part with care to avoid unnecessary damage during disassembly.
Best Cleaning Solutions for Coffee Oils and Mineral Buildup
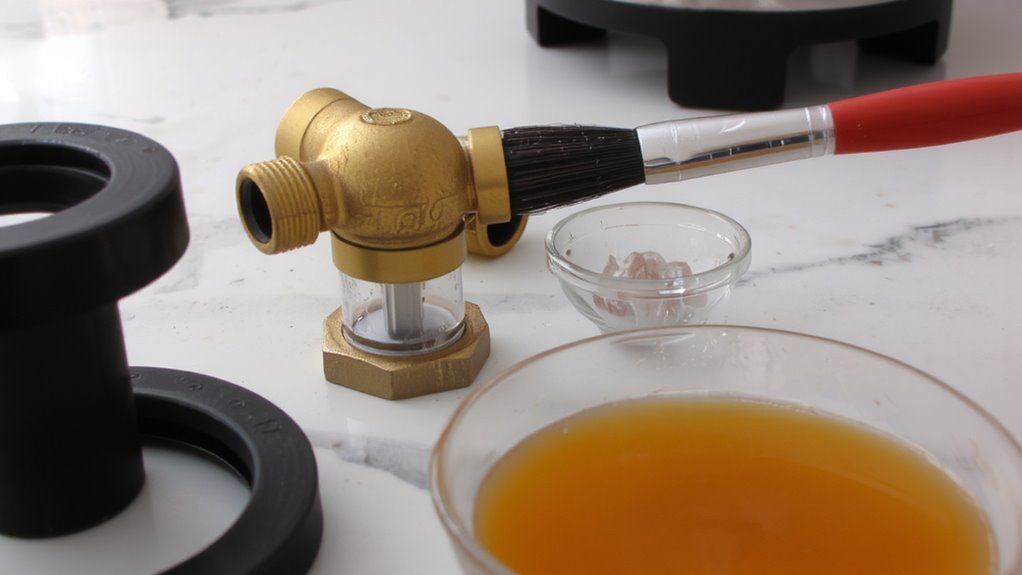
A few common household items and specialty cleaners can effectively tackle both coffee oils and mineral buildup without damaging your vacuum maker’s delicate parts. For coffee oils, a mix of warm water and mild dish soap works well, but vinegar or a diluted citric acid solution cuts through residue more thoroughly. White vinegar is also great for dissolving mineral deposits-soak parts for 30 minutes to loosen scale. However, prolonged exposure to vinegar can degrade rubber seals, so don’t overdo it. Commercial coffee machine cleaners like Cafiza or Urnex are specifically formulated to handle coffee oils and mineral deposits safely. They’re reliable, consistent, and often more effective than DIY options. Always follow label instructions and rinse thoroughly. For frequent cleaning, these specialty products are worth the cost. Avoid abrasive cleaners or baking soda-they may scratch or leave residue.
Step-by-Step: Cleaning Seals, Valves, and Gaskets
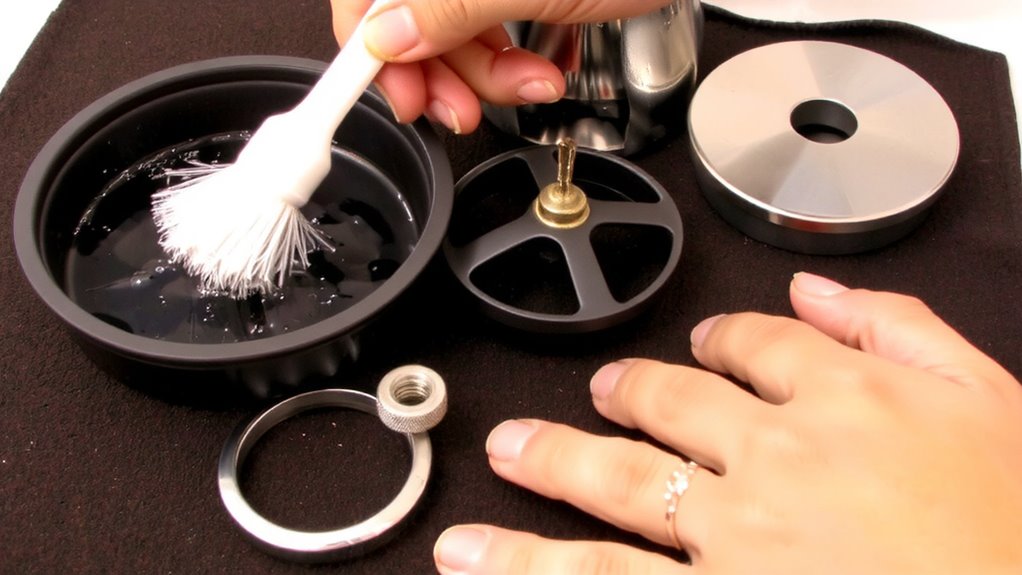
You’ve already addressed the buildup with the right cleaning solutions, so now it’s time to focus on the small but critical components: the seals, valves, and gaskets. These parts maintain vacuum integrity and pressure balance-both essential for proper brewing. Gently remove them using your hands or a non-metal tool to avoid damage.
| Part | Cleaning Method |
|---|---|
| Seals | Soak in warm vinegar solution |
| Valves | Flush with distilled vinegar |
| Gaskets | Scrub lightly with soft brush |
Rinse each thoroughly with water afterward. Inspect for cracks or warping-if visible, replace them to guarantee performance. A compromised seal can disrupt vacuum integrity, leading to failed brews. Properly cleaned valves help maintain consistent pressure balance, ensuring reliable operation. Handle with care-these components are durable but not indestructible.
Reassembling and Testing for Leaks and Performance
Once the seals, valves, and gaskets are clean and fully dry, reassemble the vacuum coffee maker carefully, ensuring each part fits securely in its designated place. Align the upper and lower chambers properly, and don’t overtighten clamps or screws-this can damage seals and cause leaks. After reassembly, perform leak detection by filling the lower chamber with water and heating it slightly without coffee. Watch for drips or steam escaping at the joints. For pressure testing, allow the system to build mild vapor pressure; the liquid should rise smoothly into the upper chamber. If flow is slow or uneven, check valve alignment and seal integrity. A well-reassembled brewer maintains steady pressure and prevents steam loss. Test performance with a full brew cycle using fresh grounds. Clear water shifts and consistent brewing time indicate proper function. Address any issues immediately. Recheck seals if performance declines.
Why Seals and Valves Need Regular Deep Cleaning
Over time, residue buildup and mineral deposits compromise the efficiency of your vacuum coffee maker’s seals and valves, even if the unit looks clean. Mineral accumulation inside the valve system restricts water flow and disrupts the pressure balance needed for proper brewing. That affects extraction and can leave you with weak or bitter coffee. Seals, usually made of rubber or silicone, degrade faster when exposed to heat and coffee oils-leading to seal degradation. A compromised seal won’t create an airtight chamber, which means your vacuum brewer might not pull correctly between chambers. You’ll notice slower brewing or leaks. Unlike simpler drip machines, vacuum brewers rely on precise mechanics, so neglecting deep cleaning worsens performance over time. A quick wipe-down isn’t enough. Regular disassembly and cleaning prevent long-term damage and keep your brews consistent, cup after cup.
On a final note
You’ve cleaned the seals and valves, now reassemble carefully to avoid misalignment. Test for leaks before regular use-dry joints often cause small drips. Regular deep cleaning every few months keeps your vacuum brewer working like a Syphon or Hario. It prevents clogs, maintains seal integrity, and guarantees consistent heat and pressure. Skip it, and you risk off-flavors or failed brews. Simple vinegar soaks and soft brushes make maintenance quick and effective.