How to Replace the Burrs in a Breville Dose Control Pro Grinder
Replace your Breville Dose Control Pro burrs every 500–1,000 uses to maintain grind quality and prevent bitter, uneven espresso. Unplug the grinder, remove the retaining ring, then lift out the upper and lower burrs. Install the new inner burr first, press it into place, then align and twist the outer burr in. Torque to spec and calibrate using the factory zero. Test dose accuracy-consistency within 0.2g is ideal. You’ll get better results if you follow the full process step by step.
Notable Insights
- Unplug the grinder and remove the retaining ring to access and lift off the upper burr.
- Pull the lower burr straight up without twisting, then clean the grinding chamber thoroughly.
- Place the new inner burr flat onto the spindle, pressing until it sits flush with no gaps.
- Align the outer burr tabs with chamber slots and torque to 2.5–3.0 Nm without overtightening.
- Calibrate the grinder using the factory zero point and test dose consistency across three weighings.
Why Replace Your Breville Dose Control Pro Burrs?
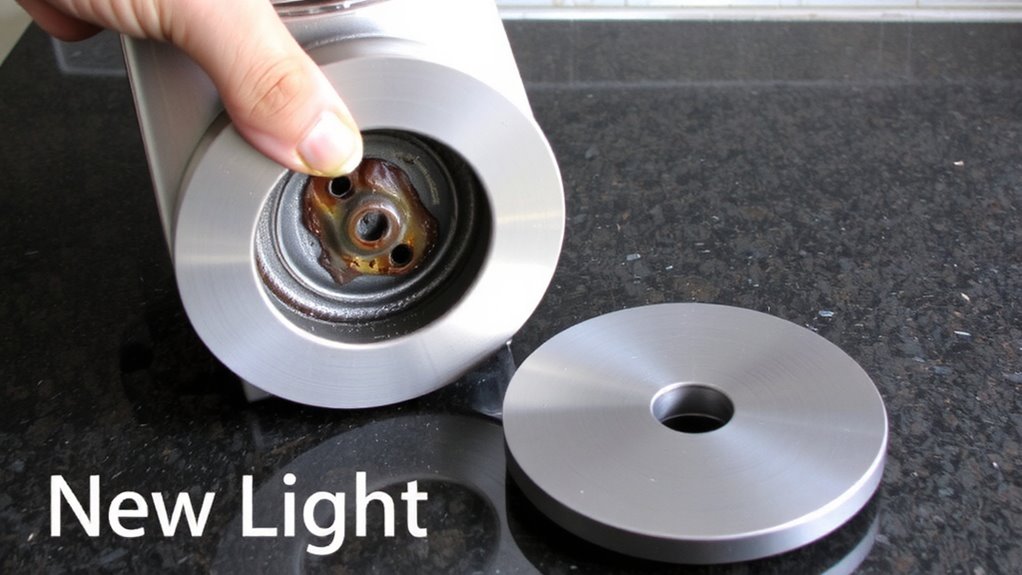
A few years of regular grinding is usually enough to dull your Breville Dose Control Pro’s burrs, and when that happens, your espresso starts suffering. You’ll notice inconsistent grind size, which hurts grinder efficiency and leads to uneven extraction. That means your coffee flavor becomes flat, sometimes bitter, and rarely hits that balanced sweetness you’re after. Sharp burrs crush beans cleanly; dull ones tear them, releasing oils too soon. Over time, this degradation isn’t just about taste-it slows down dose consistency and increases retention, making your shots harder to dial in. Replacing the burrs restores precision, ensuring each grind is uniform and timed right. You’ll get better grinder efficiency, less waste, and noticeably richer coffee flavor. While some try sharpening burrs, replacement is more reliable. Think of it like changing blades on a kitchen knife-eventually, it’s the only fix that truly works.
What You’ll Need to Replace Breville Dose Control Pro Burrs
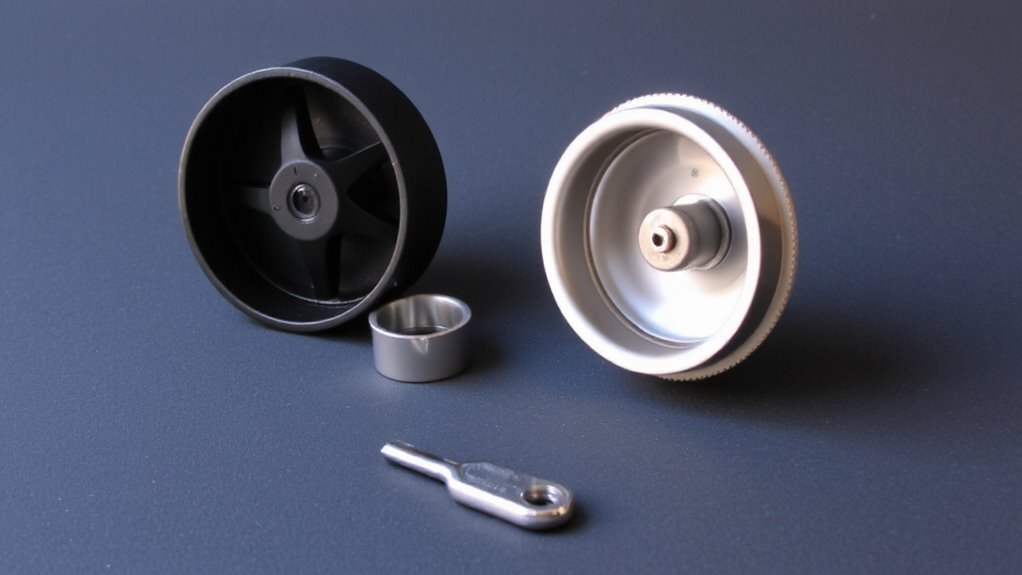
Now that you understand how worn burrs can degrade your espresso’s quality, it’s time to gather what you’ll need to make the switch. You’ll need the replacement burr set designed specifically for the Breville Dose Control Pro-using the wrong model can cause damage. A flat-head screwdriver or the Breville cleaning tool works for prying out the old burrs, but check online forums to confirm your tool selection. You’ll also need a soft cloth to protect the grinder’s surface. Don’t skip safety precautions: always unplug the grinder before starting. Work on a clean, well-lit surface to avoid losing small parts. Keep a small container nearby for any screws or pieces. Having everything ready beforehand speeds up the process and reduces the risk of mistakes.
Remove the Old Burrs
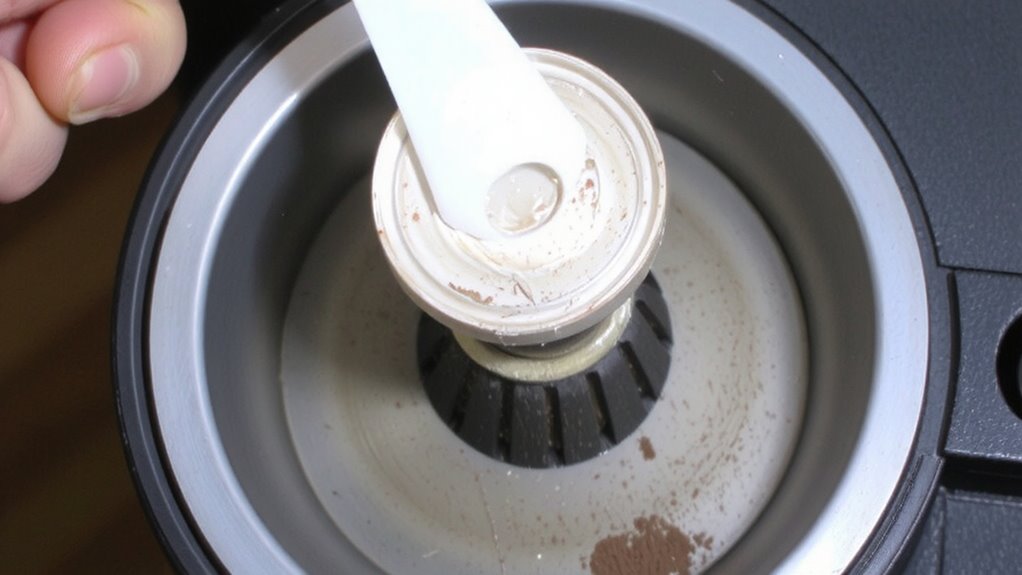
Your grinder’s performance hinges on the condition of its burrs, so removing the old set properly is key to maintaining its precision. Before starting burrs removal, unplug the grinder and clear any coffee grounds. Flip the grinder upside down and remove the retaining ring using the provided tool-this gives you full tool access to the burr assembly. Lift off the upper burr carefully, noting its orientation for later reference. Set it aside safely. Next, grasp the lower burr and gently pull it straight up; it’s not threaded, so no twisting is needed. If it resists slightly, wiggle it free without forcing. Clean the chamber with a brush to remove residual oils and particles. Proper tool access guarantees you avoid damaging internal components. This step prepares the grinder for new burrs without compromising alignment or function.
Install the New Burrs
With the grinding chamber clean and fully accessible, it’s time to install the new burrs. Carefully place the flat side of the new burr onto the spindle, ensuring correct burrs alignment to avoid grinding inconsistencies. Gently press down until it sits flush-no force needed. For the outer burr, align its tabs with the slots in the chamber and twist it clockwise until snug. Don’t overtighten; proper torque settings matter. Use a torque wrench if available, staying within Breville’s recommended range (typically 2.5–3.0 Nm).
| Component | Alignment Tip | Torque Setting |
|---|---|---|
| Inner burr | Slide onto spindle smoothly | Hand-tight only |
| Outer burr | Match tabs to slots | 2.5–3.0 Nm |
| Mounting ring | Even pressure all around | 2.0 Nm |
Calibrate Your Grinder After New Burrs
Once the new burrs are securely in place, calibr waning your grinder is essential to guarantee consistent grind size and maximum flavor extraction. Proper burrs alignment ensures even grinding, reducing fines and boulders that can skew your brew. Misaligned burrs may cause uneven particle size and increase grind temperature, which risks scorching coffee oils and dulling flavor. To calibrate, adjust the grind setting incrementally, following Breville’s calibration steps in the manual. Start with the factory-recommended zero point and fine-tune from there. This process centers the top burr and sets ideal spacing. You’ll notice sharper taste and better shot times once alignment is correct. Skipping this step often leads to poor puck prep and channeling in espresso. Avoid testing shots too early-wait until calibration is complete. A well-calibrated grinder improves dose consistency and protects bean integrity.
Test Grind Consistency and Dose Accuracy
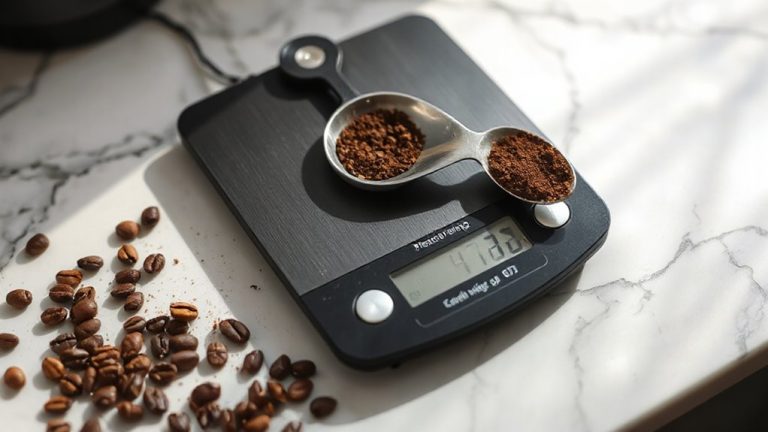
Now that you’ve finished calibrating the grinder, it’s time to check how well it performs with actual coffee. Run a few test grinds using your usual settings and inspect both grind texture and dose uniformity. Consistent grind texture guarantees even extraction, while dose uniformity affects shot repeatability. Weigh three consecutive doses to see if they fall within 0.2g of each other. Look for clumping or fines buildup, which signal inconsistent grinding.
| Grind Setting | Dose (g) | Texture Notes |
|---|---|---|
| 15 | 18.1 | Uniform, fine sand |
| 15 | 17.9 | Slight grit, consistent |
| 15 | 18.0 | Smooth, no clumps |
If results are stable, your grinder’s performing well. If not, revisit calibration or check for obstructions. Using a high-precision scale can improve measurement reliability, especially when tracking small variances in coffee dose accuracy.
Signs It’s Time to Replace Burrs Again
How do you know when your grinder’s performance starts slipping despite regular cleaning and calibration? You’ll notice inconsistent grind performance-some grounds fine, others chunky-leading to uneven extraction. That’s a red flag. Over time, burrs develop wear patterns, especially if you’ve ground over 500–1000 pounds of coffee, depending on usage. Dull or chipped burrs can’t slice beans cleanly, resulting in burred edges and poor espresso shots. If you’re adjusting the grind setting more frequently just to get the same results, the burrs are likely worn. Even recalibration won’t fix physical damage. For the Breville Dose Control Pro, check for visible nicks or shine on the burr surfaces-signs of metal fatigue. When grind performance no longer stabilizes after cleaning or setting tweaks, it’s time. Replacement guarantees consistency, extends grinder life, and keeps your coffee tasting sharp. Consider upgrading to a model with a built-in scale for more precise dose control moving forward.
On a final note
You’ve replaced the burrs and recalibrated-now your Breville Dose Control Pro should deliver consistent grinds again. This fix improves dose accuracy and flavor, especially for espresso. Remember, burrs wear out every 500–700 doses. Skip this, and you’ll get uneven extraction. Check grind quality every few weeks. If shots pull too fast or taste weak, it might be time again. Keep the grinder clean, and track usage.