Step-by-Step Guide to Cleaning an Espresso Machine’s Preinfusion Chamber
Turn off and unplug your espresso machine-never skip this, since models like the Lelit Anna can still carry current. Remove the shower screen and diffuser, then gently pry out the preinfusion chamber with a plastic pick. Scrub it with a nylon brush and Cafiza solution, avoiding dish soap. Rinse well with hot water. Reassemble in the correct order: gasket, screen, spacer, seal. Align carefully and don’t over-tighten screws. Test with a water flush. You’ll want to know how often to do this for peak performance.
Notable Insights
- Always power down and unplug the machine to eliminate electrical hazards during cleaning.
- Use a nylon or brass brush with an alkaline cleaner like Cafiza to scrub the preinfusion chamber.
- Remove the shower screen and diffuser to safely access the preinfusion chamber.
- Rinse all parts with hot, filtered water to prevent mineral buildup and remove cleaning residue.
- Reassemble components in correct order and test with water to ensure proper function and no leaks.
Power Down Your Espresso Machine First
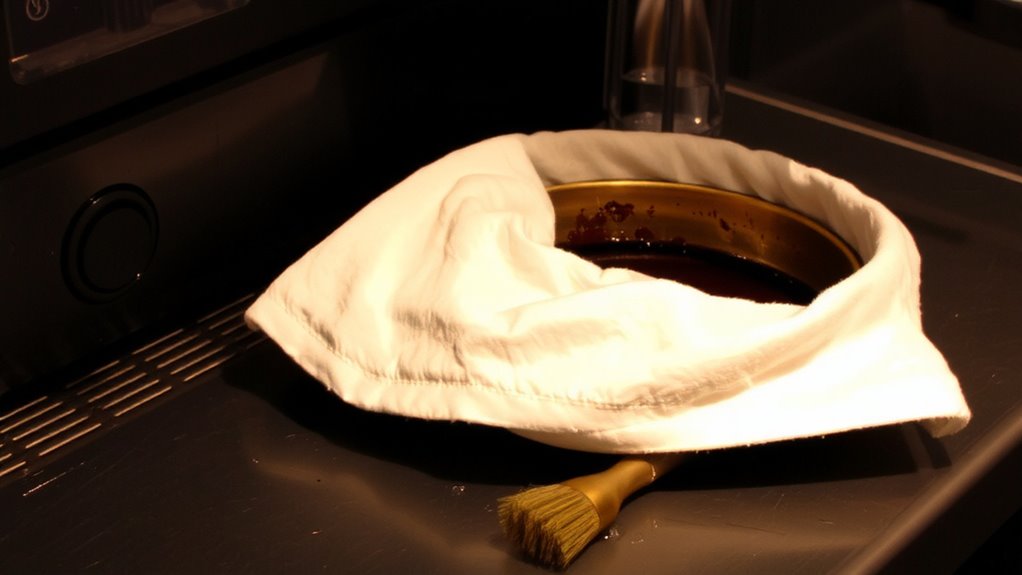
Before you start cleaning the preinfusion chamber, always power down your espresso machine completely-this isn’t just a suggestion, it’s a safety must. Unplugging eliminates electrical hazards, especially since water and cleaning solutions are involved. Even if the machine appears off, internal components can remain live, increasing risk. Safety precautions like this protect you from accidental shocks or short circuits. Never bypass the power-down step, even for quick checks. Machines like the Lelit Anna or Rancilio Silvia still carry residual current when plugged in. Treating every machine as energized until fully disconnected keeps you grounded-literally. Skipping this step might save seconds, but it’s not worth the danger. Always assume electricity is present unless proven otherwise. This simple act prevents most service-related accidents. Make powering down your routine, not an afterthought. It’s the foundation of safe, effective cleaning-no exceptions.
Gather the Right Cleaning Tools
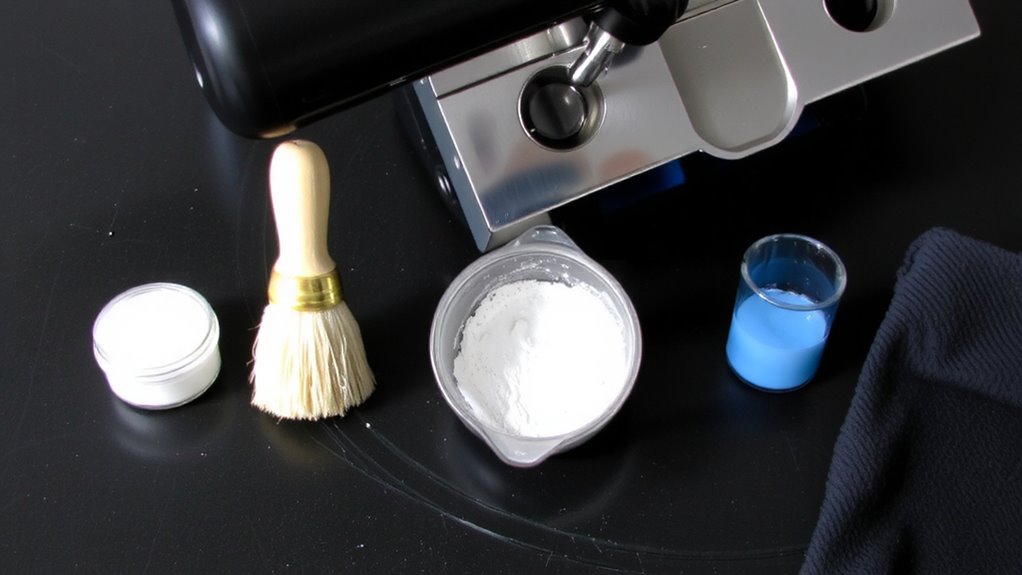
A clean preinfusion chamber starts with the right tools in hand. You’ll need a small brush, like a food-safe nylon or brass brush, to dislodge coffee oils and residue. A plastic picks set helps remove stubborn buildup without scratching metal parts. Use a dedicated espresso cleaning solvent-brands like Cafiza or Urnex work well-because they’re formulated to break down the oils left behind by different coffee types. Don’t forget a lint-free cloth for drying. Good water quality matters, too; always rinse parts with filtered water to prevent mineral deposits, especially if your machine uses hard water. Distilled water can help during cleaning but isn’t recommended for regular use in most machines. Keep replacement O-rings on hand since they wear over time. Having these tools ready guarantees a thorough, safe cleaning without damaging internal components. For optimal espresso extraction, consider using a coffee distribution tool to ensure even coffee grounds distribution before tamping.
Open and Remove the Preinfusion Chamber
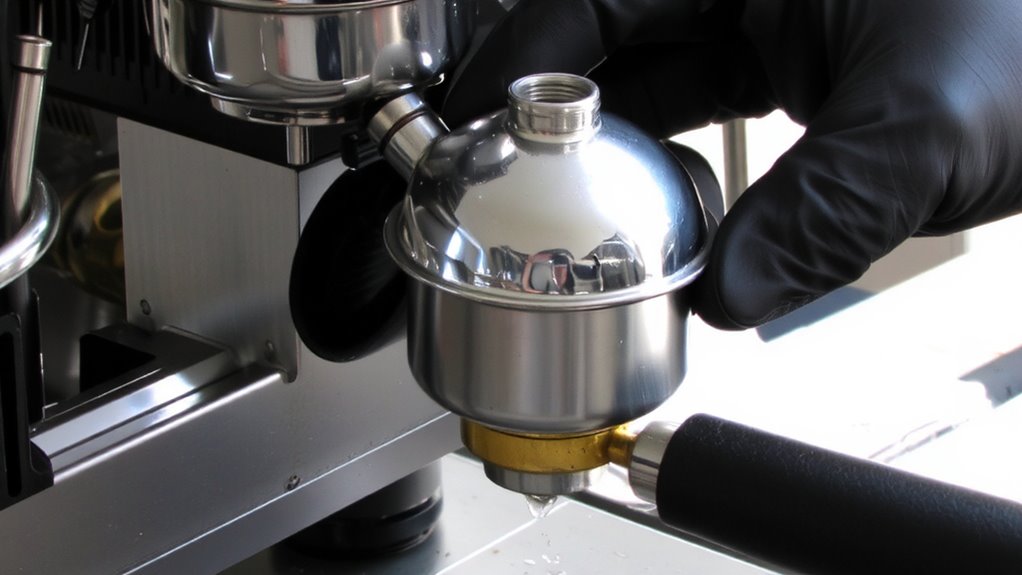
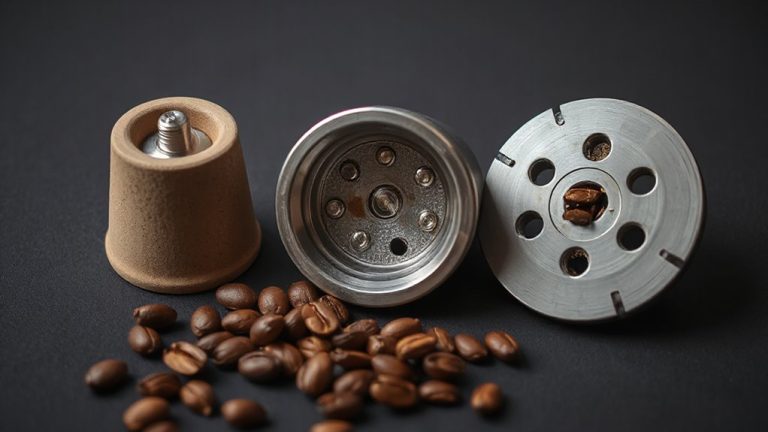
Now that you’ve got your tools ready-brush, pick, solvent, and lint-free cloth-it’s time to access the preinfusion chamber. Start by powering off and cooling your machine completely-safety first. Most modern espresso machines, like those from Lelit or Profitec, have a removable shower screen held by a Philips screw or hex bolt. Unscrew it carefully, then lift out the screen and diffuser. Beneath it lies the preinfusion chamber. Gently pry it out using a plastic pick to avoid scratches. This step is essential for proper preinfusion disassembly. Once removed, place it on a clean surface for chamber inspection. Check for buildup, cracks, or warping-signs of long-term heat exposure. Some chambers are rubber O-ringed; inspect the seal closely. Metal-on-metal designs, like on Lineas, wear slower but demand precision during reassembly. Keep all parts organized. You’re now set for targeted cleaning, not scrubbing yet-just inspection and prep.
Scrub Away Coffee Oils and Residue
Grime built up over weeks of brewing sticks to the preinfusion chamber like tar, and that’s what you’re tackling now. Start by choosing the right brush-soft nylon is usually safe and effective, while stiffer bristles may damage sensitive surfaces. Use a dedicated espresso cleaning brush for precision around small channels. For detergent choice, pick a food-safe, alkaline-based cleaner like Cafiza or Urnex; these break down oils without harming machine parts. Avoid dish soap-it can leave residue or foam too much. Dip the brush in the solution and scrub all interior surfaces in circular motions, focusing on crevices where residue collects. Rinse thoroughly with hot water afterward to remove any leftover detergent. Good brush selection and proper detergent choice make the job faster and help prevent buildup long-term. Don’t skip this step-clean metal guarantees better extraction and flavor consistency later. For optimal results, use a Breville-approved descaler periodically to remove mineral buildup that brushing alone can’t address.
Put the Chamber Back Together Correctly
Once you’ve cleaned all the parts, reassembling the preinfusion chamber correctly is essential-misalignment or skipped steps can lead to leaks, poor pressure, or long-term damage. Take your time to guarantee seal integrity and perform an alignment check before tightening anything. Refer to your machine’s manual if needed, but most chambers follow a similar pattern. Here’s how the parts typically stack:
| Layer | Component | Purpose |
|---|---|---|
| 1 | Base gasket | Prevents leaks at chamber bottom |
| 2 | Filter screen | Supports puck and aids water dispersion |
| 3 | Middle spacer | Maintains correct internal height |
| 4 | Top seal | Guarantees pressure retention and seal integrity |
Each piece must sit flat and centered. Press components gently into place-don’t force them. A proper alignment check means no gaps or tilting. Forcing parts risks cracking or compromised seal integrity, which defeats the whole cleaning effort. Enthusiasts using PID espresso machines often notice improved performance after thorough maintenance due to consistent temperature control.
Reinstall and Test the Machine
You’ve cleaned and reassembled the preinfusion chamber-now it’s time to get the machine back up and running. Carefully reinstall the chamber, paying close attention to reinstall alignment; even slight misalignment can cause leaks or poor pressure control. Secure all screws and connections tightly, but don’t over-tighten-they can strip. Once installed, power on the machine and let it go through its normal warm-up cycle. Run water through the group head without a portafilter to flush out any residual cleaning solution and check for drips. Then, insert the portafilter and perform a test functionality cycle. Observe the flow: it should start slow during preinfusion, then ramp up steadily. If flow is uneven or interrupted, turn off the machine and recheck alignment. A successful test means your machine is ready for espresso.
How Often Should You Clean the Preinfusion Chamber?
Now that the machine’s back together and running smoothly, it’s worth considering how often you’ll need to repeat this kind of cleaning. For most home users, cleaning the preinfusion chamber every 3–6 months is enough, depending on your water hardness and usage. If you pull multiple shots daily, go for the 3-month mark to stay safe. High preinfusion frequency means more coffee oils and fines build up faster, raising the need for consistent chamber maintenance. In commercial settings, clean it monthly-machines there run harder and clog quicker. Skipping cleanings can lead to uneven extraction or pressure issues over time. Check your machine’s manual; brands like Rocket or Lelit may suggest specific intervals. A quick visual check helps-gunk or slowdown means it’s time. Regular chamber maintenance keeps extraction even and extends machine life. Simple, timely cleaning beats costly repairs later.
On a final note
You’ve cleaned the preinfusion chamber, and now your machine runs more consistently. Regular maintenance prevents flavor drag and keeps pressure stable. Do this every 1–2 months, depending on use. Backflushing weekly helps, but deep cleaning matters more. If you pull shots daily, don’t skip it. Reassemble carefully-misalignment causes leaks. Test with water first. It’s a small task that protects your espresso quality and machine life.