Step-by-Step Deep Cleaning of a Moka Pot’s Gasket and Filter Plate
Remove the gasket from the groove between chambers and take out the filter plate from the bottom chamber. Clean the gasket with a soft brush and warm water-avoid steel wool to prevent damage. Scrub the filter plate with soapy water and a stiff brush, then rinse thoroughly. Check both for wear, warping, or cracks. Reassemble when dry, ensuring parts are seated properly. A leak-free test brew means you’re good to go-off-flavors or sputtering means something needs another look.
Notable Insights
- Remove the gasket from the groove between chambers and take out the filter plate from the bottom chamber for cleaning.
- Clean the gasket with a soft brush and warm water, avoiding steel wool to prevent damage to rubber or silicone.
- Scrub the filter plate with a stiff brush and soapy water, then rinse thoroughly to remove coffee oils and residue.
- Inspect both gasket and filter plate for cracks, warping, or wear, replacing them if seal integrity is compromised.
- Reassemble with dry parts, ensuring the gasket is seated properly and the chambers are snug but not over-tightened.
Remove the Gasket and Filter for Cleaning
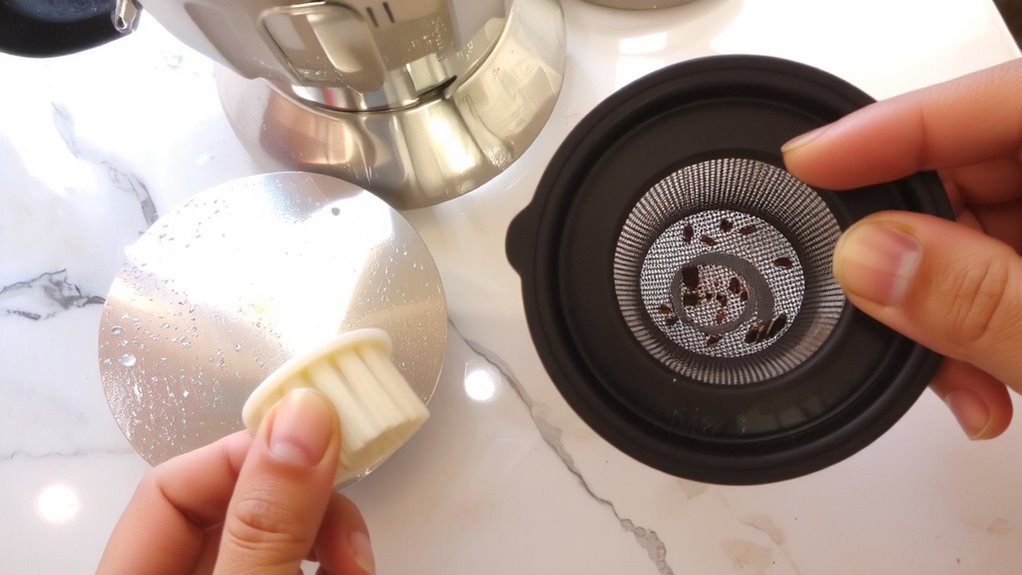
While the gasket and filter might seem like small parts, they play a big role in your Moka pot’s performance, so it’s smart to remove them before cleaning. You’ll find the gasket sits in a groove between the top and bottom chambers, and its material durability varies by brand-aluminum models often use rubber, which wears faster, while stainless steel versions may use silicone for longer life. Over time, heat and pressure degrade the gasket, so checking its condition during removal helps you decide when to replace it. The filter plate, located in the bottom chamber, comes in different shapes and hole patterns depending on your model. These filter plate design variations affect flow rate and extraction, so note how yours fits to guarantee correct reassembly. Removing both parts prevents residue buildup and guarantees even pressure. Just keep track of small pieces-they’re easy to lose but critical for proper sealing and brewing.
Clean the Gasket to Remove Coffee Residue
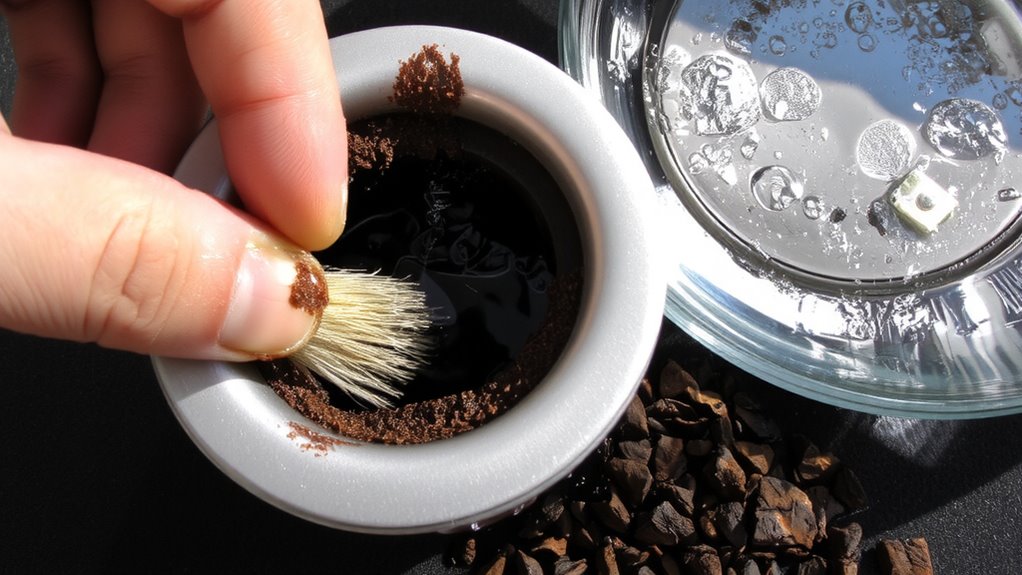
Coffee gunk loves to cling to the gasket, so giving it a solid cleaning matters for both taste and function. Use a soft brush or cloth to scrub away residue, focusing on crevices where oils build up. Avoid harsh tools-steel wool can damage the rubber, shortening its life. Rinse thoroughly with warm water. Inspect the gasket closely: if it’s cracked, swollen, or loses its seal, it’s time for gasket replacement. Most manufacturers sell affordable replacements, and swapping it out takes seconds. Regular rubber maintenance keeps your pot brewing cleanly and prevents off-flavors. While some soak gaskets in vinegar, plain water and gentle cleaning are usually enough. Over-cleaning can degrade the material faster. Replace the gasket every 6–12 months with frequent use, or sooner if performance dips. A well-maintained gasket guarantees consistent pressure and better coffee.
Scrub and Rinse the Filter Plate
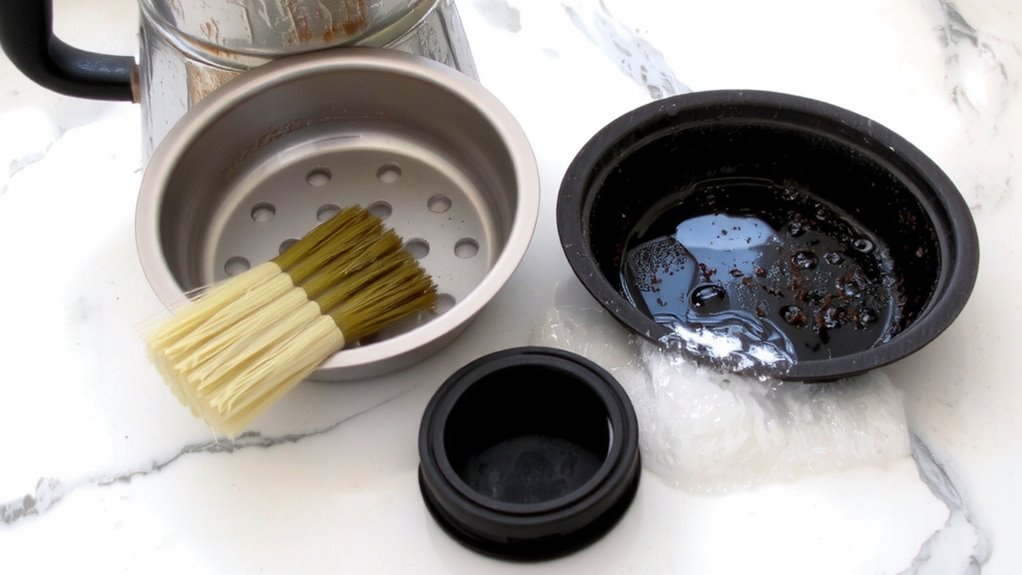
That small metal disc at the bottom of your Moka pot’s funnel-the filter plate-needs a solid scrub after each use. Coffee oils and fine grounds build up quickly, clogging the tiny holes and affecting brew quality. Use a stiff brush or soft scrub pad with warm, soapy water to dislodge stuck-on residue. Avoid steel wool or harsh abrasives-they can speed up filter corrosion over time and weaken the metal. Rinse thoroughly under running water to guarantee no soap or particles remain. Inspect the plate for damage: warping can alter pressure distribution during brewing, leading to uneven extraction or leaks. A warped plate won’t seal properly and should be replaced. Don’t let the filter soak too long in water-prolonged exposure could contribute to plate warping or corrosion, especially on aluminum models. Replace the plate every few months with regular use to maintain peak performance.
Reassemble Your Moka Pot
Once the parts are completely dry, it’s time to put your Moka pot back together-proper reassembly guarantees a tight seal and even pressure buildup during brewing. Start by placing the filter plate into the bottom chamber, making sure it sits flat and centered. Proper alignment prevents clogs and securing water flows evenly through the coffee grounds. Next, insert the gasket into the groove of the top chamber, pressing it gently to confirm a secure fitting. Don’t stretch or twist it, as that can cause leaks. Then, screw the top and bottom chambers together by hand, turning until snug-don’t over-tighten, since that may damage the gasket or threads. Use moderate hand pressure only. A properly reassembled Moka pot should feel stable, with no wobbling between chambers. Double-check that all components are in place before moving on. This securing reliable performance and extends the life of your brewer.
Test for Leaks and Brew Quality
While it might be tempting to skip this step, testing your Moka pot for leaks and brew quality is essential to guarantee it’s functioning safely and effectively. Fill the bottom chamber with water and assemble the pot without coffee. Heat it on the stove-any leaks at the base or stem mean compromised seal integrity. A properly sealed pot should build pressure smoothly without escaping steam or water. Next, brew a test pot with coffee to evaluate output. Weak or sour coffee may indicate improper brew temperature due to clogged parts or heat loss. A steady, rich stream ending in a slight hiss signals correct performance. If the flow sputters or the taste is off, recheck gasket fit and filter cleanliness. Consistent results depend on intact components and proper heat transfer. Testing secures durability, flavor, and brewing precision-critical for daily use.
On a final note
Now that you’ve cleaned the gasket and filter plate, reassemble your moka pot tightly but gently. Run a water-only brew to check for leaks and rinse any lingering residue. A well-maintained gasket prevents steam loss, while a clear filter guarantees proper pressure and flavor. Replace the gasket yearly or if cracked. This routine keeps your Bialetti or Gaggia performing reliably, delivering consistent, rich coffee without bitterness or hardware issues.