How to Calibrate a Conical Burr Grinder for Optimal Espresso Dose Accuracy
You need to calibrate your conical burr grinder to hit a consistent 18–20g dose and a 1:2 espresso yield in 25–30 seconds. Adjust the grind size in small steps-finer slows the shot, coarser speeds it up-and always purge old grounds first. Use calibrated scales, a timer, and a proper tamper. Check burr alignment with the manufacturer’s wrench, especially on grinders like the Lelit PL49, and clean regularly to avoid static or retention issues. Stable shot times across five pulls mean you’ve nailed it-small tweaks can make a big difference.
Notable Insights
- Use calibrated scales to measure a consistent input dose of 18–20g for accurate espresso extraction.
- Adjust grind size in small increments to achieve a 1:2 yield in 25–30 seconds.
- Purge old grounds before dialing in to prevent contamination from stale or retained coffee.
- Check burr alignment and set to zero point, then back off slightly per manufacturer specifications.
- Test consistency with five consecutive shots, ensuring shot time variance stays within 2–3 seconds.
Why Your Espresso Needs Grinder Calibration
Precision matters most when pulling a great shot of espresso, and your grinder plays a starring role. If your grind size is off, even slightly, you’ll struggle with extraction-leading to weak flavor, poor Espresso crema, or bitterness. Calibrating your conical burr grinder guarantees consistency, which directly affects how evenly the coffee puck saturates during the shot. Without proper calibration, you’re wasting fresh beans, even if you’ve prioritized bean freshness. Over time, burrs shift or wear, so regular adjustment keeps shots balanced. An uncalibrated grinder might pull shots too fast or stall extraction, both masking the coffee’s true profile. You can have the best beans and machine, but without a tuned grinder, results stay unpredictable. Think of calibration as maintenance, not a fix-it’s how you maintain shot quality day over day. It’s not flashy, but it’s essential.
Gather Tools for Dialing In Your Grinder
Before you start adjusting your grinder, make sure you’ve got the right tools on hand, because trying to dial in without them will only lead to frustration. You’ll need a set of calibrated coffee scales for precise dose measurements, a timer to track grind time, and a quality tamper that fits your portafilter snugly. A magnifying glass helps inspect grind size consistency, while brush and compressed air aid in daily grinder maintenance. Your tool selection matters-cheap scoops or inconsistent tampers introduce variables that skew results. A distribution tool like a WDT (Weighed Distribution Tool) promotes even extraction but isn’t mandatory. Keep a notebook or digital log to record settings and outcomes. Stainless steel cleaning brushes and manufacturer-recommended cleaning tablets preserve burr performance. Avoid makeshift tools; they compromise accuracy. Proper gear streamlines the process, making adjustments repeatable and data-driven. Good tool selection supports long-term calibration success. For accurate dose tracking, consider investing in one of the best coffee scales known for precision and reliability.
Set the Right Grind Size for Consistent Doses
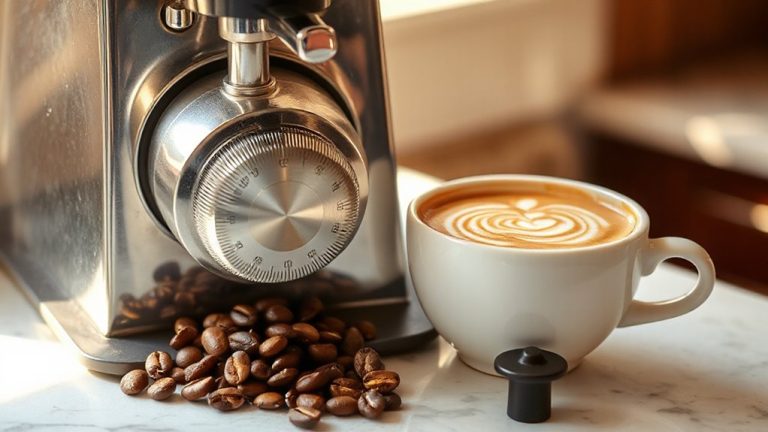
You’ve got your tools lined up-scales, timer, tamper, and brush-so now it’s time to start fine-tuning the grind itself. Adjust your conical burr grinder in small increments, testing each change with a 18–20g dose and measuring shot time to hit 1:2 yield in 25–30 seconds. A consistent grind size improves particle distribution, meaning fewer fines and boulders, which stabilizes extraction. If shots pull too fast, go finer; if too slow, go coarser. Pay attention to grind retention-cheap grinders often trap grounds in the chute, causing dose inconsistency and stale buildup. Higher-end models like the Niche Zero or Mazzera Mini reduce retention with flush burrs and tight exit paths. Always purge a few grams before dialing in to clear old particles. Your goal is repeatable doses with minimal variance. Small grind tweaks make a big difference, so change one variable at a time and log results. For more precision, consider upgrading to one of the top-rated coffee grinders based on performance and build quality.
Calibrate Burr Alignment for Even Grinding
Even if your grinder’s set to the right micron size, poorly aligned burrs can create uneven particle distribution, leading to inconsistent extraction and flat or sour espresso. You need to calibrate burr alignment to guarantee grounds are uniform. Misaligned burrs cause increased friction and accelerated burr wear, which hurts grind quality over time. Most conical grinders, like the Lelit PL49 or Mazzer Mini, let you adjust the upper burr using calibration wrenches. Start by setting the burrs to zero, then back off slightly-consult your manual for tolerances. Proper alignment reduces heat and static control issues, minimizing clumping and dose inaccuracy. A simple tap test-lightly tapping the grinder base while dosing-can reveal alignment flaws through sudden grind changes. Recheck alignment every few months or after heavy use. This step matters most when pulling high-pressure espresso shots, where consistency is critical. Choosing the right coffee grinder for espresso can significantly improve dose accuracy and shot consistency.
Test and Adjust Shot Consistency
Now that your burrs are aligned and producing a uniform grind, it’s time to check how well those adjustments translate to your espresso shots. Pull five consecutive shots using the same dose weight-preferably 18–20 grams-and record each shot timing. Look for consistency: a variance of more than 2–3 seconds between shots suggests instability. If your timing fluctuates or your dose weight doesn’t match your target, tweak the grind setting in small increments. Go finer to slow shots, coarser to speed them up. Always recheck dose weight after adjusting, since grind size changes can affect how much coffee the portafilter holds. Use a reliable scale and timer for accuracy. Aim for a target window-like 25–30 seconds for a double shot-and repeat the process until you hit it reliably. Consistent shot timing and precise dose weight are your best indicators of a well-calibrated grinder.
Fix Common Grinder Calibration Problems
What happens when your shots still pull unevenly despite a freshly calibrated grinder? You might be dealing with common post-calibration issues like static buildup or grinder overheating. Static buildup causes grounds to clump or stick to the bin, leading to inconsistent dosing-try adjusting your grind setting slightly or using a grounding tool to reduce it. Grinder overheating from extended use can alter bean chemistry and affect grind size stability, especially during back-to-back shots; let your grinder rest between uses or consider models with better heat dissipation like the Niche Zero or Compak E10. Make sure your burrs are clean and check for wear, as damaged burrs won’t grind evenly no matter how precise the calibration. These fixes restore consistency and guarantee your calibration efforts actually hold up under real brewing conditions.
On a final note
You’ve now calibrated your conical burr grinder for better espresso accuracy. Proper grind size and burr alignment improve dose consistency and shot quality. If shots still pull unevenly, check for static or retention issues-common in grinders like the Baratza Encore or Eureka Mignon. Reassess regularly, as burrs wear over time. This routine isn’t perfect, but it’s practical, repeatable, and more reliable than guessing. Small tweaks yield real results.