How to Calibrate Your Grinder’s Timer for Consistent Grind Size Output
You need to calibrate your grinder’s timer to guarantee consistent dose and grind size, especially for espresso. Use fresh, room-temperature beans and a digital scale to measure a standard dose-18–20g for espresso, 15–17g for pour-over. Adjust the timer in 0.1–0.5 second steps; even small changes matter. Grind, brew, and taste: sour means too coarse, bitter means too fine. Repeat until balanced. Models like the Baratza Encore or Eureka Mignon need regular checks as burrs wear. Your next brew depends on how precise you get it now.
Notable Insights
- Use a consistent coffee bean and dose to eliminate variables during timer calibration.
- Adjust grinder timer in small increments-0.1 to 0.5 seconds-based on brew method and grinder precision.
- Weigh each grind dose with a digital scale to ensure accuracy and consistency.
- Brew and taste the coffee to identify under-extraction or over-extraction caused by incorrect grind time.
- Calibrate separately for espresso and pour-over, as each requires different grind times and coarseness.
Understand Why Timer Calibration Matters
While your grinder’s timer might seem like a small detail, getting it right can make a noticeable difference in your coffee’s taste. An inaccurate timer disrupts both grind consistency and brewing accuracy, leading to uneven extraction. If your grinder runs too long, you pull out over-extracted, bitter flavors; too short, and your coffee tastes sour and weak. This matters most with espresso, where even one-second variances affect pressure and flow. But even pour-over users need precise timing to maintain repeatability. Blade grinders often lack timers entirely, making them inconsistent. Burr grinders with timers-like Baratza Encore or Eureka Mignon-still require calibration because wear and bean density change over time. You’re not just timing the grind; you’re ensuring every dose matches the last. Proper calibration means stable particle size, predictable brews, and better-tasting coffee-without guessing or tweaking recipes unnecessarily. It’s a small step with real impact. For those seeking reliable performance, investing in one of the top-rated burr grinders can greatly improve long-term consistency.
Choose Your Test Dose and Beans
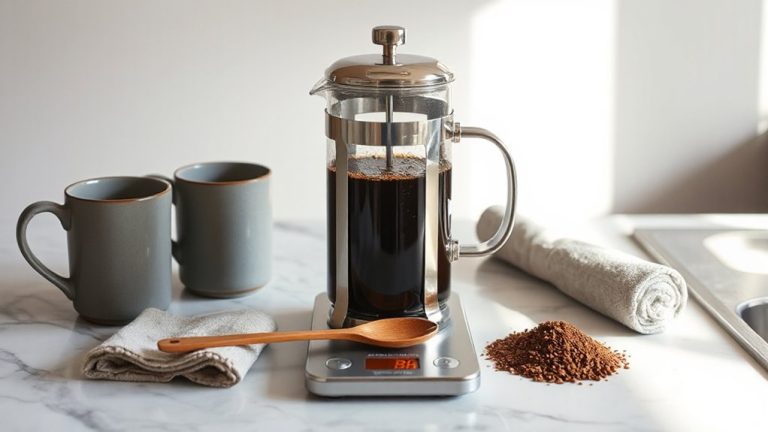
You’ve seen how an uncalibrated timer can throw off your brew, so now it’s time to set up your first test. Start by picking a consistent bean type-something you regularly use, like a medium-roast Colombian or a standard espresso blend. Stick to one bean type throughout calibration to eliminate roast or density variables. Choose a typical grind dose, usually 18–20 grams for espresso or 15–17 grams for pour-over, depending on your setup. Use a digital scale to measure precisely; don’t estimate. A stable grind dose guarantees any changes you observe come from timer adjustments, not dose variance. Keep the beans at room temperature and avoid freshly roasted batches under 7 days old, as outgassing can skew results. This test is about control, so consistency in bean type and grind dose is non-negotiable. For even better long-term precision, consider using a high-quality coffee grinder recommended for consistent particle size distribution.
Adjust the Grinder Timer in Small Steps
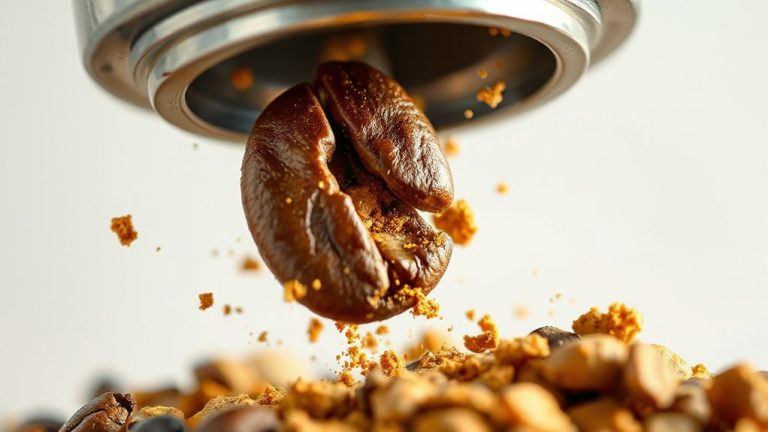
Since your goal is a precise grind time that matches your dose and brew method, start by making small, deliberate changes to the timer-adjusting in 0.1- to 0.5-second increments depending on your grinder model. Large jumps can throw off grind consistency and hurt calibration precision, especially with sensitive grinders like the EK43 or DC Gen 2. Go slow: even 0.2 seconds can alter extraction in espresso. After each adjustment, note the time and observe how grounds look-uniform size means you’re on track. If particles vary widely, overshooting your target, scale back. Consistency matters more than speed. Budget grinders may need larger steps due to coarse timer mechanisms, but aim for precision where possible. Each tweak brings you closer to repeatable results. Patience here saves guesswork later. Small steps give control, letting you dial in exactly what your brew method needs without wasting beans or time. For those using manual grinders, consider starting with a best manual espresso grinder to ensure greater control and consistency from the outset.
Brew and Evaluate: Spot Extraction Issues
How do you know when your grind time is actually working for your brew? You taste it. After adjusting your grinder’s timer, brew a full cup using your usual method and pay close attention to the flavor. If the coffee tastes off, you’re likely dealing with a taste imbalance caused by incorrect extraction. A sour bitterness usually means the grind is too coarse-water passed through too quickly, pulling under-extracted, sharp, acidic notes. That flat, hollow taste? It’s often mistaken for strength but signals incomplete extraction. On the flip side, if the coffee tastes harsh or overly sharp, the grind might be too fine, leading to over-extraction. These flaws aren’t just about preference-they’re direct feedback from your grind time. Adjust accordingly and retest. Consistency starts with honest evaluation, not assumptions. Taste each brew like a diagnostic tool-because it is.
Adapt Timer Settings for Pour-Over or Espresso
While both pour-over and espresso rely on precise grind times, the ideal settings differ markedly due to the brewing method’s pressure and flow rate. For pour-over, you’ll need a coarser grind and longer drop time to manage slower flow rate and prevent over-extraction. Espresso demands a finer grind and shorter timer setting to handle high pressure and fast flow. Dose accuracy is critical-small timing changes greatly affect output. A 0.5-second shift can alter your dose by grams, especially on fast-spinning burrs.
| Method | Timer Range (sec) | Dose Accuracy Impact |
|---|---|---|
| Pour-Over | 18–25 | Moderate |
| Espresso | 18–22 | High |
| Coarse Grind | >25 | Low |
| Fine Grind | <18 | High |
Adjust your timer in 0.1-second increments for espresso; 0.5-second changes work fine for pour-over.
Keep Your Grind Consistent With Timer Checks
A consistent timer setting doesn’t guarantee a consistent grind-you still need to verify it regularly. Bearings wear, burrs dull, and static shifts over time, all affecting your output. Even if you’ve dialed in your grinder perfectly, skipping checks risks poor grind uniformity and erratic dose precision. Every few days, pull a dose and weigh it: if it’s off by more than 0.5g from your target, adjust the timer slightly. Also inspect for fines or boulders-uneven particles mean reduced extraction stability. For pour-over, use a 10-second test grind; for espresso, try a 28-gram shot in 26 seconds as a baseline. Grinders like the EK43 or Compak K3 keep consistency well but still drift. Routine timer checks take less than five minutes and save beans, time, and wasted shots. Stay sharp-your brew depends on it.
On a final note
You’ve adjusted your grinder’s timer, tested shots or brews, and spotted changes in extraction. Small tweaks matter-too short a grind time leads to weak coffee, too long brings bitterness. For espresso, aim for 25–30 seconds; for pour-over, check for balanced flavor. Recheck the timer weekly, especially if beans or humidity change. Consistency beats perfection-stick with what works.