How to Remove and Clean a Pour-Over Stand’s Drip Tray and Base
Pull the drip tray straight out from under the brew cone, wiggling gently if it sticks. Clean it with warm, soapy water and a soft sponge, or soak in a 1:1 vinegar-water mix for buildup. Rinse well and dry completely before reinserting. Wipe the base daily to prevent coffee oil residue, and clean it weekly if you brew often. Proper alignment and drying prevent wobbling and damage-keep doing this right, and you’ll see how much longer your stand lasts.
Notable Insights
- Locate the drip tray beneath the brew cone and pull it straight out gently, wiggling slightly if needed.
- Clean the tray with warm, soapy water and a soft sponge, or soak in a 1:1 vinegar-water solution for stubborn residue.
- Use a non-abrasive sponge or small brush to scrub coffee buildup, avoiding steel wool to prevent scratches.
- Dry all components thoroughly with a clean towel and allow 15–20 minutes of air drying before reassembly.
- Reinsert the drip tray flush and aligned, ensuring the base is stable and support arms are evenly spaced.
Remove the Drip Tray Safely
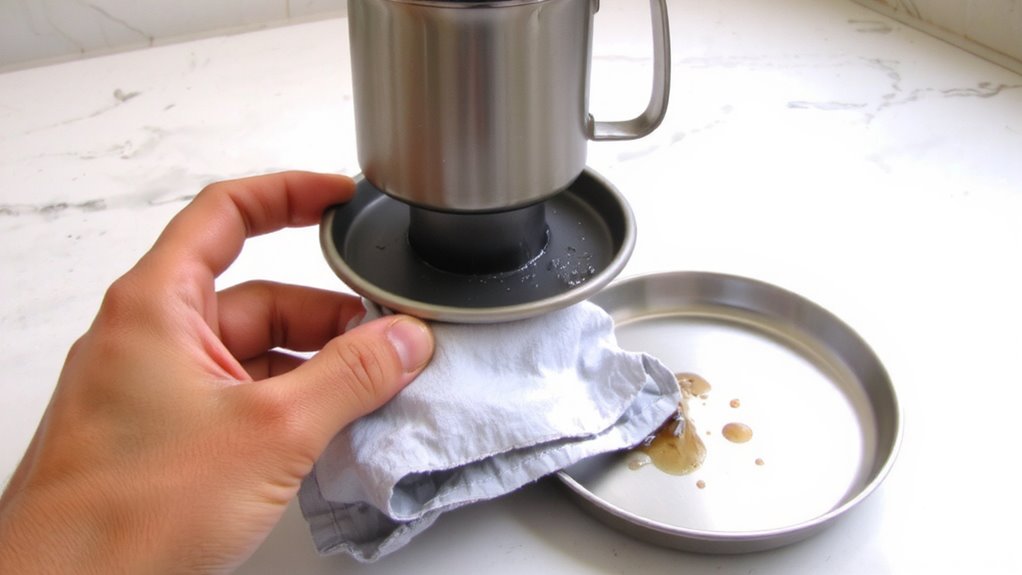
After finishing your brew, start by checking the base of the pour-over stand for the drip tray, usually located directly beneath the brew cone. Grasp the tray’s edges and pull it straight out with gentle pressure-don’t force it. Some models, like the Hario V60 stand or OXO Brew, have trays that slide in smoothly but may stick if coffee grounds or moisture create resistance. If needed, wiggle it slightly, but avoid sharp movements. Proper alignment matters: reinserting the tray incorrectly can cause instability or spills during future use. Always check that the tray fits flush and locks into place when returning it. Using gentle pressure guarantees no warping or cracking, especially with plastic or tempered glass trays. Metal trays are more durable but can scratch if misaligned. Removing the tray safely keeps your setup functional and extends its lifespan. For more insights on selecting a stand with easy-to-clean features, explore our guide to the best pour-over coffee stands.
Gather Your Cleaning Supplies
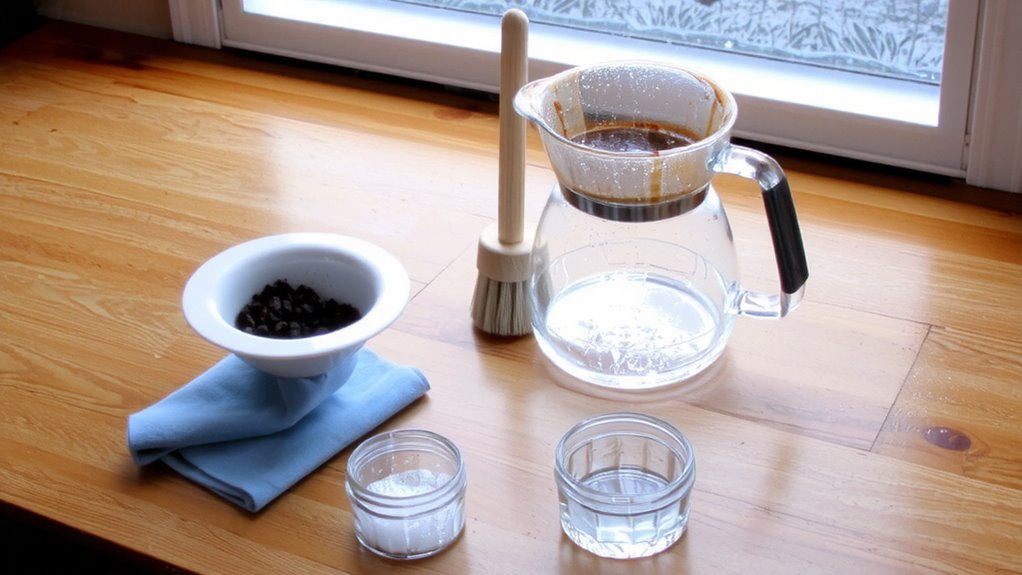
Now that the drip tray’s out of the way, it’s time to get your cleaning supplies ready. You’ll need a soft sponge, mild dish soap, and warm water-these handle most coffee stains and everyday grime without scratching surfaces. For tougher residue or built-up water spots, a 1:1 mix of white vinegar and water works well and won’t damage metal or plastic parts. Avoid abrasive scrubbers like steel wool; they can leave scratches where stains hide. If your stand is stainless steel, a microfiber cloth helps prevent streaks. For daily maintenance, quick wipe-downs reduce long-term buildup. Always unplug nearby devices before cleaning. Keep a small brush, like a clean toothbrush, handy for tight spots. These supplies are affordable and common, so you won’t need specialty products unless you’re dealing with mineral-heavy water. Having everything ready streamlines the process.
Clean Coffee Residue From the Tray
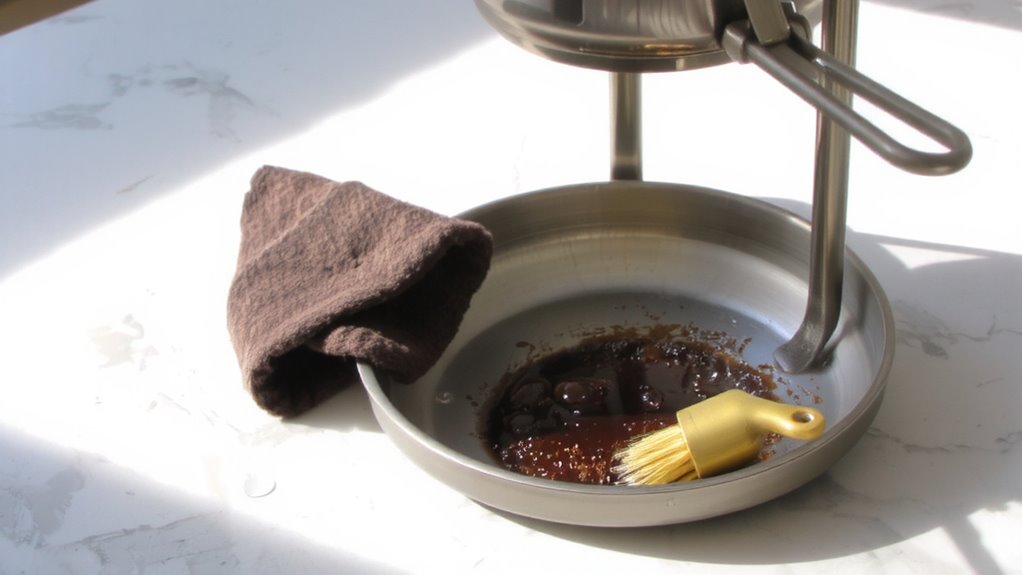
While coffee residue builds up over time, tackling it early keeps cleanup simple and prevents staining. Start by wiping loose grime from the tray with a soft cloth. For stuck-on coffee stains, apply a mix of warm water and mild dish soap, then scrub gently with a non-abrasive sponge-this avoids scratching the surface. If you notice white, crusty spots, those are likely mineral deposits from hard water; use a 1:1 vinegar-water solution to dissolve them. Let it sit for 5–10 minutes before scrubbing. Rinse thoroughly with clean water to remove any vinegar taste or soap residue. For frequent users, doing this weekly prevents buildup. Stainless steel trays resist stains better than plastic, but both respond well to consistent care. Avoid bleach or harsh chemicals-they can degrade materials over time.
Dry and Reassemble the Stand
Make sure every part of your pour-over stand is completely dry before putting it back together-any lingering moisture can lead to water spots or even mildew over time. Use a clean towel to wipe down all surfaces, then let components finish air drying for at least 15–20 minutes. This guarantees hidden spots, like joints and crevices, lose all dampness. Once dry, reassemble the stand with care, checking for proper alignment so the tray fits snugly and the base stays stable.
| Part | Drying Method | Reassembly Tip |
|---|---|---|
| Drip tray | Towel + air drying | Align edges flush |
| Base | Towel wipe | Place on flat surface |
| Support arms | Air drying | Ensure even spacing |
| Center post | Air drying | Insert fully into base |
Proper alignment prevents wobbling during brewing.
Prevent Oil Buildup With Daily Habits
Keeping your pour-over stand dry after cleaning stops more than just water spots-it also slows the grime that leads to long-term buildup. Coffee oils are the main culprit; they seep from brewed grounds and stick to metal or wood surfaces, darkening over time and turning sticky. Without a daily wipe down, these oils trap dust and bacteria, creating a film that’s harder to remove later. Get into the habit of going over the base and drip tray with a damp, soapy cloth right after brewing. It takes less than a minute. Use a microfiber cloth-it grabs oils better than paper towels. Rinse and dry thoroughly. Doing this every day keeps residue from layering, especially on stands made of wood or brushed stainless steel. Simple consistency beats deep scrubbing later. A minute now saves ten later-and your stand stays cleaner, longer.
How Often Should You Clean the Base?
You should clean the base of your pour-over stand at least once a week if you use it daily. This cleaning frequency helps prevent coffee residue, mineral deposits, and odors from building up over time. If you brew less often, adjusting your maintenance schedule to every two weeks is fine, but don’t skip it entirely-dust and oils still accumulate. For stainless steel or plastic bases, a quick wipe with warm, soapy water works well. For wooden bases, avoid soaking; use a damp cloth and dry immediately to prevent warping. Regular cleaning keeps your setup looking sharp and functioning properly. Skipping cleanings can lead to sticky surfaces or even mildew, especially in humid environments. Sticking to a simple routine guarantees your pour-over station stays hygienic and ready. Think of it like brushing your teeth-consistent, short effort prevents bigger problems later.
On a final note
Wipe the drip tray daily to prevent oil buildup, and remove it weekly for a thorough wash with mild soap. Let it dry completely before reassembling to avoid mold. For stubborn stains, a quick soak in warm, soapy water works better than scrubbing hard. Stainless steel trays last longer than plastic, but both need consistent care. Regular cleaning keeps your pour-over stand looking sharp and functioning well.