How to Properly Store Coffee Equipment During Extended Non-Use Periods
Clean your espresso machine and grinder before storage using Urnex or a manufacturer-recommended cleaner-never harsh chemicals. Disassemble the grinder, brush out old grounds, and wipe parts dry; never use water on burrs. Let all pieces air-dry 24 hours to prevent mold or rust. Store in a cool, dry place like a climate-controlled closet, using sealed bins if needed. Keep beans airtight and equipment unplugged. When ready to use again, flush the system and recalibrate settings-there’s more to get right before your first perfect shot.
Notable Insights
- Clean all equipment thoroughly before storage to prevent rancid oils and residue from affecting future brew flavor.
- Disassemble and brush grinders carefully, avoiding water on burrs to preserve calibration and prevent rust.
- Ensure every part is completely dry before storage to avoid mold, rust, and bacterial growth.
- Store equipment in a cool, dry, pest-free environment using sealed bins to protect against dust and humidity.
- Recondition equipment before reuse by flushing, running water cycles, and recalibrating settings for optimal performance.
Clean Your Coffee Equipment Before Long-Term Storage
Before you store your coffee gear for an extended period, it’s essential to clean everything thoroughly-leftover oils and residue can turn rancid and affect flavor when you start brewing again. You want to preserve that rich coffee aroma, and a deep clean helps guarantee your first cup post-storage tastes as fresh as the last. Wipe down surfaces, run water through brewers, and use manufacturer-recommended cleaners for machines like espresso makers or drip brewers. Ignoring this step might also void your equipment warranty-many brands require proof of regular maintenance. Avoid harsh chemicals that can linger and taint future brews. Instead, opt for mild, coffee-specific solutions like Urnex or清水 rinses. Even if the machine looks clean, oils build up over time, especially in contact points. Proper cleaning protects both performance and longevity. Take the time now to avoid off-flavors and costly repairs later. Your future self-and your palate-will thank you. For trusted cleaning tools and maintenance kits, consider picks from our Best Coffee Gear Picks guide.
Disassemble and Remove Coffee Residue From Grinders
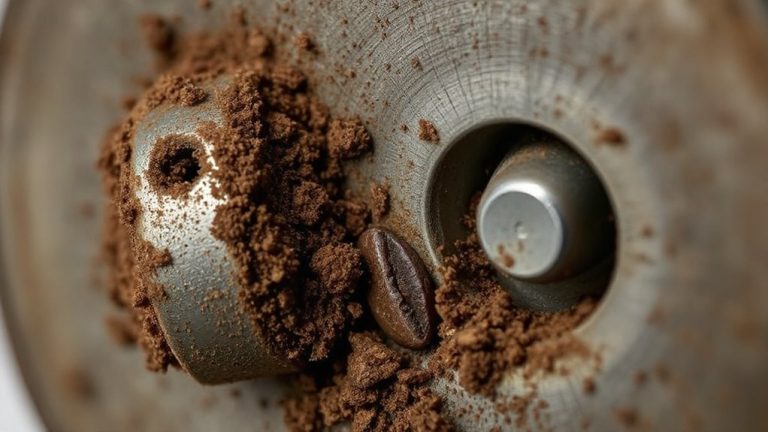
A thorough cleaning of your grinder before storage starts with disassembly-most burr grinders, whether flat or conical like those from Baratza or 1Zpresso, are designed to come apart easily for maintenance. You’ll want to remove the hopper, top burr, and in some models, the bottom burr too. Use a soft brush or compressed air to clear coffee grounds from the burrs and chamber. Oily residues can build up over time, so wipe parts with a dry cloth-avoid water. Regular burr maintenance keeps your grinder performing well and extends its life. After cleaning, reassemble carefully to preserve grinder calibration. Disturbing the alignment during reassembly can throw off grind consistency, meaning you might need to recalibrate once you restart use. This step isn’t just about cleanliness-it directly affects performance. Taking time now saves hassle later when you’re ready to brew again. For optimal long-term care, consider referring to a detailed buying guide to understand maintenance features of different mill grinders.
Dry All Parts Completely to Stop Mold and Rust
Even if your grinder looks clean, any leftover moisture after washing can lead to mold growth or rust on metal burrs and internal parts, especially in humid environments-so drying thoroughly is non-negotiable. You need proper air circulation to guarantee all components dry completely. Leave disassembled parts in a well-ventilated area, ideally on a clean towel or drying rack, and avoid stacking or enclosing them too soon. Don’t use heat sources like ovens or hair dryers, as they can warp plastic or damage seals. Let parts air-dry for at least 24 hours, checking crevices where water can hide. For machines with internal water lines, like espresso makers, run a dry cycle to improve moisture control. Complete drying is a simple but critical step-it prevents microbial growth and corrosion, preserving your gear’s function and longevity during storage. A high-quality espresso grinder can maintain its performance longer when stored correctly after thorough drying.
Store Components in a Cool, Dry, Pest-Free Place
Keep your coffee equipment in a spot that stays cool, dry, and free from pests-this isn’t just about convenience, it’s about protecting your investment. Ideal storage conditions prevent material breakdown and maintain functionality over time. Excess heat or humidity warps plastics, degrades seals, and encourages dust buildup, while pests like ants or rodents can nest in unattended gear, especially if residual oils or coffee bits remain. A basement shelf or closet interior often works well, provided there’s consistent climate control. Avoid garages or attics, where temperatures swing dramatically. If you live in a humid region, consider a dehumidifier or moisture-absorbing packs nearby. Sealed plastic bins offer extra protection against both pests and dust. Just make sure components are fully dry before placing them inside. Proper climate control and smart storage conditions go a long way in ensuring your equipment is ready when you are.
Seal Opened Coffee Beans in Airtight Containers
Once you’ve opened your coffee bag, that freshness starts slipping away fast-so don’t leave the beans exposed. To preserve bean freshness, transfer them to an airtight container immediately. Oxygen, light, and moisture degrade quality, so choose container materials that block all three. Glass and stainless steel are top choices-they don’t absorb odors and offer full visibility, while opaque stainless versions protect beans from light. Plastic can work short-term but may retain smells and degrade over time. Avoid clear containers if storing in light-exposed areas. Keep the container in a dark, cool spot-like a pantry. Don’t use zip-top bags or coffee’s original packaging long-term; they aren’t truly airtight. A proper seal means consistent flavor and better brews later. Airtight storage isn’t optional-it’s essential for keeping beans tasting fresh beyond a few days.
Keep Machines Unplugged and Ventilated
When storing coffee machines, leaving them plugged in or tucked away in tight, damp spaces increases the risk of electrical issues and internal mold growth-so always unplug the device after it’s cooled down and store it in a well-ventilated area. Electrical safety is key: even when off, a plugged-in machine can pose hazards if moisture seeps into components. Unplugging eliminates this risk entirely. Good air circulation helps prevent condensation buildup, which can lead to corrosion or mold in internal tubing and reservoirs, especially in humid environments. Place the machine in a dry room with consistent airflow-avoid corners, basements, or sealed cabinets. Elevating it slightly or leaving space around the unit improves ventilation. For espresso machines or super-automatic models with complex internals, proper airflow is even more critical. This simple step protects both performance and safety over time.
Test and Calibrate Before Brewing Again
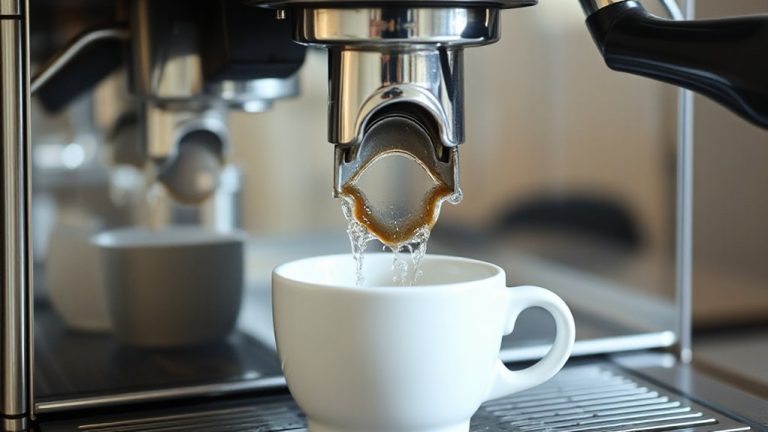
After your machine has been sitting in storage, don’t fire it up and expect perfect espresso right away. First, plug it in and let it run through a few heating cycles without brewing-this helps clear any moisture and stabilizes internal components. Check for warning signs like unusual noises, sparks, or burning smells, as they could indicate electrical safety issues. Once the machine seems stable, run water through the group head or brew cycle to flush out stale residue. Then, calibrate settings: adjust grind size, water temperature, and shot timing to restore performance accuracy. Machines with digital displays may need time to reset or re-sync internal sensors. For espresso models, use a scale and timer to verify output consistency. If yours has a steam wand, purge it fully to avoid bacterial buildup. Small tweaks now prevent bigger problems later and guarantee your first post-storage cup actually tastes good.
On a final note
Store your coffee gear right, and it’ll work when you need it. Clean every part, dry thoroughly, and disassemble grinders to prevent clogs. Keep everything in a cool, dry spot-away from moisture and pests. Seal beans in airtight jars like Mason or Airscape. Unplug machines; let them air out. When you’re ready to brew again, run a cycle or two, then calibrate the grinder. Skip shortcuts now, or fix problems later.