Pre-Infusion & Espresso Pressure Drop: 1-3 Bar Setup Guide
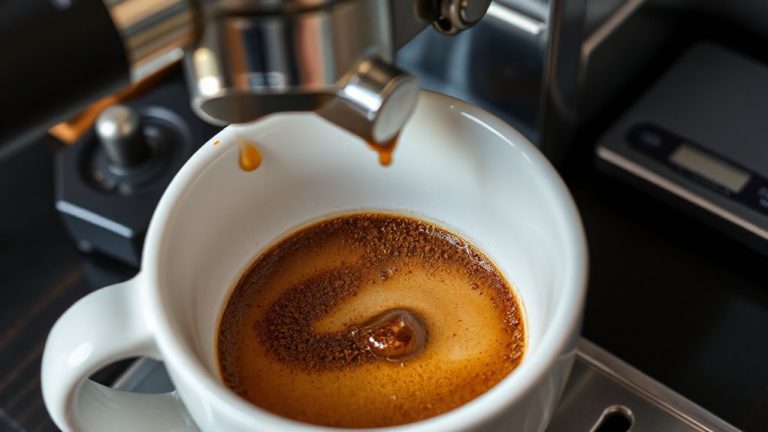
You start pre-infusion at 1–3 bars, letting water evenly soak the puck before full pressure hits. This slow wetting helps coffee expand and seal, so water doesn’t rush through weak spots. Machines like the Breville Dual Boiler or Rocket R58 use this to stabilize flow and cut pressure drops. Without it, you get channeling, especially with inconsistent grinds from an EK43. Good water and a solid grinder like the Niche Zero make it work better-keep adjusting, and you’ll see how much more consistent your shots can get.
Notable Insights
- Pre-infusion evenly wets dry coffee grounds, allowing uniform expansion and stabilization of the puck structure.
- Low-pressure saturation prevents sudden channel formation during initial water contact.
- Even puck saturation increases resistance consistency, reducing erratic flow paths under high pressure.
- Proper pre-infusion minimizes rapid pressure drops by promoting a sealed, cohesive coffee bed.
- Stable puck structure from pre-infusion enables smoother transition to full brew pressure with fewer flow disruptions.
What Is Pre-Infusion: And Why It Makes Better Espresso
Think of pre-infusion as the calm before the espresso storm. It’s that brief moment when low-pressure water gently wets the coffee puck before full pressure kicks in. This head start helps the grounds expand evenly, leading to more uniform extraction. You’ll get better results when you pair pre-infusion with consistent tamp consistency-uneven tamping can ruin even the best pre-infusion routine. Water temperature matters too; stay within 195–205°F to avoid scalding or under-extraction. Machines like the Breville Dual Boiler or Rocket R58 offer adjustable pre-infusion settings, giving you control. Without pre-infusion, you risk channeling, but don’t rely on it to fix poor technique. It won’t compensate for bad grind size or old beans. Use it as a tool, not a crutch. Done right, pre-infusion smooths out shots, improves flavor, and reduces pressure drop-simple, practical, effective.
What Causes Channeling in Espresso? (And How Pre-Infusion Helps)
Why does your espresso sometimes taste sour or uneven? Chances are, channeling’s to blame. When water finds weak paths through your puck, it extracts unevenly-leading to off-flavors and weak shots. Grind inconsistency is a major culprit; if your particles vary in size, water will rush through the larger gaps, bypassing dense zones. This accelerates puck erosion, breaking down the coffee structure too early. Over time, that worsens channeling and destabilizes pressure. Pre-infusion helps by wetting the grounds evenly at low pressure before the main pump kicks in. This gentle start stabilizes the puck, reducing the risk of erosion and giving water a more uniform path. It won’t fix a poor grind, but with a decent grinder-like a Niche Zero or Compak A5-pre-infusion makes your puck more resilient. You’ll see more consistent shots, better flavor balance, and fewer sour surprises.
How Pre-Infusion Prevents Pressure Drop During Brewing
You just saw how pre-infusion reduces channeling by stabilizing the puck with gentle wetting, but that even saturation also plays a direct role in maintaining stable pressure through the shot. When you start brewing with dry, uneven grounds, sudden high pressure forces water through weak spots, causing spikes and drops in flow. Pre-infusion eases water in at low pressure, letting the coffee expand and seal properly. This boosts pressure stability, so when full pressure kicks in, resistance is uniform. Flow optimization happens naturally because water isn’t fighting variable density or dry patches. Machines like the Expobar Hydra or Decent ESP come with adjustable pre-infusion, letting you fine-tune this phase without overcomplicating things. Skipping pre-infusion might save a few seconds, but you’re more likely to see inconsistent pulls and pressure drops. For reliable shots, especially with finicky beans or grinders like the EK43, that initial wetting phase isn’t just helpful-it’s essential.
Dialing In Pre-Infusion Settings: Pressure, Time, and Flow
How do you actually set pre-infusion so it works reliably shot after shot? Start by adjusting pre-infusion pressure to 1–3 bars-enough to wet the puck without compacting it. Most modern machines, like the Expobar Hydra or Rocket R58, let you fine-tune this easily. Aim for a duration of 5–10 seconds; longer isn’t always better and depends on your roast and dose. Flow rate matters too: a slower, steady saturation works best with consistent grind consistency. Uneven particles can cause channeling, even with perfect pre-infusion. Pair your settings with stable water temperature-keep it between 92–96°C-to guarantee even extraction. Make one change at a time and track results. Your grind consistency and water temperature are foundational, so dial those in first. With practice, you’ll see how pressure, time, and flow interact for balanced, repeatable espresso.
Why Your Pre-Infusion Isn’t Working (And How to Fix It)
Ever wonder why your pre-infusion isn’t delivering the even extraction you’re after, even when the settings look right on paper? It might not be your machine-it could be your water quality or grind consistency. Hard water leaves mineral buildup that clogs screens and disrupts even saturation, while soft or unbalanced water affects how coffee dissolves. You need consistent, balanced water-filtered or specially formulated, like Third Wave Water-to get reliable results. Equally critical is grind consistency. If your grinder produces fines and boulders, the pre-infusion will channel straight through weak spots. A high-quality burr grinder, such as the Baratza Sette or Eureka Mignon, guarantees uniform particles. Without this, pre-infusion just wets an uneven bed, leading to messy extraction. Fix these two, and you’ll see better puck saturation and fewer pressure spikes-even with the same pre-infusion time and pressure. Investing in one of the best coffee grinders for baristas can make a significant difference in maintaining that crucial grind uniformity.
Pro Tips for Mastering Pre-Infusion on Any Machine
Getting the most out of your pre-infusion starts with solid fundamentals, but even with good water and a consistent grind, results can still fall short if technique isn’t dialed in. Equipment compatibility matters-older machines may not support programmable pre-infusion, while newer models like the Breville Dual Boiler let you adjust duration and pressure. For better shot consistency, start with a 5–8 second pre-infusion using 30–50% of full pressure. Avoid full pressure too early, which can cause channeling. Here’s how some setups compare:
| Machine Type | Pre-Infusion Control |
|---|---|
| Basic Pump Machines | Manual (press and pause) |
| Vibrate Pump (e.g., Rancilio Silvia) | Limited or none |
| Rotary Pump (e.g., GB/2) | Programmable, high precision |
| PID-Enabled (e.g., Decent DE1) | Fully customizable |
Adjust time based on roast; lighter roasts often need longer pre-infusion. Pay attention-small tweaks boost extraction and shot consistency.
On a final note
You now know pre-infusion helps prevent channeling and stabilizes pressure by wetting the puck before full pressure hits. It’s not a fix for poor grinding or uneven tamping. For best results, start with 3–6 bars for 5–10 seconds, then ramp to 9 bars. Test variables one at a time. Machines like the Breville Dual Boiler or Decent EP-5 offer precise control, but even basic models can benefit with careful tuning.