Step-by-Step Guide to Zeroing a Flat Burr Grinder for Precision Dosing
You should zero your flat burr grinder to guarantee consistent grind size and accurate dosing. Start by turning it off and clearing old grounds. Set the adjustment ring to its lowest setting and spin the burr by hand until you feel resistance-then back off 2–4 clicks. Use a feeler gauge or shim for better precision. This simple reset improves shot quality, especially on grinders like the EK43 or Niche Zero, and helps you achieve repeatable results every time. You’ll discover even finer control with proper tools and technique.
Notable Insights
- Power off and unplug the grinder before removing the hopper and clearing old grounds from the burrs.
- Rotate the outer burr by hand to find resistance, indicating the point where burrs make contact.
- Back off the adjustment ring by 2–4 clicks to establish true zero, avoiding over-tightening and motor strain.
- Use tools like a feeler gauge or digital caliper for precise measurement and repeatable calibration.
- Test grind and adjust in quarter-turn increments to achieve consistent, flour-like grounds without clogging.
Why Zeroing Your Grinder Improves Espresso Consistency
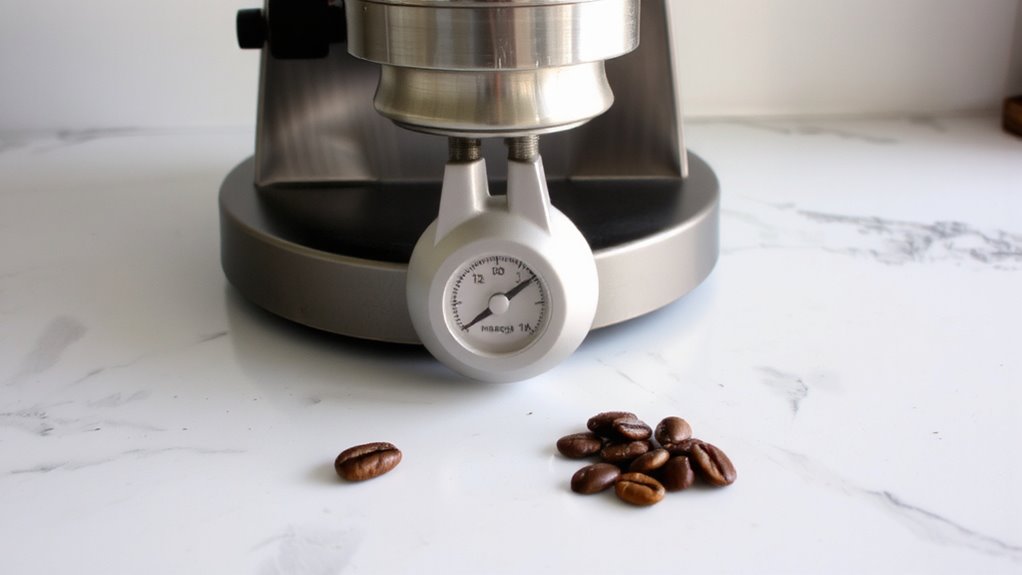
A small but critical step, zeroing your flat burr grinder can make a noticeable difference in shot-to-shot consistency. When you zero the grinder, you set the burrs to their closest measurable position, creating a baseline for precise adjustments. This improves grinder calibration, ensuring each grind size change is accurate and repeatable. Without a proper zero, settings might be off by several microns-an invisible but impactful error. That inconsistency leads to under- or over-extraction, altering flavor unpredictably. Getting this right directly supports dose accuracy, especially when pulling fine-tuned espresso shots. Machines like the EK43 or Mythos require tight tolerances, and skipping zeroing risks wasted beans and time. Think of it like calibrating a scale: no matter how precise the reading, if it doesn’t start at zero, the result’s flawed. It doesn’t guarantee perfect espresso, but it removes one variable you don’t need to manage.
What Tools You Need to Zero Your Flat Burr Grinder
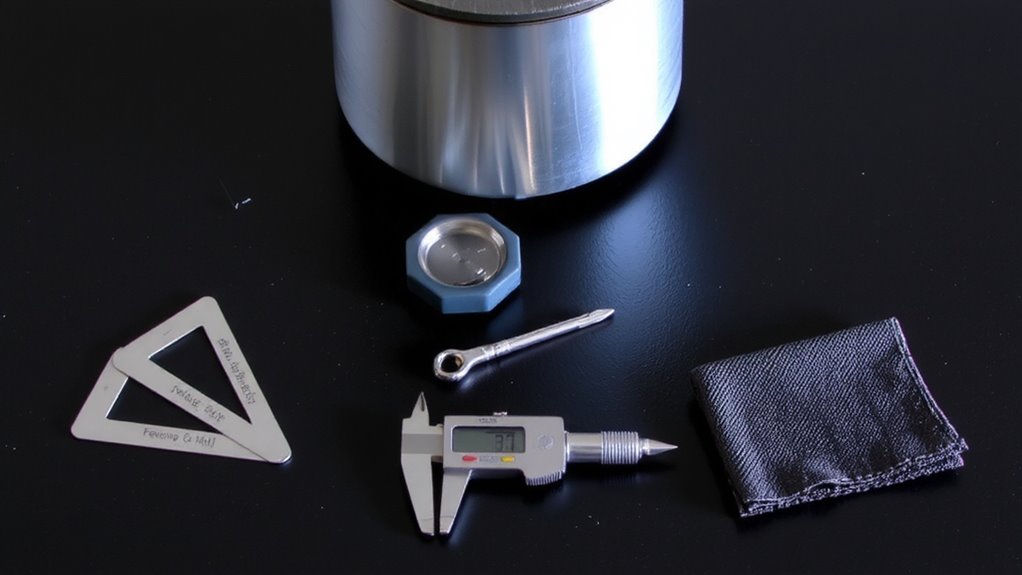
Paper shims, a feeler gauge, or even a sheet of printer paper can get you close-but if you want real precision, a purpose-made micro-measuring tool like the Puqpress Shim or a digital caliper delivers consistent results. These tools help you measure the exact gap between burrs, which is essential for accurate calibration techniques. A digital caliper, for example, gives you measurements down to 0.01mm, making it ideal for repeatable setups. You’ll also want a small brush and a dry cloth for cleaning grounds before starting-residual coffee can skew results. Reliable tools make it easier to stick to regular maintenance schedules without guesswork. Using consistent, high-precision methods means fewer adjustments over time and more predictable shot performance. Skip the makeshift solutions if you’re serious about dosing accuracy; investing in the right gear guarantees your calibration techniques remain effective, shot after shot. For even greater consistency, consider using one of the best mill grinders recommended in comprehensive buying guides.
How to Find the True Zero Point on Flat Burrs
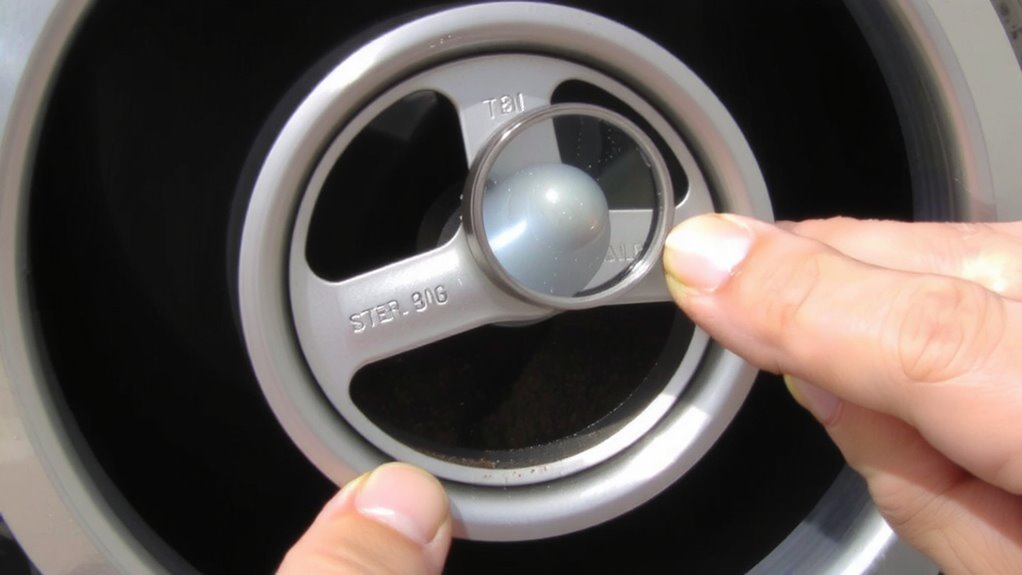
You can’t skip this step if you want your grinder dialed in properly-finding the true zero point is what separates a decent shot from a great one. Start by loosening the grind adjustment ring and gently turning the inner burr until it contacts the outer burr. You’ll notice resistance; that’s the point just before bean flow stops completely. Back off slightly-only 2–4 clicks, depending on your grinder model-until beans pass through freely. At true zero, the grind texture should be ultra-fine, almost flour-like, but without clogging. Going too far creates resistance and burns motor life, while stopping short sacrifices shot consistency. Machines like the EK43 or Niche Zero have tighter tolerances, so small adjustments matter. Listen and feel for changes in grinding sound and resistance-these cues help confirm you’re at true zero. This baseline guarantees repeatable, precise dosing. For optimal espresso and pour-over results, selecting the right tool is crucial-consider one of the best coffee grinders designed specifically for precision and consistency.
Step-by-Step: Zero Your Grinder in 5 Minutes
Time is precious when you’re fine-tuning your grinder, and hitting the mark quickly starts with a solid routine. Start by powering off and unplugging your flat burr grinder. Remove the hopper and gently take out the grounds caught below the burrs. Set the grind setting to its lowest number, then slowly rotate the outer burr by hand to check for resistance. Any drag means you’re past true zero-back off slightly until the burrs spin freely. This guarantees precise burr alignment, critical for consistent grind uniformity. Reassemble the hopper, and do a test grind with a few beans. Check the output-no powder or clumps means you’ve nailed it. If the grind looks uneven, adjust in quarter-turn increments. Most grinders, like the Eureka Mignon or Baratza Encore, respond well to this method. You’re now dialed in and ready for repeatable shots. For more insights on selecting the right tool for precision dosing, check out our guide on best coffee and espresso grinders.
Avoid These 4 Common Zeroing Mistakes
While zeroing your flat burr grinder might seem straightforward, skipping key steps can lead to inconsistent grinds and frustrated brew sessions. First, don’t rush past calibrating both burrs evenly-uneven adjustment causes burr misalignment, which ruins grind uniformity and increases strain on the motor. Second, avoid tightening the adjustment ring too much; over-tightening can lead to grinder overheating, especially in entry-level models like the Baratza Encore. Third, forget to clean the burrs beforehand, and you’ll risk inaccurate zeroing due to built-up coffee dust. Fourth, don’t rely solely on manufacturer defaults-many grinders ship with a false zero. Always recalibrate from the true contact point. Taking time to avoid these errors guarantees better performance, prolongs grinder life, and supports accurate dosing right from the start.
How Zeroing Fixes Dose and Shot Quality Issues
A proper zero guarantees your grinder delivers consistent dose and shot quality, addressing problems that often stem from misaligned or inaccurately set burrs. When you zero your flat burr grinder, you guarantee precise burr alignment, which directly impacts grind uniformity. Poor alignment creates uneven particle sizes, leading to inconsistent extraction-some grounds over-extract, others under-extract. That means sour, bitter, or unbalanced shots. With accurate zeroing, both burrs sit flush, reducing retention and channeling. You’ll notice tighter grind uniformity, especially vital for espresso, where small variances matter. Brands like Niche Zero and Eureka Olympus use stepped micrometers to enhance repeatability. If your shots lack clarity or your dose varies despite the same settings, the fix likely starts with re-zeroing. It’s not just calibration-it’s foundational to performance. Do it right, and you eliminate a major variable, making dialing in faster and more predictable.
On a final note
You now know how to zero your flat burr grinder for more consistent espresso. Skipping this step can lead to uneven doses and poor extraction. Use a feeler gauge or paper strip method with your EK43 or Profitec grinder to find true zero. Avoid common errors like forcing the burrs. Proper zeroing makes dose adjustments predictable and shots repeatable, which matters most when dialing in. It’s quick, free, and improves quality every time.