Master the Basics of Home Roasting: Equipment and Techniques Unveiled
You can start home roasting with a $30 whirley popper or an electric model like the FreshRoast SR540 for better control. Use fresh green beans, roast on medium heat, and stir constantly for even results. Light roasts highlight acidity and origin flavors, while dark roasts bring out bold, smoky notes. Watch for first and second crack to time your roast. Avoid scorching by lowering heat and ensuring good airflow. Each batch teaches you more about flavor development and timing.
Notable Insights
- Choose a roasting method based on control and budget, from popcorn poppers to dedicated electric roasters.
- Use fresh green beans and monitor roast time and temperature for consistent results.
- Stir constantly during stovetop roasting to ensure even heat and prevent scorching.
- Identify roast level by cracks and timing-light for acidity, dark for boldness.
- Cool beans immediately post-roast and store in airtight containers to preserve freshness.
Choose Your Home Coffee Roasting Method
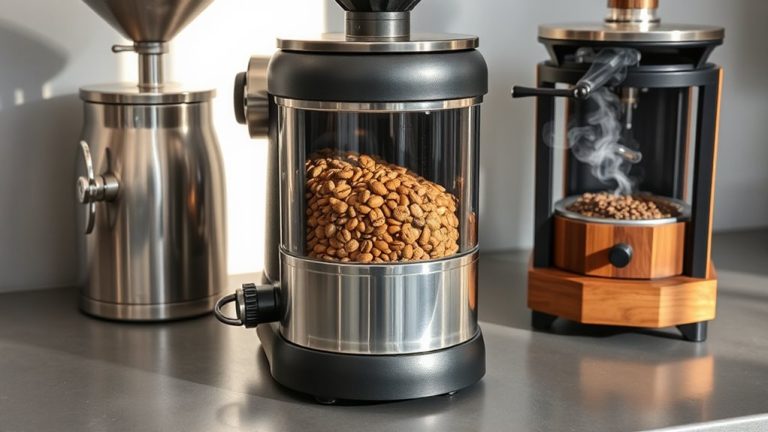
So, how do you want to roast your coffee at home - fast and simple, or hands-on with more control? If you’re after convenience, try a hot air popcorn popper-it’s cheap and quick, but offers little control over roast profiles. For better flavor development, a dedicated home roaster like the FreshRoast SR540 or Behmor 1600 gives you adjustable settings to fine-tune time and temperature. These machines let you experiment with light, medium, or dark roasts reliably. On the stovetop, a whirley popper works well and costs under $30, though it demands constant attention. Each method affects how beans develop flavor-slower roasts often bring out more complexity, while fast roasts can highlight brightness. Your choice shapes both roast profiles and final taste. Pick based on how much effort you want to invest and how specific you need your results. For those drawn to stovetop methods, consider a stovetop coffee roaster for a balance of affordability and hands-on control.
Get the Right Equipment for Roasting at Home
A home coffee roaster gives you the ability to turn green beans into fresh, flavorful coffee right in your kitchen, and the right setup depends on your budget, space, and how much control you want. If you’re new, try a simple popcorn maker or stovetop roaster-affordable and effective for small batches. For more precision, electric models like the FreshRoast SR500 or Nesco offer better roast tracking, letting you monitor time and temperature for consistent results. Make sure your equipment allows for proper ventilation, as roasting creates smoke and chaff. Don’t forget airtight containers for bean storage-cool, dark places keep your roasted beans fresh longer. Digital tools, like roast log apps, help track flavor profiles and roast times so you can tweak future batches. Manual methods work, but dedicated roasters provide stability and repeatability, especially as you refine your technique. Beginners may want to start with one of the best coffee roasters for beginners to ensure a smooth learning curve and consistent results.
Roast Green Beans on the Stovetop (Step by Step)
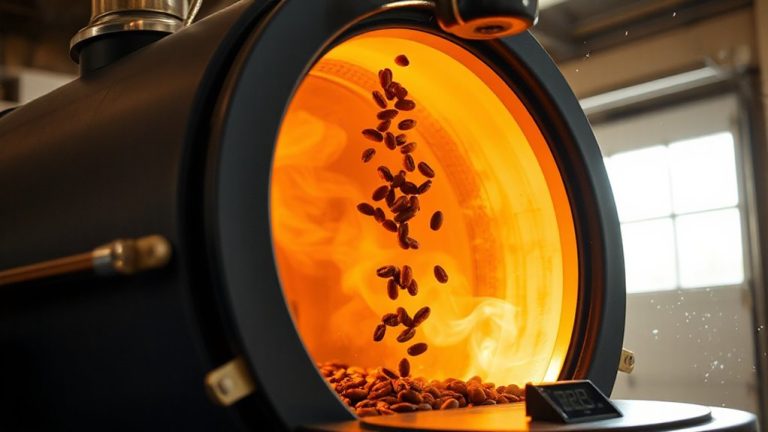
You’ve got your gear set up-maybe a repurposed popcorn maker or a dedicated electric roaster-and now you’re ready to roast without stepping outside. Start with fresh green beans, as bean selection directly affects flavor and roast consistency-look for high-density beans like Ethiopian Yirgacheffe or Colombian Supremo. Preheat your stovetop roaster on medium heat, then add about a half-cup of beans, spreading them evenly. Heat control is key; too high and you’ll scorch them, too low and they’ll bake unevenly. Stir constantly with a wooden spoon for even exposure. You’ll hear popping sounds-first crack signals near the end. Roast time usually runs 10–15 minutes. When the beans reach a rich brown shade, dump them into a colander to cool fast. This method works best in well-ventilated spaces due to smoke. For better control and repeatability, consider using a manual coffee roaster designed for home use.
Pick Your Perfect Roast Level
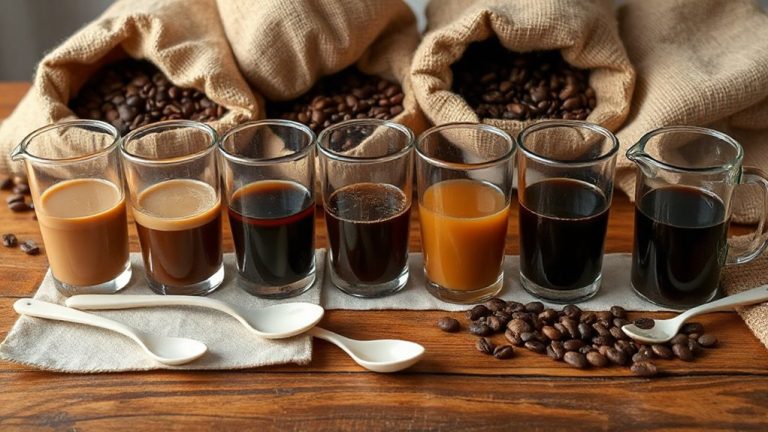
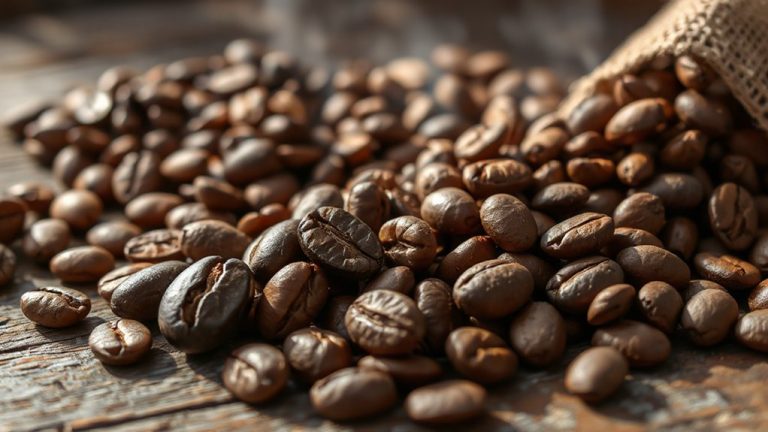
How do you want your coffee to taste-bright and zesty or deep and smoky? Your roast level decides that. Light roasts keep more of the bean’s origin character, offering crisp acidity and complex flavor development, like citrus or floral notes. They follow roast profiles that stop early, around first crack, ideal if you enjoy pour-over or drip. Medium roasts balance sweetness and body, with fuller flavor development and hints of chocolate or nuts-great for most brewers. Dark roasts go past second crack, giving bold, smoky flavors but less origin clarity. These profiles emphasize roast-driven traits over bean origin. Don’t assume darker means stronger caffeine-light and dark have similar levels. Pick based on your preferred taste and brew method. Your equipment matters too: a popcorn maker may limit control, while a dedicated roaster offers more precise roast profiles. Match your roast level to the coffee experience you want.
Fix Common Home Roasting Mistakes
Roasting your own coffee gives you control over flavor, but even with the right roast level picked, things can go wrong without proper attention to technique. Bean density varies between origins, so dense beans like Ethiopians need more heat early on. Lighter beans can scorch if you’re not careful. Airflow control is critical-too little and you get uneven roasts, too much and you cool the roast chamber. Watch for stalling or cracking at the wrong time; it usually points to airflow or heat issues. Preheat thoroughly and monitor roast color closely.
| Mistake | Fix |
|---|---|
| Bitter taste | Lower roast temp, adjust airflow control |
| Smoky flavor | Improve ventilation |
| Uneven roast | Stir beans, check airflow |
| Scorching | Reduce heat, respect bean density |
| Fast roasts (<8 min) | Lower heat, extend development |
On a final note
You’ve got the tools and steps to start roasting at home, whether using a stovetop pan, popcorn popper, or dedicated roaster. Light, medium, or dark-your roast level shapes the flavor. Watch for common issues like uneven heat or smoke, and adjust airflow or batch size. Freshly roasted beans need degassing before brewing. With practice and attention to time and temperature, you’ll consistently make better coffee using simple, affordable gear.