Clean a Coffee Grinder Hopper & Chute: 5-Step Guide
Unplug your grinder before starting to avoid accidents. Remove the hopper and chute following your model’s design-most twist or snap off. Brush out old grounds with a soft brush, focusing on seams and threads. Wipe parts with a damp, soapy microfiber cloth, then let everything air-dry completely on a towel for 1–2 hours. Reassemble carefully, ensuring parts seat properly. You’ll also want to know how often this should be done and what happens if you skip it.
Notable Insights
- Unplug the grinder and remove the hopper and chute according to the model’s instructions to ensure safe cleaning.
- Use a soft-bristled brush to thoroughly remove old grounds and dust from the hopper, chute, and hard-to-reach areas.
- Wipe all removable parts with a damp cloth and mild soapy water to eliminate oily residues and stains.
- Allow every component to air-dry completely on a clean towel in a well-ventilated space before reassembly.
- Reassemble the hopper and chute securely, ensuring proper alignment and no obstructions in the grinding chamber.
Unplug and Remove the Hopper and Chute
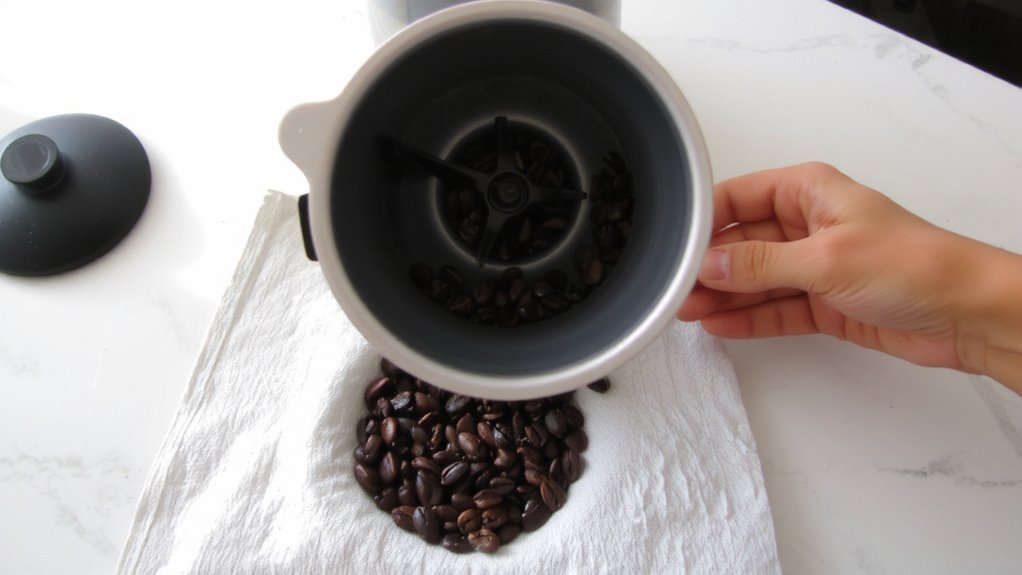
Before you begin cleaning, make sure the grinder is unplugged to avoid any accidental startups while you work. Once disconnected, remove the hopper and chute according to your model’s instructions-most grinders have a twist-off or snap-on design. This step is essential for effective hopper sanitation and chute maintenance. Check for cracks or static buildup in the hopper, as these can harbor moisture and stale grounds. The chute often traps fine particles, so inspect it closely. If parts are dishwasher-safe, like on many Baratza models, you can clean them there. Otherwise, hand wash with mild soap and let them dry completely. Never soak plastic parts long-term, as they may degrade. Reassemble only when fully dry to prevent clumping during use. This routine keeps your grinder running cleanly and preserves bean freshness.
Brush Out Old Grounds and Coffee Dust
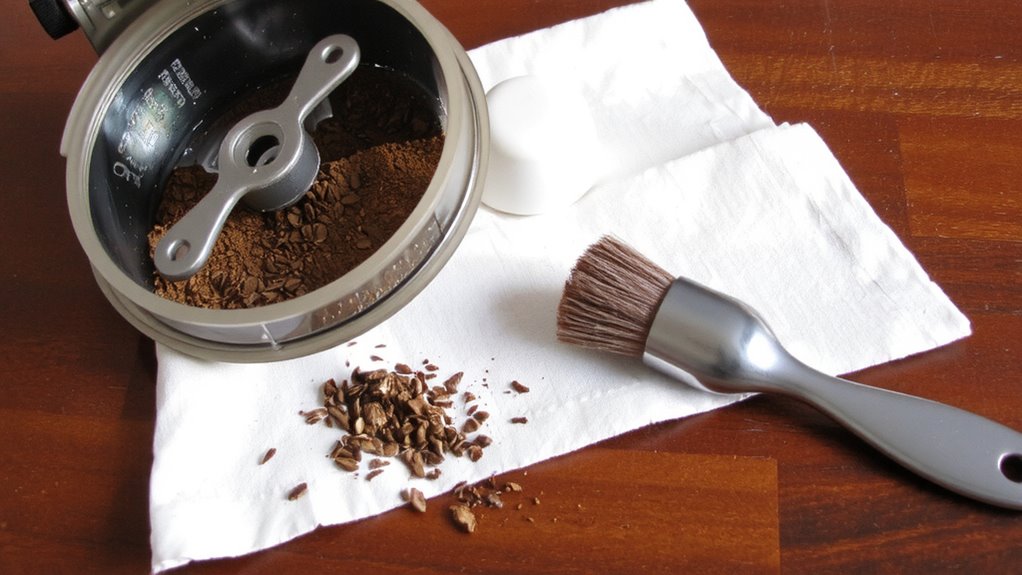
How do you get rid of those stubborn coffee remnants clinging to every crevice? Start by using a soft-bristled brush-like a dedicated coffee grinder brush or a clean toothbrush-to dislodge old grounds and fine coffee dust from the hopper and chute. Don’t skip the corners and threading, where buildup hides. This step is essential because leftover particles can cause flavor contamination, especially when switching bean types or roasts. They can also clog the mechanism, messing with your grind consistency over time. A dry brush is best here-no liquids yet-so you don’t risk moisture turning dust into paste. Nylon or natural bristle brushes work well, but avoid metal; they might scratch surfaces or shed particles. Brush thoroughly, then tap parts gently to remove loosened debris. Doing this regularly keeps your grinder accurate and your coffee tasting clean. For optimal results, consider using one of the best coffee grinder cleaning brushes designed specifically for this task.
Wipe Parts With a Damp, Soapy Cloth
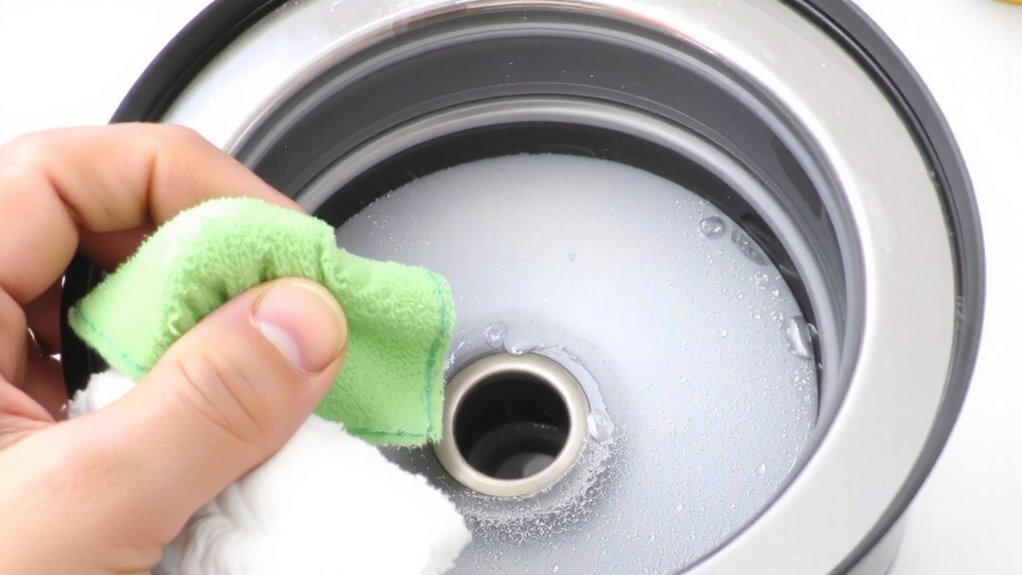
A quick wipe-down tackles what brushing misses. After removing loose grounds, grab a damp, soapy cloth and gently clean the hopper and chute surfaces. This step removes residual coffee oils and visible coffee stains that brushing alone won’t eliminate. Use mild dish soap and warm water-avoid harsh cleaners that can damage plastic or leave unwanted tastes. A microfiber cloth works well as a cleaning tool because it’s gentle and traps grime effectively. For tight spots, wrap the cloth around a silicone spatula or use a soft-bristled brush as a cleaning tool, but steer clear of metal scrubbers-they can scratch. Be thorough but light; you want to clean, not abrade. Wipe all interior and exterior surfaces where coffee contacts, especially near the chute opening. This keeps your grinder functioning smoothly and preserves coffee flavor. Rinse the cloth often to avoid spreading buildup.
Let Everything Dry Completely
Once you’ve wiped down the hopper and chute, it’s essential to let every part dry fully before reassembling-moisture left behind can clump coffee grounds or encourage mold in hidden corners. Place the parts on a clean, dry towel in a well-ventilated area to maximize air circulation. Avoid rushing the process; most components need at least 1 to 2 hours of drying time, depending on humidity. If you’re in a humid climate, spread them out instead of stacking to prevent trapped moisture. Don’t use a hairdryer or heater-excess heat might warp plastic parts. Glass or stainless steel components dry faster than plastic, but all materials benefit from patience. Letting each piece dry completely guarantees your grinder stays odor-free and works efficiently. Resist the urge to reassemble too soon-taking the full drying time now prevents bigger issues later.
Reassemble the Grinder Carefully
Now that the hopper and chute are fully dry, it’s time to put everything back together. Start by reattaching the hopper to the grinder, making sure it seats securely. Then, carefully replace the grinding chamber and chute, making certain no obstructions remain. Pay close attention to blade alignment-misaligned blades can cause uneven grinding and affect flavor. If your grinder has adjustable settings, check that the burrs aren’t touching, which could damage them. Proper grinder calibration is essential; incorrect settings lead to inconsistent grounds, impacting brew quality. Reassemble screws or clips firmly but don’t overtighten-plastic parts can crack. For conical burr grinders like the Baratza Encore, alignment marks help guide correct reassembly. With flat burrs, such as in the 1ZPresso models, double-check spacing. A well-reassembled grinder guarantees peak performance and extends the machine’s lifespan. Take your time-precision now prevents issues later. Baristas relying on consistency should consider models with precision burrs for baristas to maintain optimal grind quality across multiple brews.
When to Clean Your Coffee Grinder
Regularly cleaning your coffee grinder keeps it performing well and guarantees your coffee tastes fresh. You should clean it every two weeks if you use it daily, or once a month for light use. For frequent grinding, oily coffee residues build up fast, hurting coffee quality and risking clogs. If you switch between light and dark roasts, clean the grinder each time to avoid flavor transfer. Signs it’s time to clean include inconsistent grind size, slower grinding, or visible buildup in the hopper or chute. Neglecting cleaning shortens machine longevity and degrades performance over time. Burr grinders, like Baratza or Fellow models, need routine maintenance more than blade types. Wiping down weekly and doing a full clean monthly helps both coffee quality and machine longevity. Don’t wait for issues-stay ahead with a simple schedule. It takes little time and keeps every brew tasting right. Choosing the right equipment, such as one of the best coffee grinders, can make maintenance easier and improve long-term results.
How a Dirty Grinder Affects Your Brew
A grinder that’s clogged with old oils and coffee dust isn’t just messy-it’s altering your brew in ways you can taste. Buildup causes uneven extraction, meaning some grounds are over-ground while others are too coarse. This imbalance leads to a bitter taste or weak, sour notes in your cup. Old residue can also spoil aroma and mute flavor clarity. Keeping your grinder clean guarantees consistent grind size and fresh coffee with every brew.
| Issue | Cause | Result |
|---|---|---|
| Bitter taste | Oils oxidize over time | Over-extraction of stale particles |
| Sour flavor | Inconsistent grind | Under-extracted fine grounds |
| Weak aroma | Coffee dust buildup | Reduced fragrance and body |
| Clogging | Oily residues | Jammed chute or hopper |
| Uneven extraction | Poor particle distribution | Unbalanced, flawed brew |
On a final note
You’ve cleaned your grinder’s hopper and chute, and that’s key to better coffee. Residue builds up fast, dulling flavor and clogging parts. Doing this every few weeks keeps grinds consistent, especially with oily beans like some dark roasts. Let parts dry fully before reassembling-moisture harms motors. A quick wipe beats deep cleans later. For best results, unplug first, stay consistent, and pair clean gear with fresh beans. It’s simple maintenance, but it makes a real difference in your cup.