How to Clean a Cold Brew Coffee Maker’s Immersion Vessel After Each Batch
Clean your cold brew maker’s immersion vessel right after each batch. Dump out the used grounds while they’re still damp, then rinse with lukewarm water. Use warm, soapy water and a soft sponge or bottle brush to scrub the inside-focus on oily spots. Avoid abrasive tools that scratch. Rinse well and dry completely with a lint-free cloth, then let it air-dry upside down. Skip the step of waiting-it prevents mold and cuts future scrubbing time. There’s a better way to handle stubborn buildup when it happens.
Notable Insights
- Clean the immersion vessel immediately after use to prevent coffee residue from hardening.
- Remove used coffee grounds while damp to minimize mess and ease disposal.
- Rinse thoroughly with lukewarm water to flush out leftover particles and oils.
- Wash with warm, soapy water using a soft sponge or bottle brush, focusing on stained areas.
- Dry completely by air-drying upside down to prevent mold and ensure full moisture evaporation.
Skip the Rinse: Clean Your Immersion Vessel Now
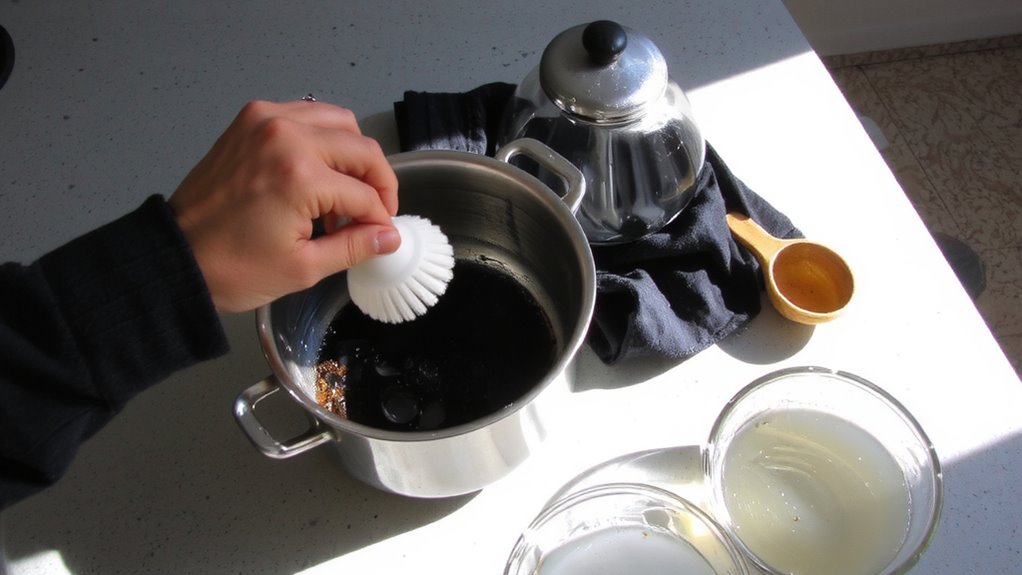
Why wait until the next brew to deal with leftover grounds? Clean your immersion vessel now-residue builds fast. Skipping the rinse right after use prevents stuck-on sludge that’s harder to scrub later. Don’t worry about coffee bloom; it doesn’t apply here-cold brew steeps for hours without heat. That means no sudden gas release like in hot brewing. But water temperature still matters during cleaning. Use warm water (not boiling) to dissolve oils without shocking glass parts. Too hot, and your vessel might crack. Too cold, and it won’t cut the grime. A quick clean now means no soaking later. Just a soft brush or sponge, mild detergent, and you’re done. Let it air dry upside down. This routine keeps your maker neutral-tasting and ready. Waiting only lets oils turn rancid-trust the process. For best results, choose a design with easy-to-clean filters to minimize maintenance between batches.
Have Your Cleaning Tools Ready
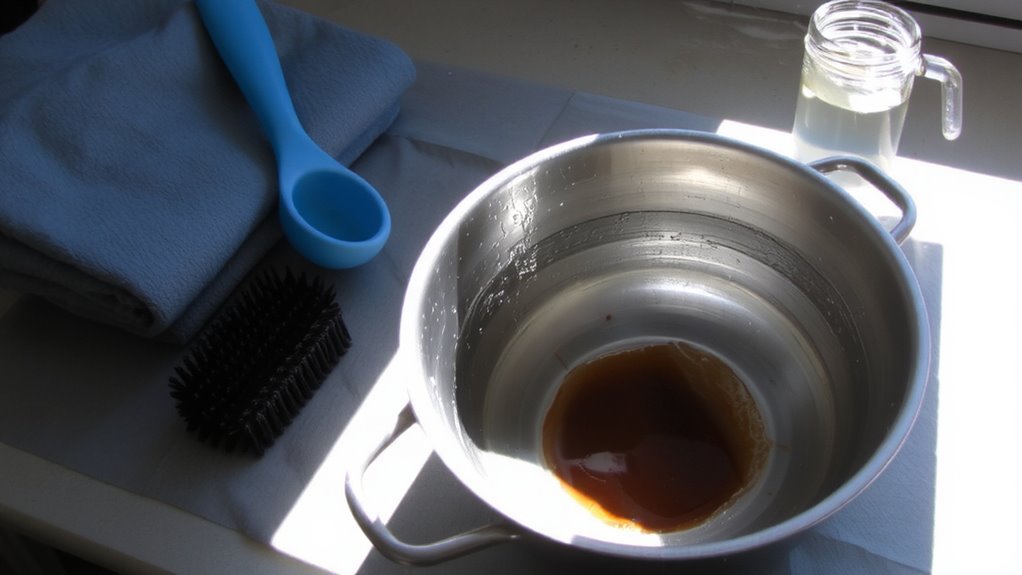
You’ll save time and effort by keeping your cleaning tools ready the moment you finish brewing. A solid pre rinse strategy starts with having a brush, mild detergent, and clean cloth nearby. Use a bottle brush if your vessel has a narrow neck, or a soft sponge for wider models-avoid abrasives that scratch surfaces. A quick rinse removes residue before it dries, making scrubbing easier. Pair this with a dedicated drying rack or clean towel to prevent contamination. Your drying tools should be lint-free and used only for this purpose. Keeping everything in one spot-like a designated cleaning caddy-means you’re more likely to maintain the habit. Over time, skipping steps leads to buildup that’s harder to remove. Be consistent: immediate rinsing plus accessible tools equals longer-lasting equipment and better-tasting coffee.
Rinse and Dump Used Coffee Grounds
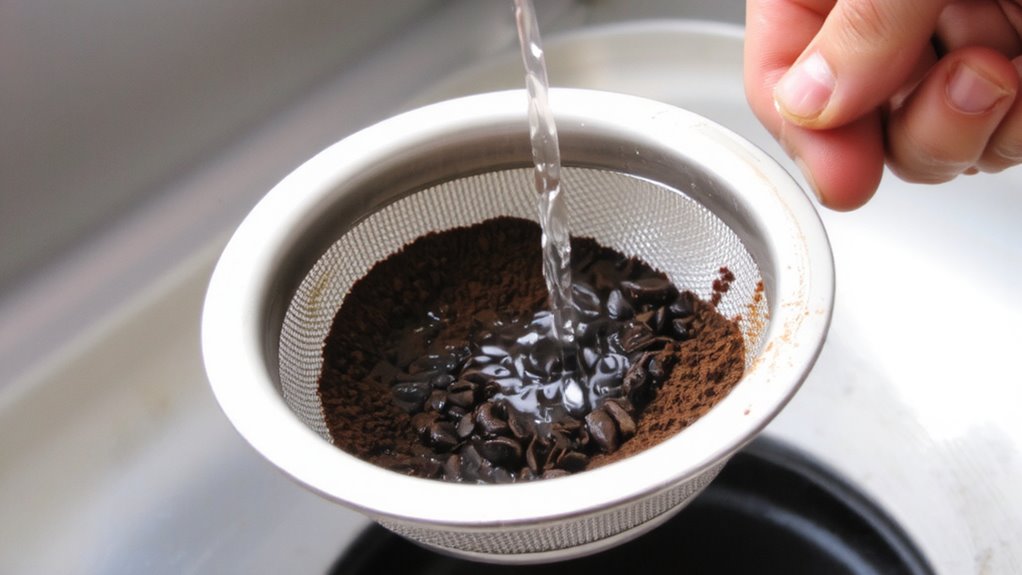
After brewing, it’s best to act quickly while the grounds are still damp, making them easier to remove. Remove the immersion vessel’s lid and press down rod, then pour out the used coffee into your preferred coffee disposal method-many use compost bins, while others opt for sealed trash bags to avoid odors. Damp grounds flow more easily and reduce mess, so don’t let them dry inside the vessel. Follow this with a quick rinse using lukewarm water to flush residual particles from the bottom and mesh filter. Avoid scalding water here, as sudden temperature shifts could stress the glass or plastic. This step isn’t about deep cleaning-it’s a practical measure to prevent buildup before the next stage. A few seconds of rinsing now saves scrubbing later. Keep a sink-side bin handy for efficient coffee disposal, and remember: a prompt dump and quick rinse set the stage for a smoother full clean. Choosing the right equipment from the start makes maintenance easier, so consider your options among the best cold brew makers.
Scrub Your Vessel With Warm Soapy Water
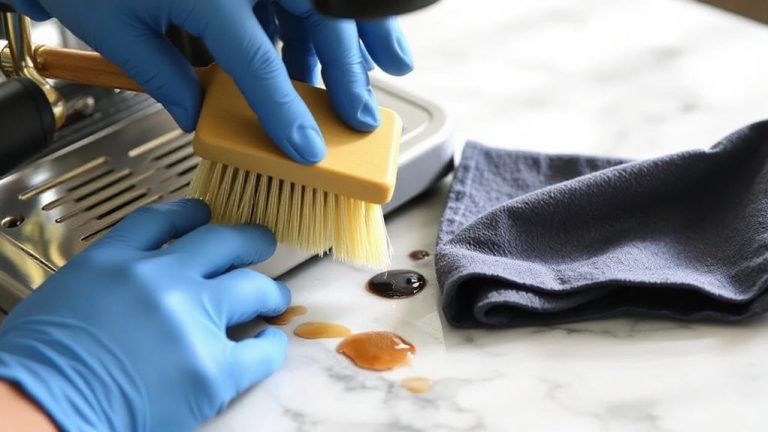
A thorough wash keeps your cold brew vessel free of oily residue and old coffee films that can taint your next batch. Fill the vessel with warm, soapy water and use a soft sponge or bottle brush for gentle scrubbing. Focus on the bottom and sides where oils build up. Always avoid abrasives like steel wool or harsh cleaners-they scratch surfaces and trap residue. Rinse well to remove all soap. Choosing the right at-home cold brew makers can influence how easy it is to clean and maintain your brewing system.
| Tool | Purpose | Tip |
|---|---|---|
| Soft sponge | Gentle scrubbing | Ideal for light buildup |
| Bottle brush | Reach deep curves | Use on narrow vessels |
| Dish soap | Break down oils | Choose unscented to avoid flavor transfer |
| Warm water | Dissolve residue | Never use boiling water on glass |
This routine keeps your vessel clean without damage.
Use Baking Soda for Stuck-On Coffee Oils
When warm soapy water doesn’t fully lift stubborn coffee oils, baking soda steps in as a safe, effective cleaner. Mix a tablespoon of baking soda with a little water to form a thick paste, then apply it to the vessel’s interior. Use a soft sponge or brush to gently scrub, relying on baking soda abrasion to dislodge residue without scratching surfaces. This mild physical action, combined with the alkaline nature of baking soda, promotes oil breakdown, dissolving greasy buildup that clings after cold brew cycles. It’s especially helpful for plastic or glass vessels where odors and films accumulate over time. Unlike harsh chemicals, baking soda won’t leave toxic traces, making it food-safe when rinsed well. While it requires a bit more elbow grease than commercial descalers, it’s cheap, widely available, and effective for routine maintenance. For severe buildup, repeat the process or let the paste sit for 10–15 minutes before scrubbing.
Wipe It Dry to Prevent Mold
One in three coffee makers develops mold if left damp, so always dry yours thoroughly after cleaning. After rinsing, use a clean, dry cloth to wipe the inside and outside of your immersion vessel. Moisture trapped in corners or seams is a breeding ground for mold, especially in plastic or glass containers that don’t breathe. For best results, place the vessel on a drying rack upside down to allow full air circulation. This position helps water drain and evaporate quickly, reducing the chance of microbial growth. Avoid towel-drying only, since towels can leave lint or moisture behind. A dedicated drying rack keeps the vessel elevated and exposed to open air, speeding up the drying process. Let it sit for at least 30 minutes before reassembly. Proper drying is a small step but critical for maintaining a clean, mold-free cold brew routine.
How Often Should You Deep Clean Your Vessel?
Usually, you’ll want to deep clean your cold brew vessel every two to three weeks, especially if you brew daily. This cleaning frequency helps prevent oil buildup and keeps your coffee tasting fresh. A consistent maintenance schedule guarantees mold and residue don’t compromise your brew. If you use your vessel less often, you can stretch deep cleaning to once a month. For best results, use warm water and a mild dish soap, scrubbing the interior with a non-abrasive sponge. For tough residue, a mixture of water and baking soda works well. Rinse thoroughly and let it air dry completely. Avoid harsh chemicals that can leave odors. Regular deep cleaning, paired with rinsing after each batch, keeps your vessel in top shape. Sticking to this routine extends your gear’s life and improves your cold brew’s quality.
On a final note
Clean your immersion vessel right after each batch to prevent oils from sticking. Skip rinsing first-scrub with warm, soapy water instead. Use a soft brush or sponge to avoid scratches. For residue, a baking soda paste works better than harsh cleaners. Dry it fully before storing to avoid mold. Deep clean weekly if used daily. Glass and stainless steel hold up well; plastic may retain odors over time. Proper care keeps your cold brew tasting fresh.