Clean Your Coffee Grinder’s Grind Adjustment Knob (Safely)
Turn off and unplug your grinder before cleaning. Remove the adjustment knob-some pull off, others need a set-screw loosened with an Allen wrench. Wipe the knob and shaft with a microfiber cloth; use a soft brush and a bit of 70% isopropyl alcohol to clear stuck oils and grounds. Avoid water. Realign threads carefully when reassembling, then reset to the factory grind setting. Keep it clean weekly to avoid buildup that throws off your dose. You’ll soon see how a few simple steps keep your grind dial smooth and precise.
Notable Insights
- Turn off and unplug the grinder before cleaning to ensure safety.
- Use a soft brush or microfiber cloth to remove coffee buildup around the adjustment knob.
- Spot-clean oily residue with a cloth dampened with 70% isopropyl alcohol.
- Avoid using water or liquids near internal components to prevent damage.
- Regularly wipe the knob and brush surrounding areas to prevent stiffness and buildup.
Fix Your Stiff Grind Knob Fast
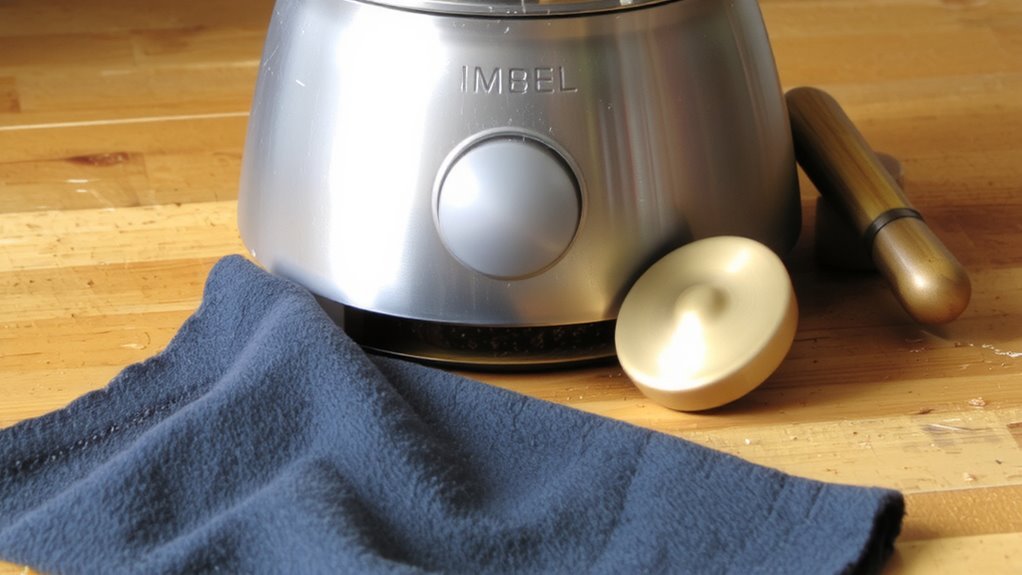
A stiff grind knob can slow down your morning routine, but you don’t need to replace the whole grinder to fix it. Start by turning off and unplugging your grinder, then remove the burr assembly to inspect the adjustment ring. Often, old coffee oils and residue increase grind resistance, making the knob hard to turn. Use a soft brush or dry cloth to clean accessible parts-avoid liquids near internal components. Some models, like the Baratza Encore, allow easier access than others. Apply minimal knob pressure when reassembling; over-tightening worsens resistance. If the knob still feels stiff, check manufacturer instructions for lubrication-some recommend dry PTFE grease on specific threads. Don’t grease recklessly, as it can attract more debris. Regular cleaning every few weeks reduces long-term wear and keeps adjustment smooth. This quick maintenance step saves time, extends machine life, and guarantees consistent grind size without unnecessary repairs or replacements. For optimal performance, consider upgrading to one of the best prosumer espresso grinders that feature precision engineering and easier maintenance designs.
How Stuck Grounds Mess With Your Grind
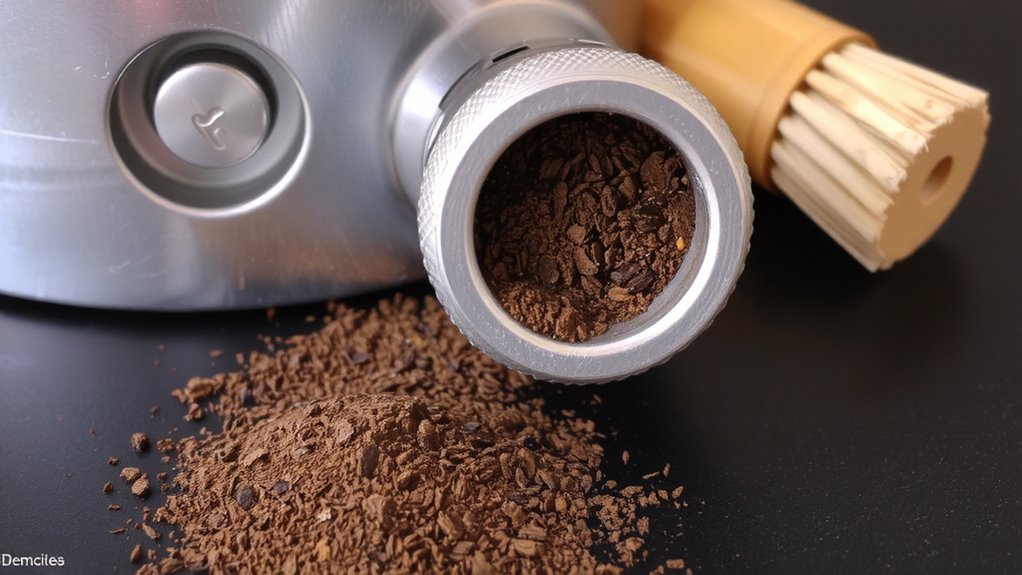
Stuck coffee grounds are a silent killer of grind consistency and machine performance. They clog the adjustment mechanism, making it hard to change settings smoothly. This directly impacts your grind consistency, leading to uneven particle size. When grounds vary too much, your extraction becomes erratic-some over-extract, others under-extract. That imbalance creates a poor flavor impact, muting sweetness or amplifying bitterness. Even high-end grinders like the Baratza Encore or Eureka Mignon suffer if neglected. A dedicated cleaning tool such as a coffee grinder cleaning brush can effectively remove stubborn buildup from hard-to-reach areas. Here’s how buildup affects function:
| Issue | Effect on Grind | Flavor Impact |
|---|---|---|
| Clumped grounds | Inconsistent particle size | Flat, unbalanced taste |
| Sticky residue | Erratic adjustment movement | Increased bitterness |
| Obstructed threads | Misaligned settings | Loss of intended profile |
| Restricted rotation | Shifting grind over time | Unpredictable results |
Regular checkups prevent these issues. Clean adjustments mean reliable grind consistency and better flavor impact.
What You Need to Clean the Adjustment Knob
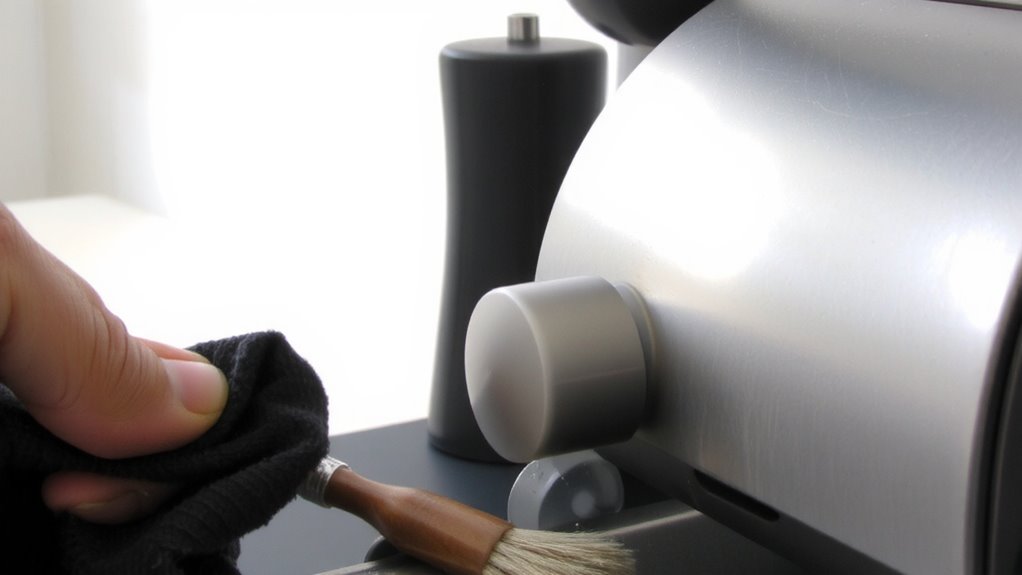
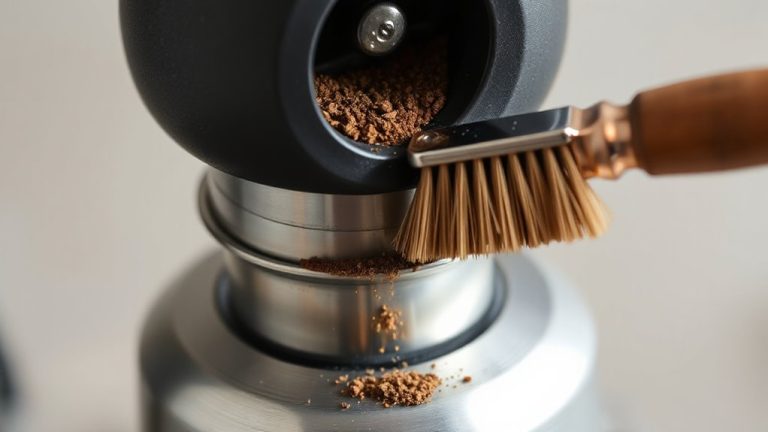
Now that you’ve seen how stuck grounds can throw off your grind and ruin your brew, it’s time to get your gear back in shape. You’ll need a few basic tools: a soft brush (like a clean toothbrush or a dedicated grinder brush), a microfiber cloth, and isopropyl alcohol (70% works fine). Coffee oils build up over time, especially around the threads and underside of the knob, so the alcohol helps dissolve that residue without damaging surfaces. A dry brush removes loose particles and tackles static buildup, which often traps fine grounds around plastic components. For metal knobs, avoid excessive moisture-wipe quickly and dry thoroughly. If your grinder is prone to static, consider using anti-static brushes or changing cleaning frequency based on how often you brew. Keep the workspace dry and your tools clean to avoid introducing debris. Don’t rinse with water-just spot-clean and reassemble once dry.
Remove the Knob Without Damaging It
The adjustment knob on your grinder plays a key role in dialing in the right grind size, so removing it carefully matters-especially if you’ve noticed resistance or stiffness. Start by checking your grinder’s manual-some knobs pull straight off, while others need a set-screw loosened first. If there’s a set-screw, use a small Allen wrench for tool removal; don’t force it, or you risk damaging the threads. For friction-fit knobs, grip gently with a soft cloth and pull straight out to aid in knob preservation. Avoid pliers or metal tools unless absolutely necessary, and if you must use one, wrap the knob in a towel. Forcing or twisting can crack plastic or strip metal components. Always power off and unplug your grinder before starting. Taking your time guarantees the mechanism stays intact and calibration remains accurate once you reassemble.
Scrub the Knob and Adjustment Shaft Clean
Grime and coffee buildup can dull your grind precision over time, so cleaning the knob and adjustment shaft matters for consistent results. Use a soft brush or toothbrush dampPresident with isopropyl alcohol to scrub the knob and shaft thoroughly-this counts as deep cleaning and helps remove stubborn residue buildup. Focus on threading and grooves where oils collect. Avoid soaking plastic or rubber parts, as that can cause warping. For metal shafts, a bit of gentle pressure is okay, but don’t force anything. Let all pieces air-dry completely before moving forward. Wipe the surrounding grinder body too, since stray particles can contribute to future residue buildup. This step guarantees smoother operation and more accurate adjustments. Regular maintenance like this extends the life of your grinder and keeps your coffee tasting fresh. Skip it,, and you risk inconsistent grinds and clogging over time.
Reassemble and Reset Your Grinder
Once you’ve cleaned all the parts and let them dry completely, reassemble the adjustment knob onto the shaft with care. Proper thread alignment is critical-mismatched threads can damage the mechanism or lead to unstable settings. Gently twist the knob into place, guaranteeing it seats smoothly without forcing it. Misalignment may compromise calibration accuracy, especially on precision grinders like the Baratza Sette or Eureka Ox. After securing the knob, reset your grind setting to the manufacturer’s recommended starting point. This step guarantees consistency and helps maintain dose precision across brew methods. Avoid skipping calibration checks, as even slight deviations affect extraction. Reassembly may seem simple, but attention to detail here supports long-term grinder performance and shot repeatability. A well-aligned, properly reassembled knob contributes directly to dependable grind size control, minimizing guesswork in your brew routine.
Stop Gunk Before It Slows You Down
A little regular upkeep goes a long way in keeping your grinder running smoothly, especially when it comes to the adjustment knob. You can prevent buildup and maintain precision by incorporating simple habits into your routine. Coffee oils and static-charged fines cling to the knob, leading to sticky adjustments and inconsistent grinds over time.
| Task | Frequency |
|---|---|
| Wipe knob after use | Daily |
| Brush around knob | Weekly |
| Use dry rice purge | Monthly |
| Check for residue | Every 2 weeks |
| Full clean if stiff | As needed |
These steps help you avoid gunk that slows adjustments. A clean knob turns smoothly, ensuring repeatable settings. You’ll notice fewer hiccups during dose changes and better control over extraction. Don’t wait for resistance-stay ahead to maintain precision and prevent buildup long term.
On a final note
Keep your grind knob clean to guarantee smooth, precise adjustments and consistent coffee. Regular maintenance prevents buildup that can throw off your grind size. Use a small brush and dry cloth-avoid liquids near the mechanism. Reassemble carefully, then recalibrate using known settings. A little upkeep saves time and improves results. For best performance, clean monthly or after sticky or oily beans. Prevention beats repair.